1-2. Enter data into the web form
Sample pages for this tutorial
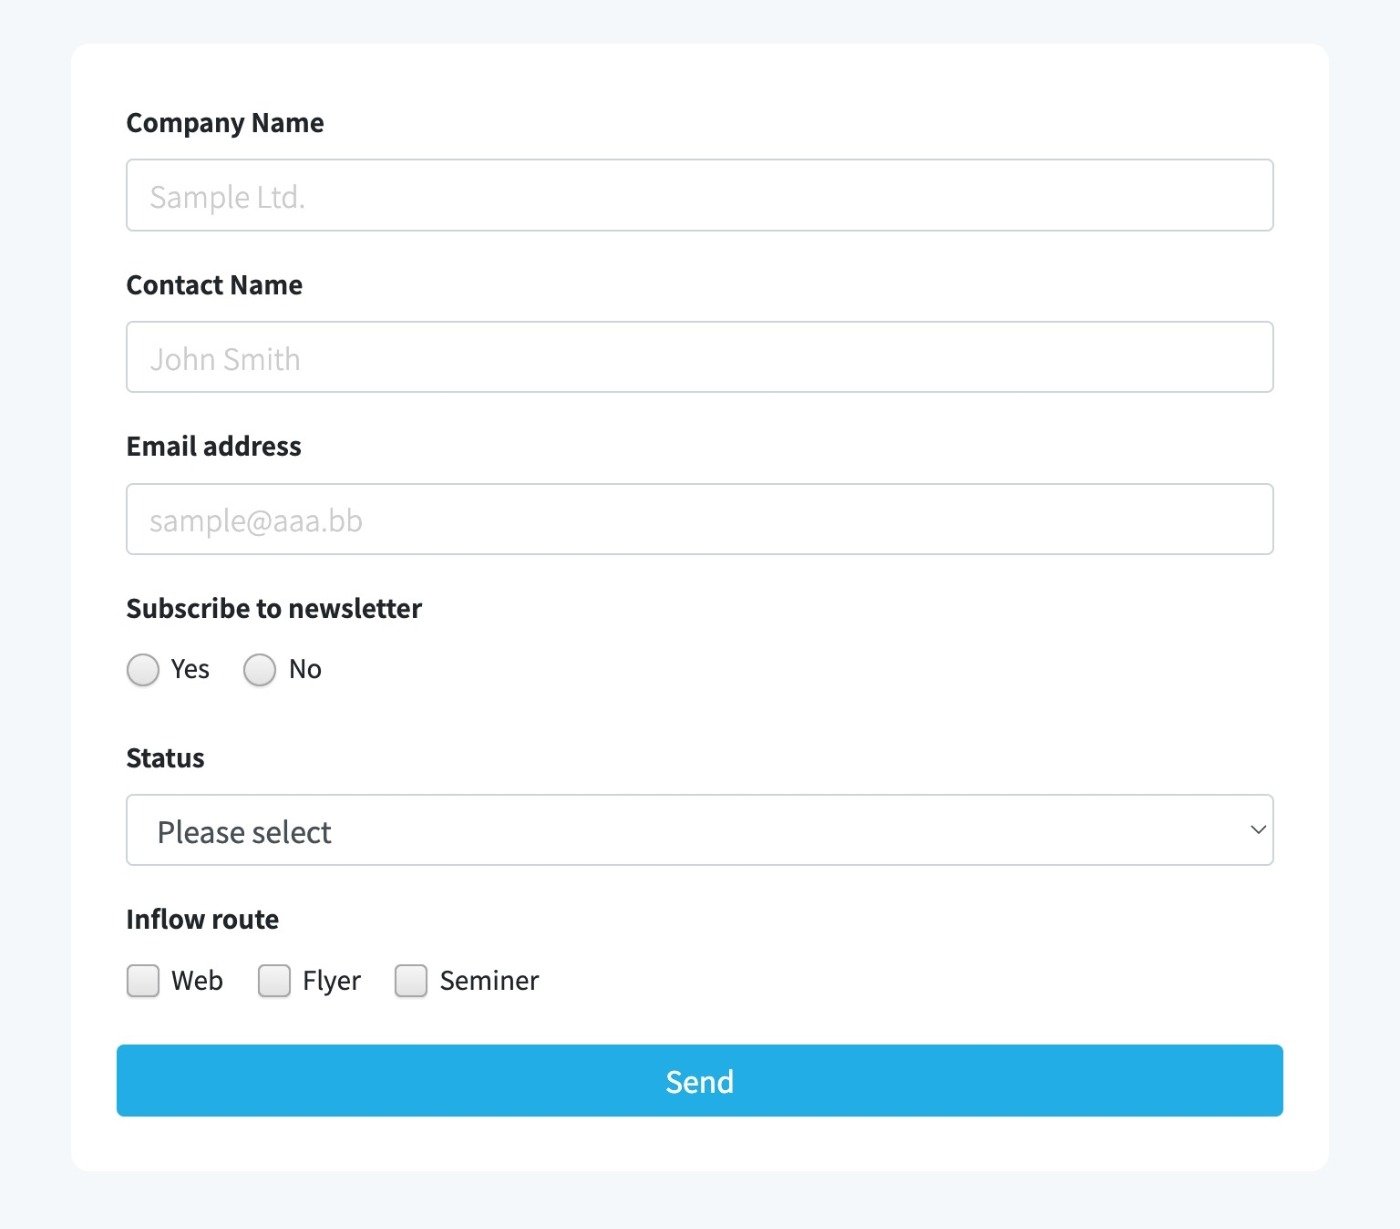
Create a BOT that inputs data into a form on a Web page and sends it.
*For basic operations of Cloud BOT, please refer to Basics - Chapter 1-1. Acquiring data from web pages (including an explanation of basic operations).
Create a BOT
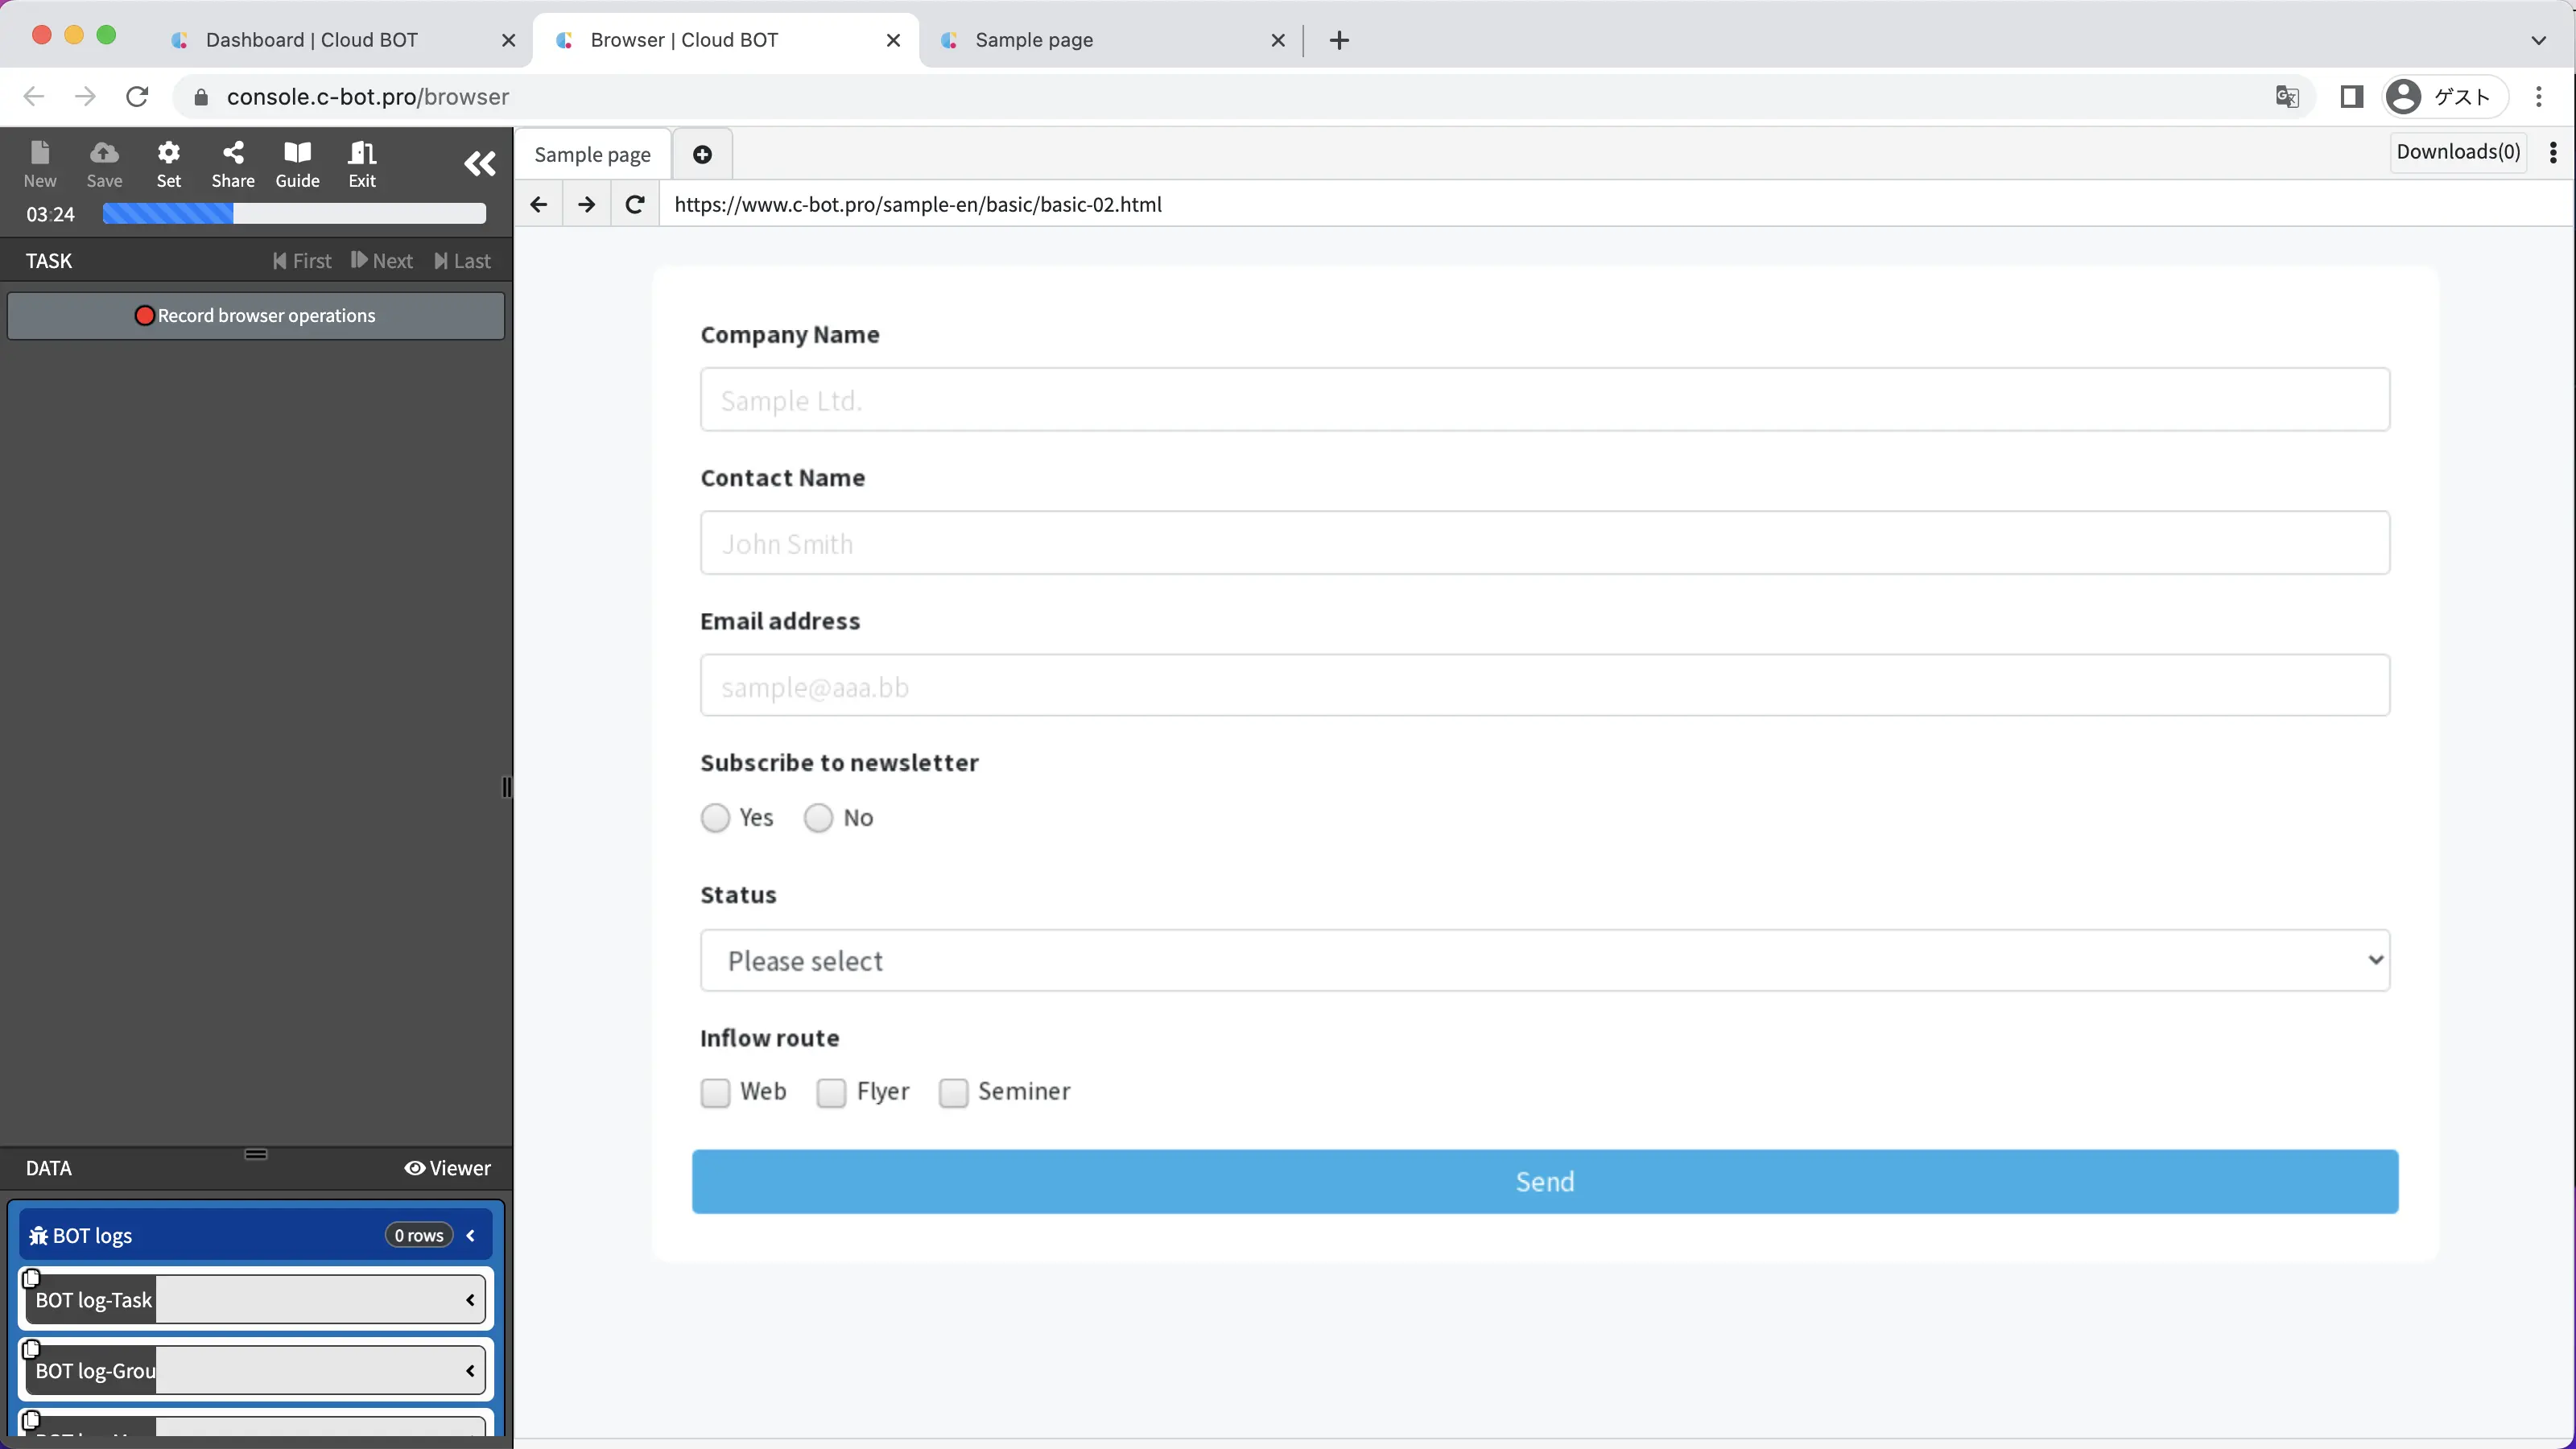
1. Open the BOT editor and access the sample page
Open the BOT editor from the "Create BOT" button,
Display the sample pagehttps://www.c-bot.pro/sample-en/basic/basic-02.html.
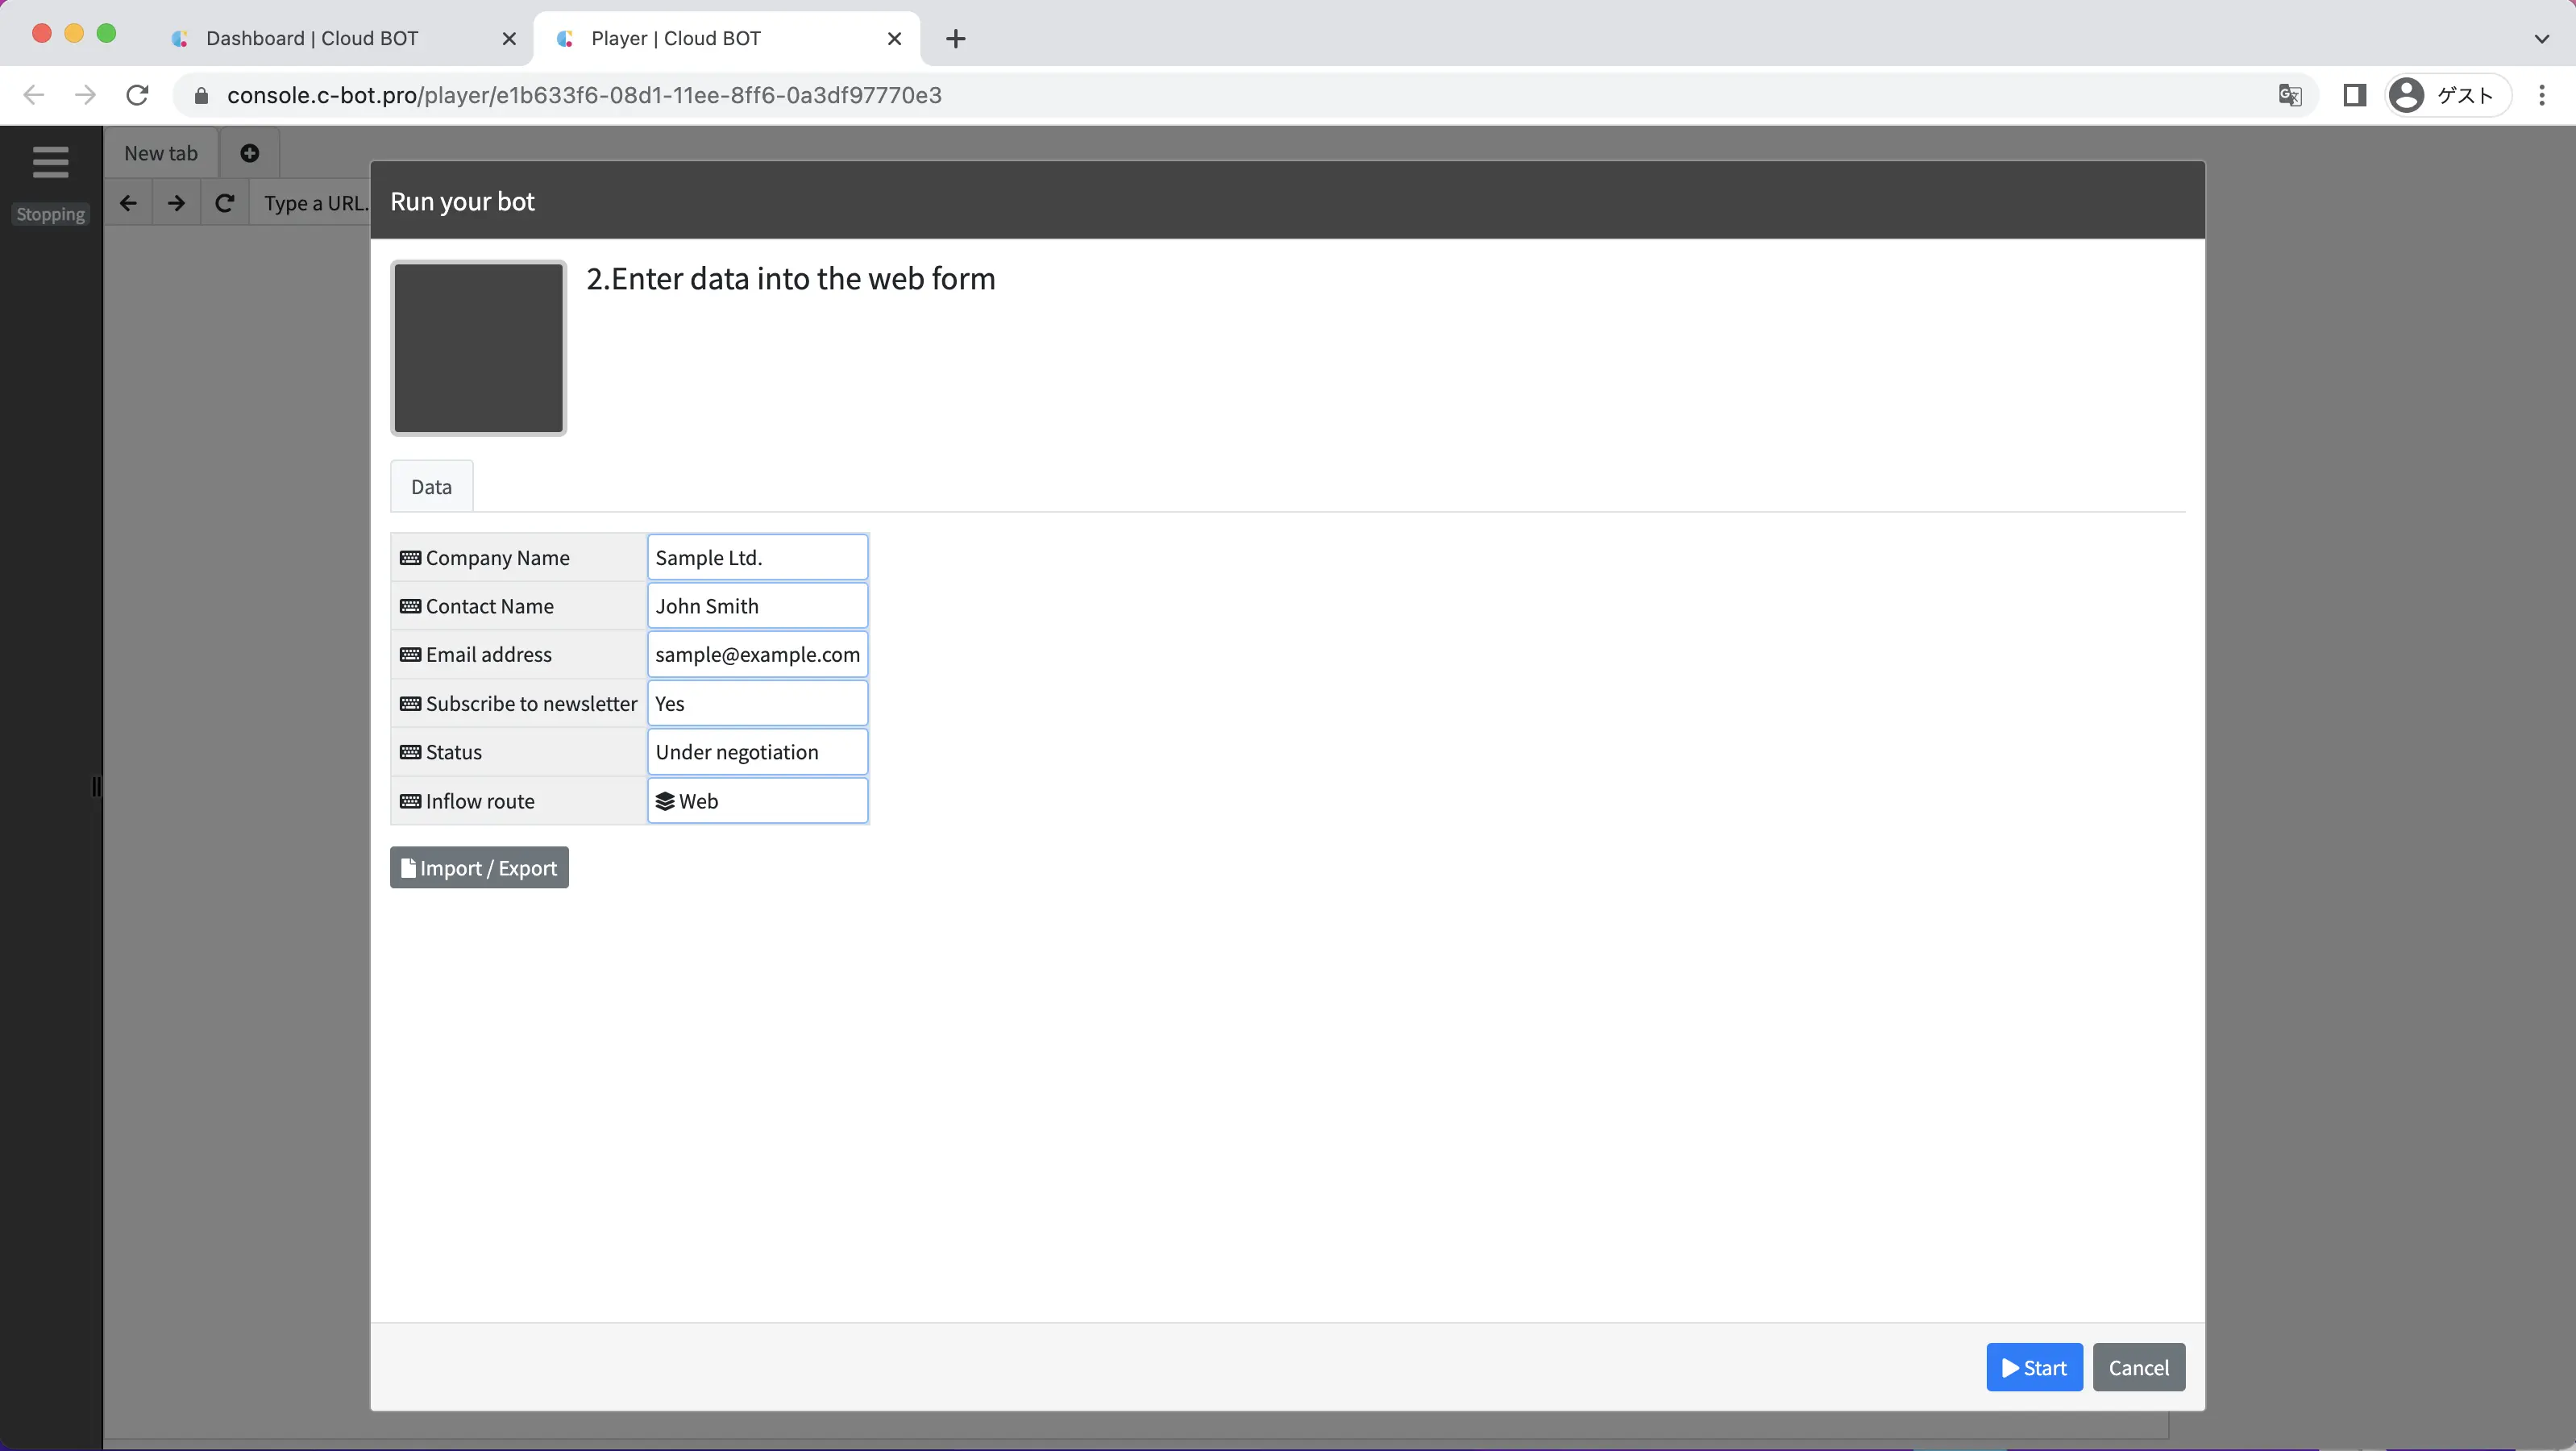
2. Record the operation of entering data into the form
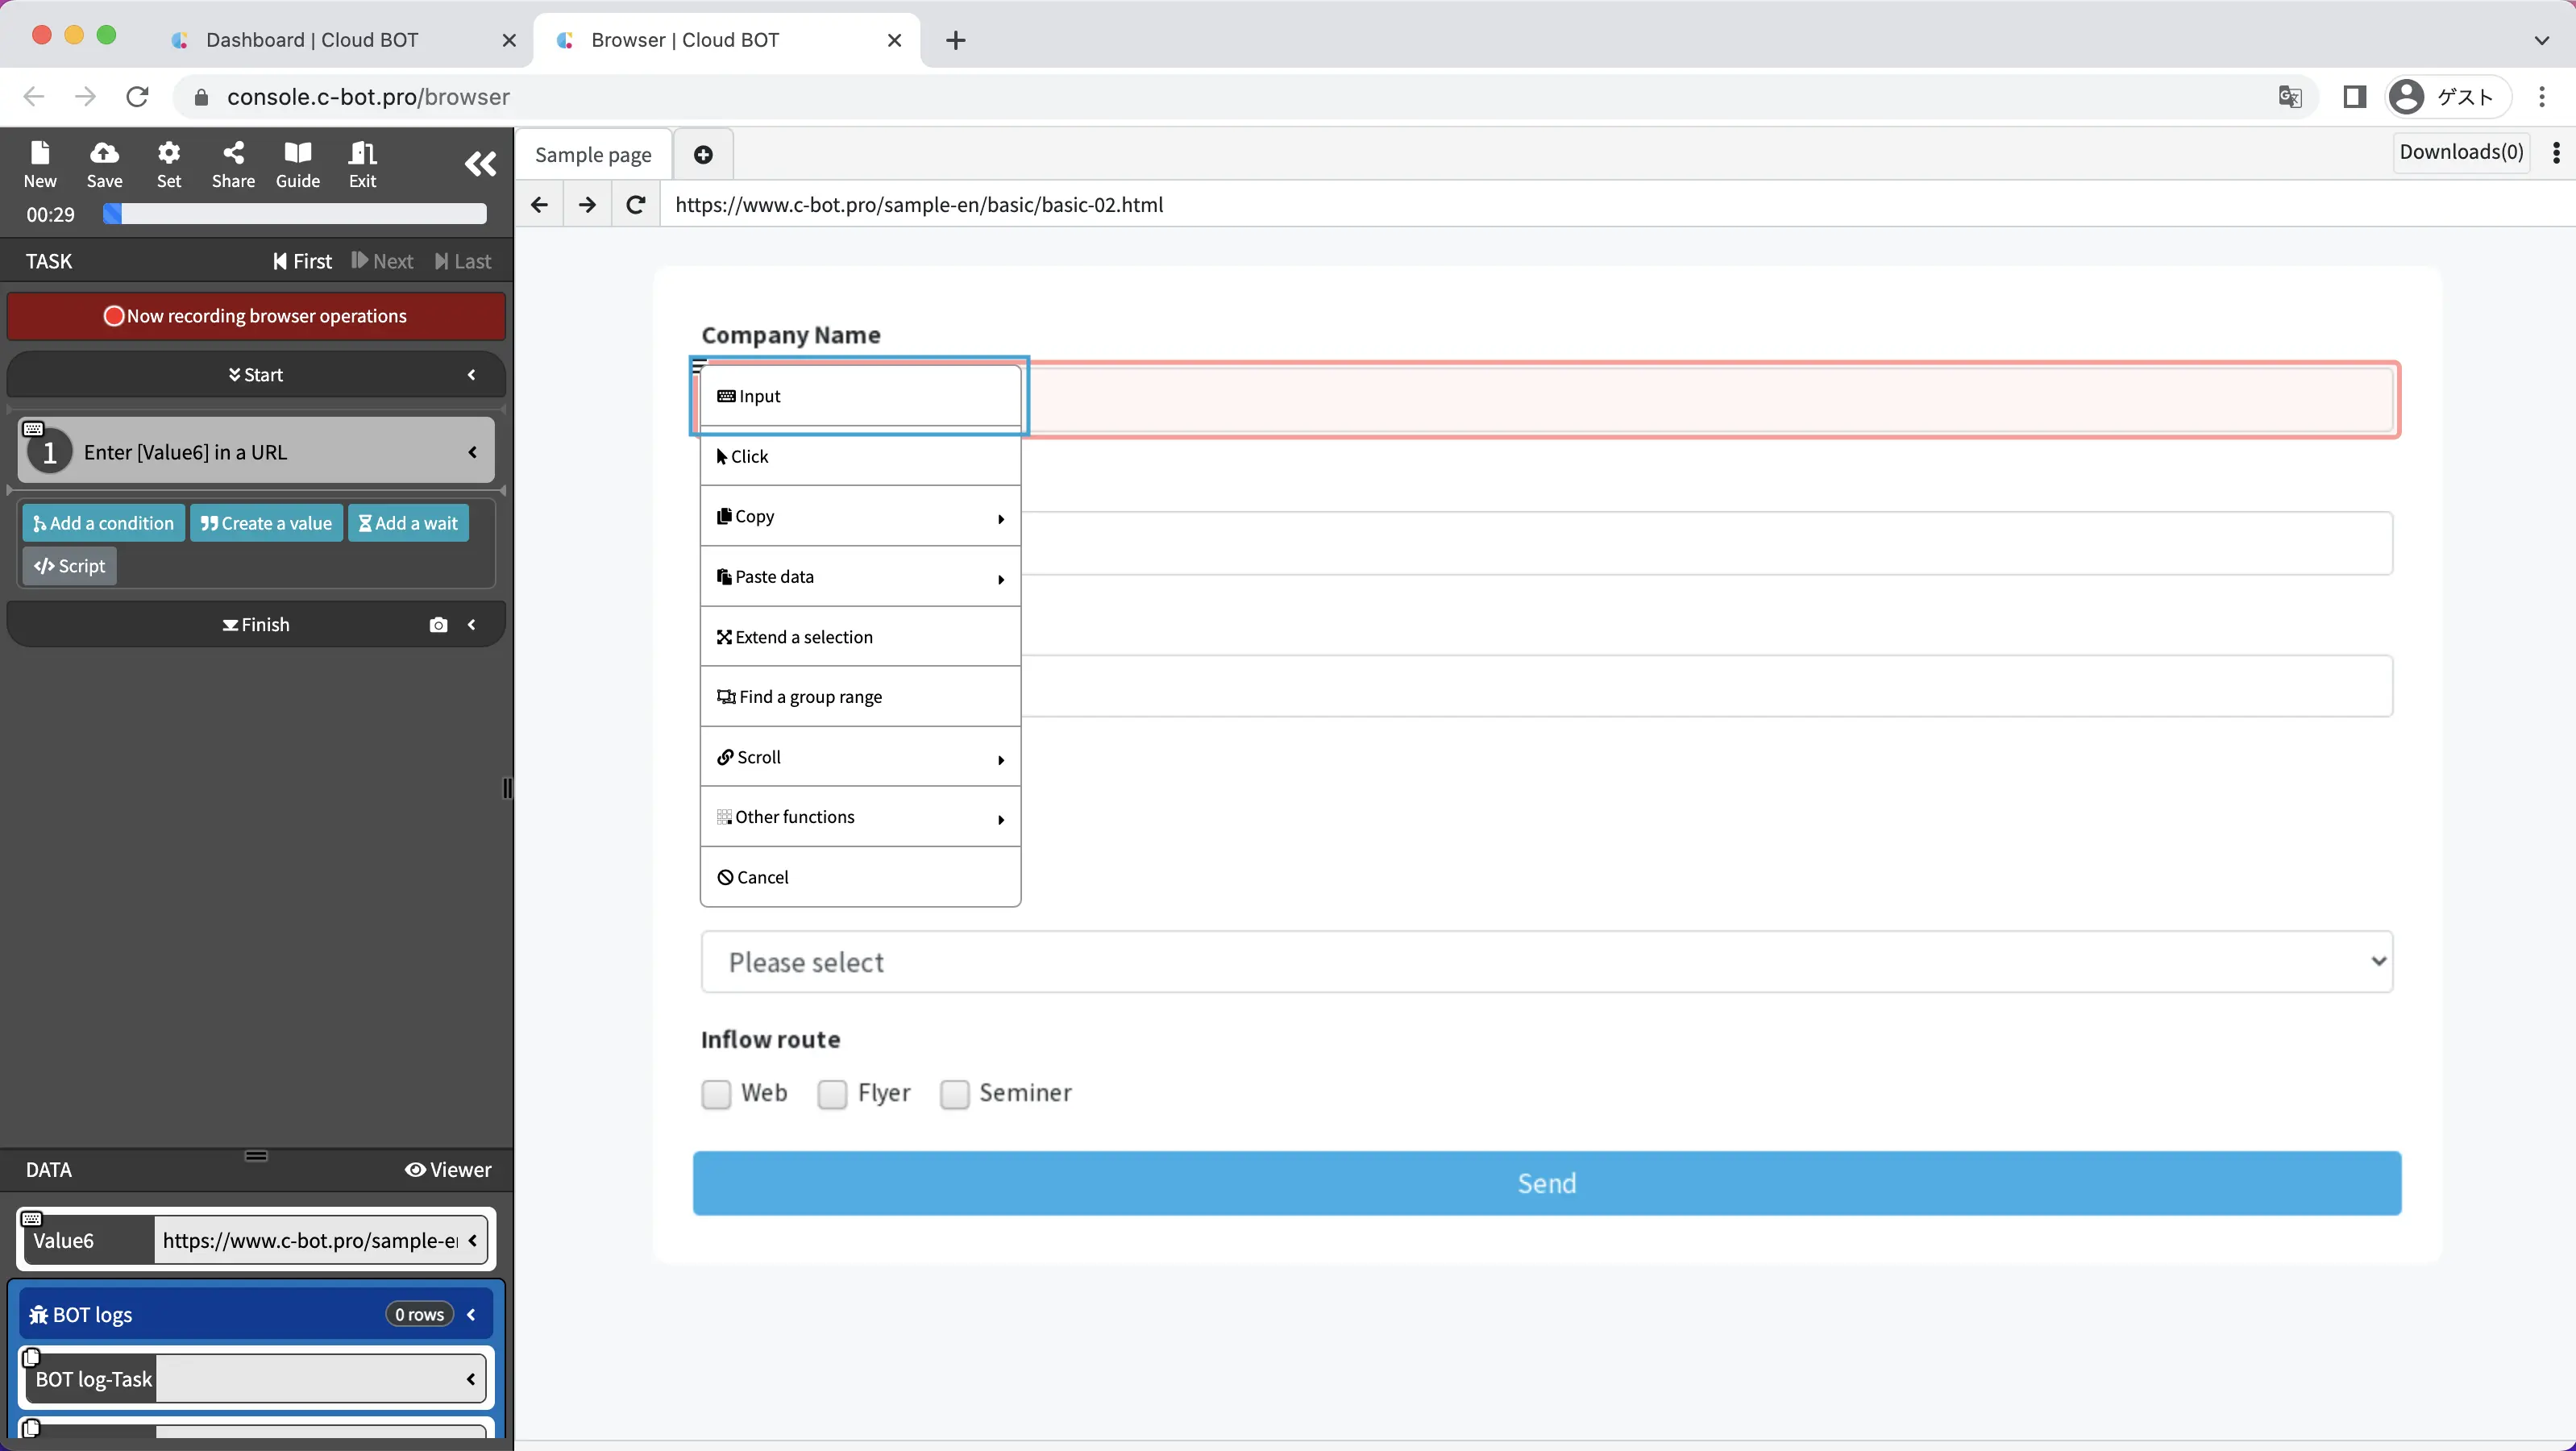
After clicking the "Record browser operations" button, follow the steps below to record your operations.
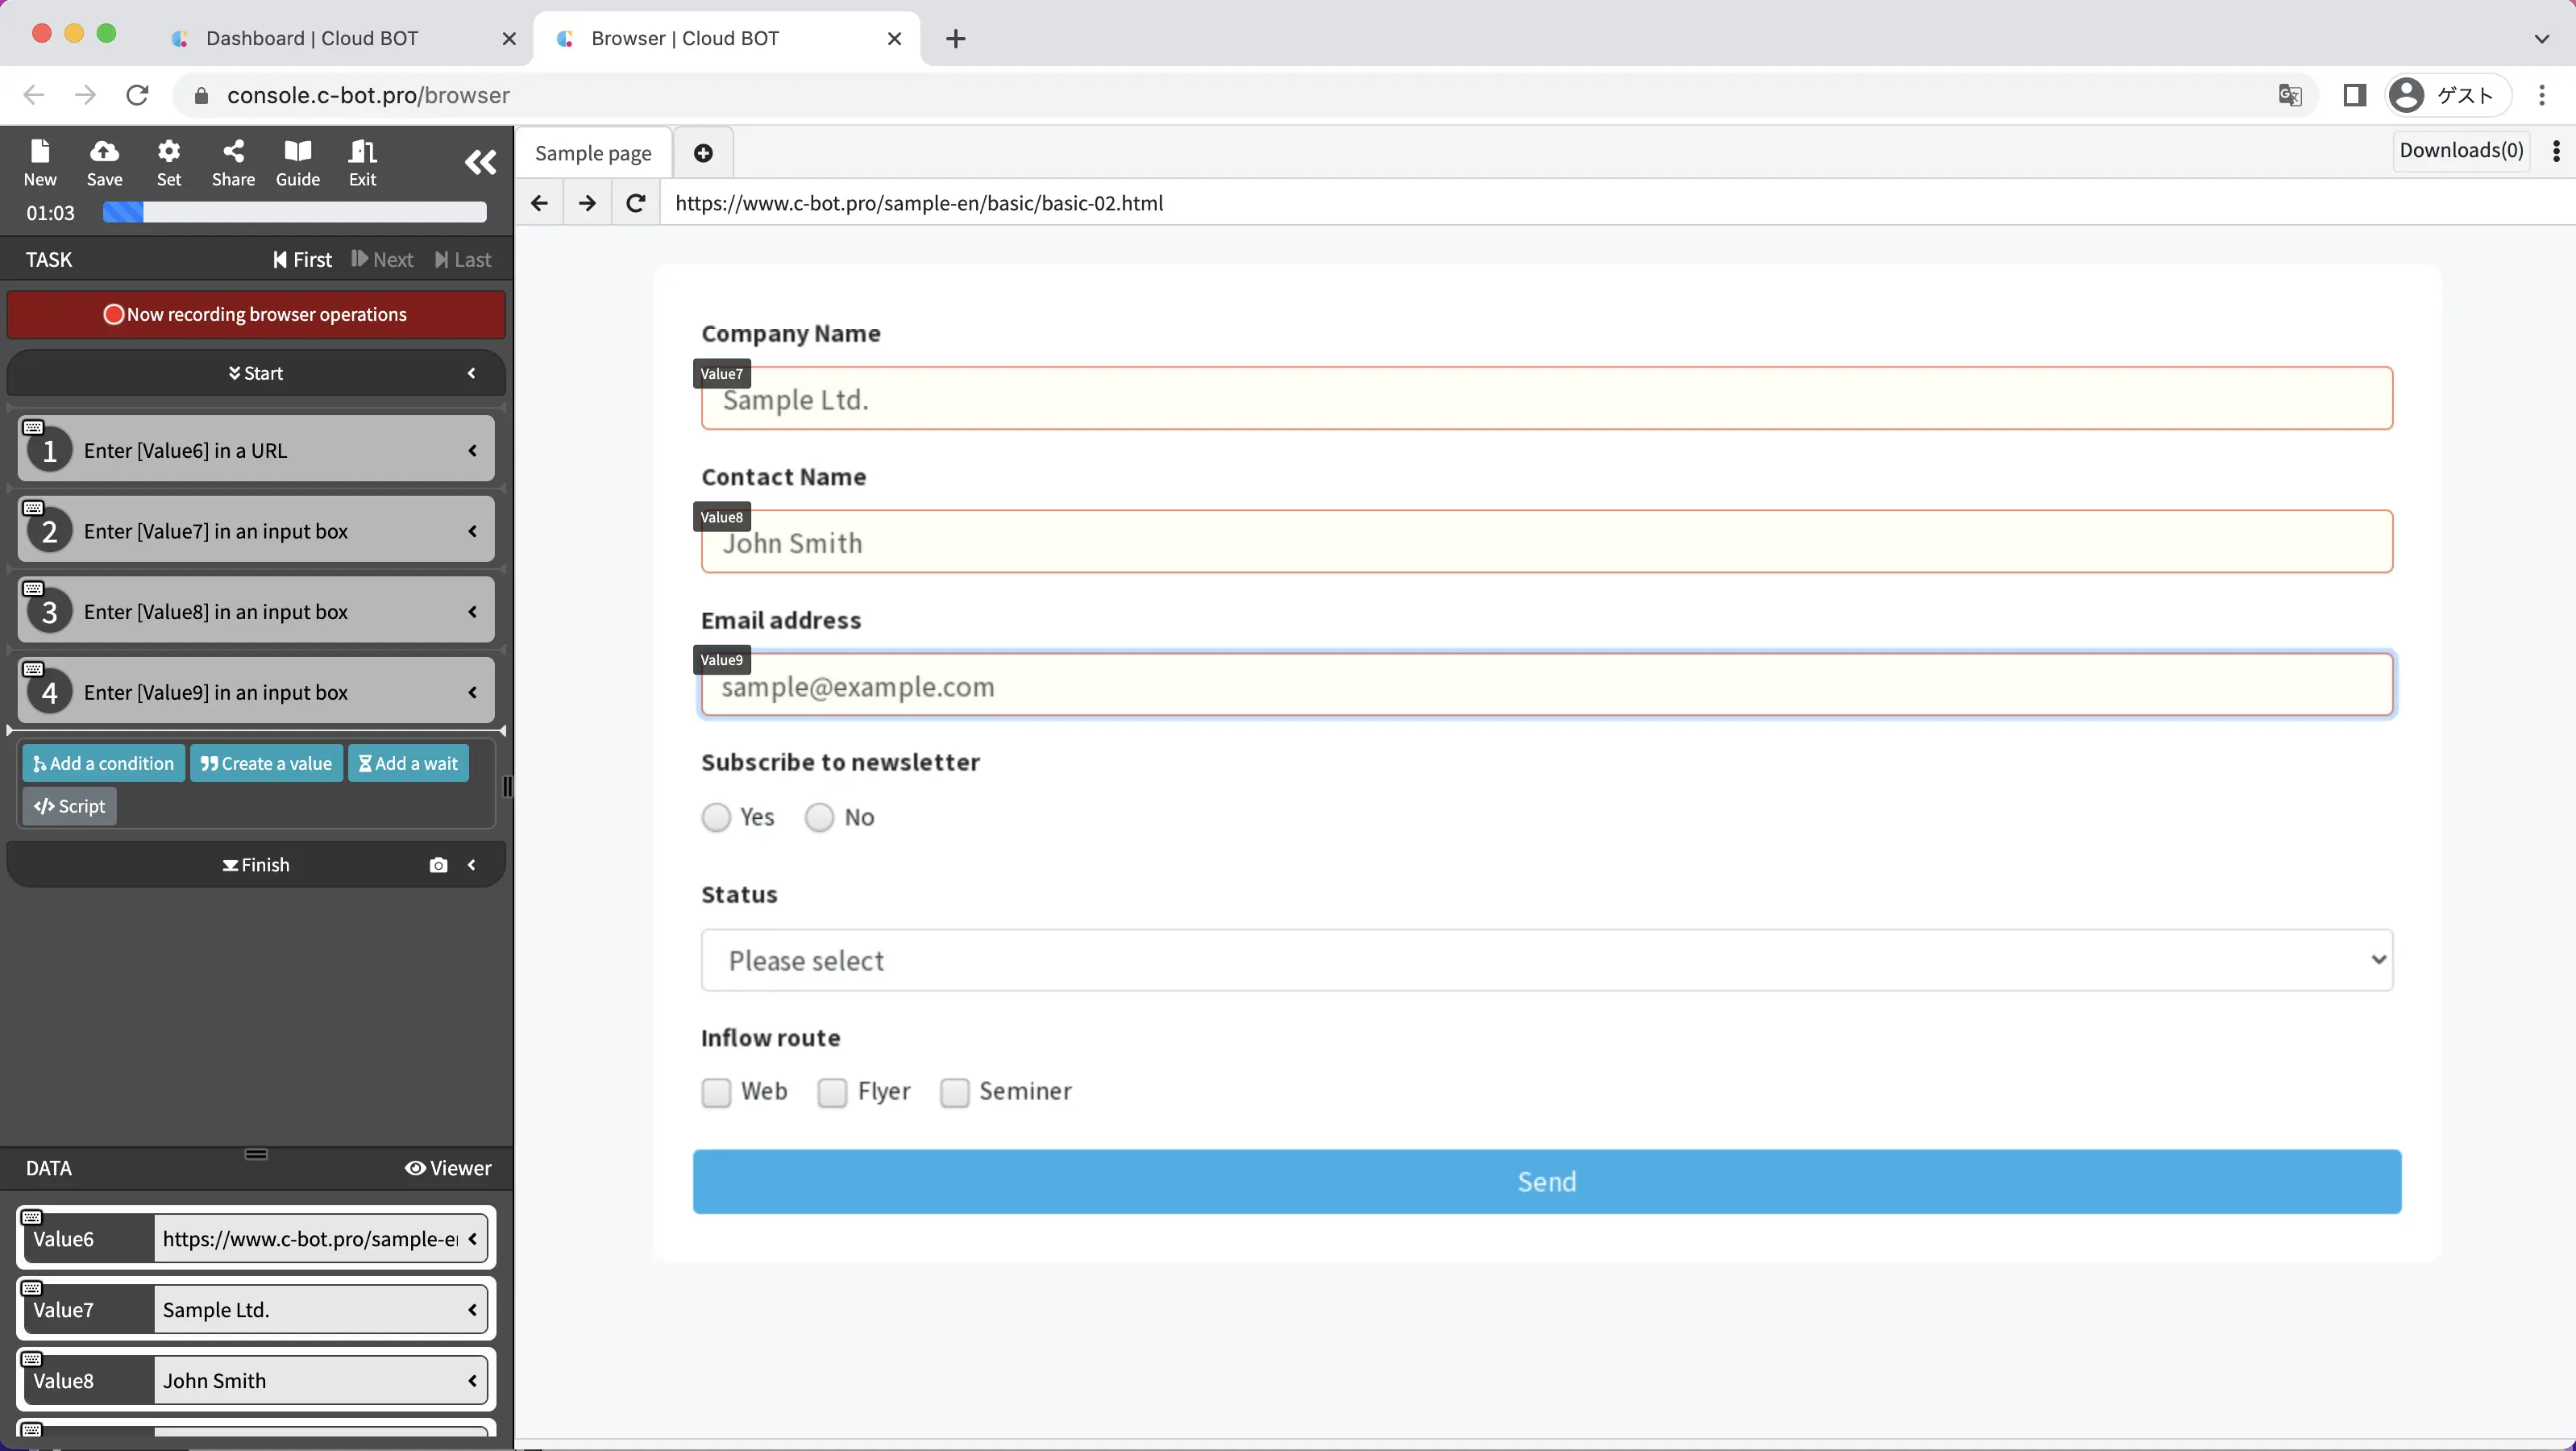
Click on the input form below the "Company Name" on the page to display the red selection frame.
Click again in the red selection frame to display the operation menu.
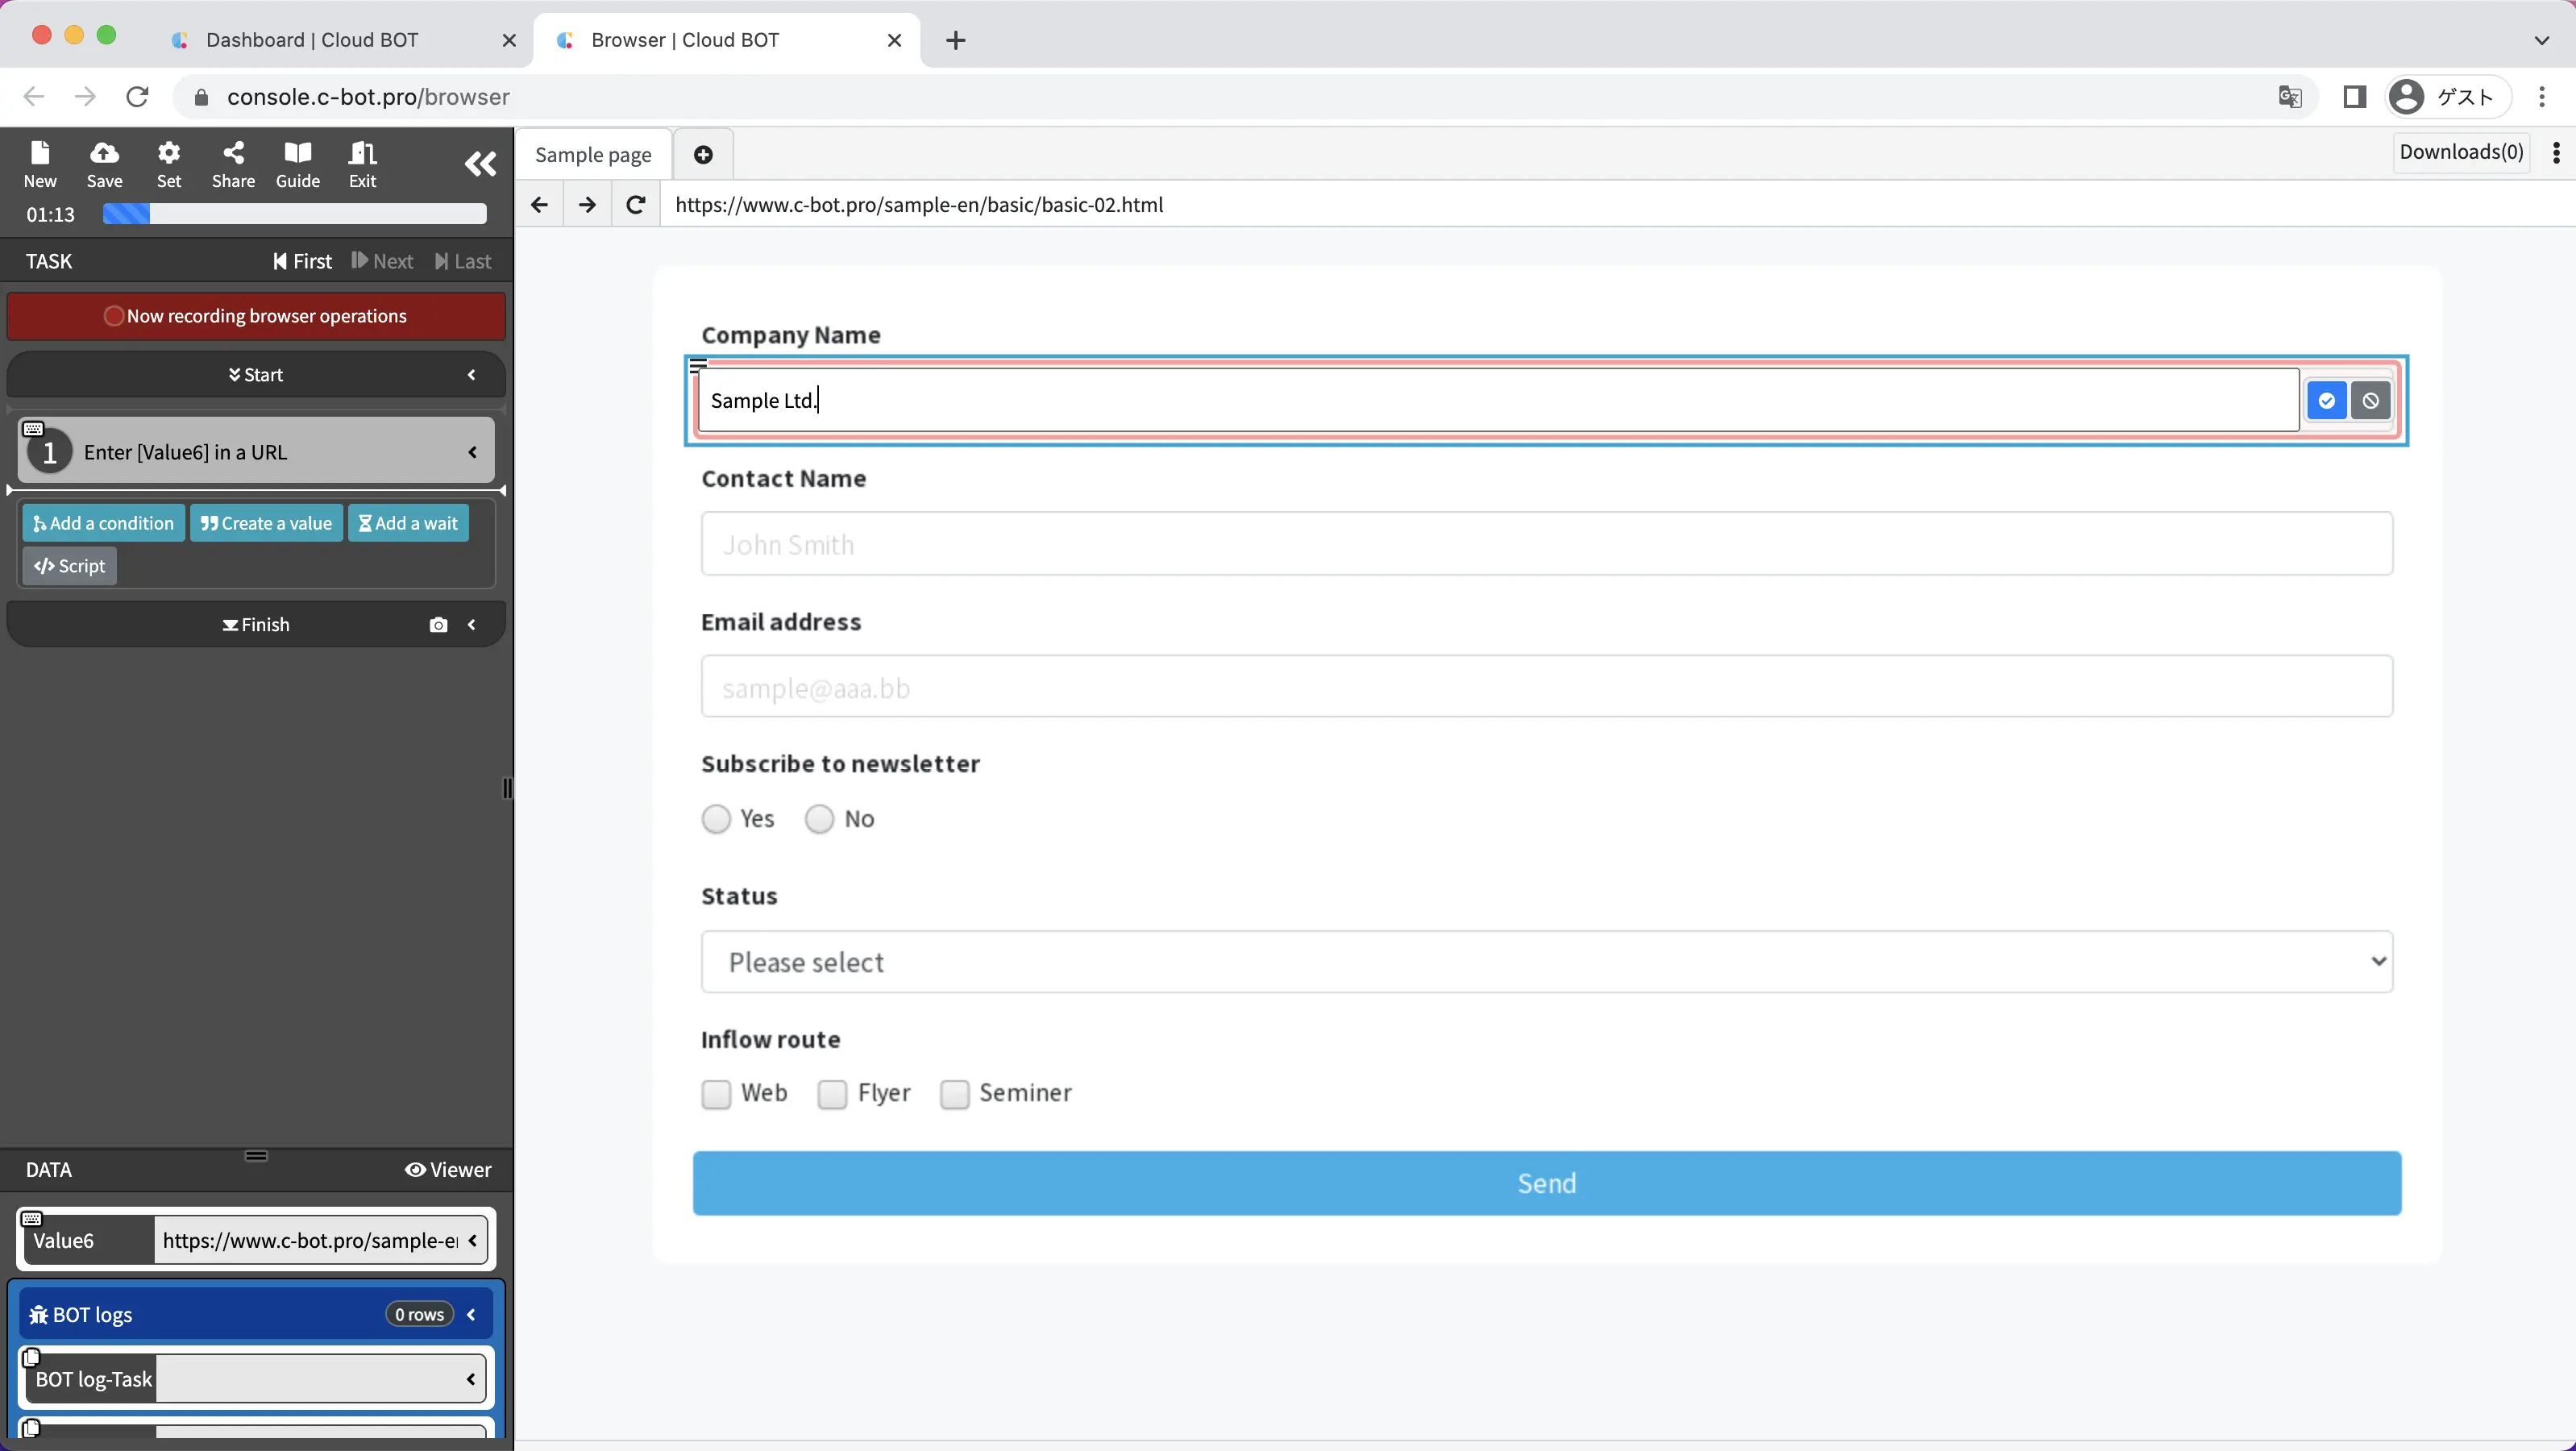
The form on the page will change to be able to be input and type Sample Ltd.
After entering the text, click the blue check button on the right side of the form.
In the same way, record the task by entering John Smith, sample@example.com
in "Contact Name" and "Email Address" respectively.
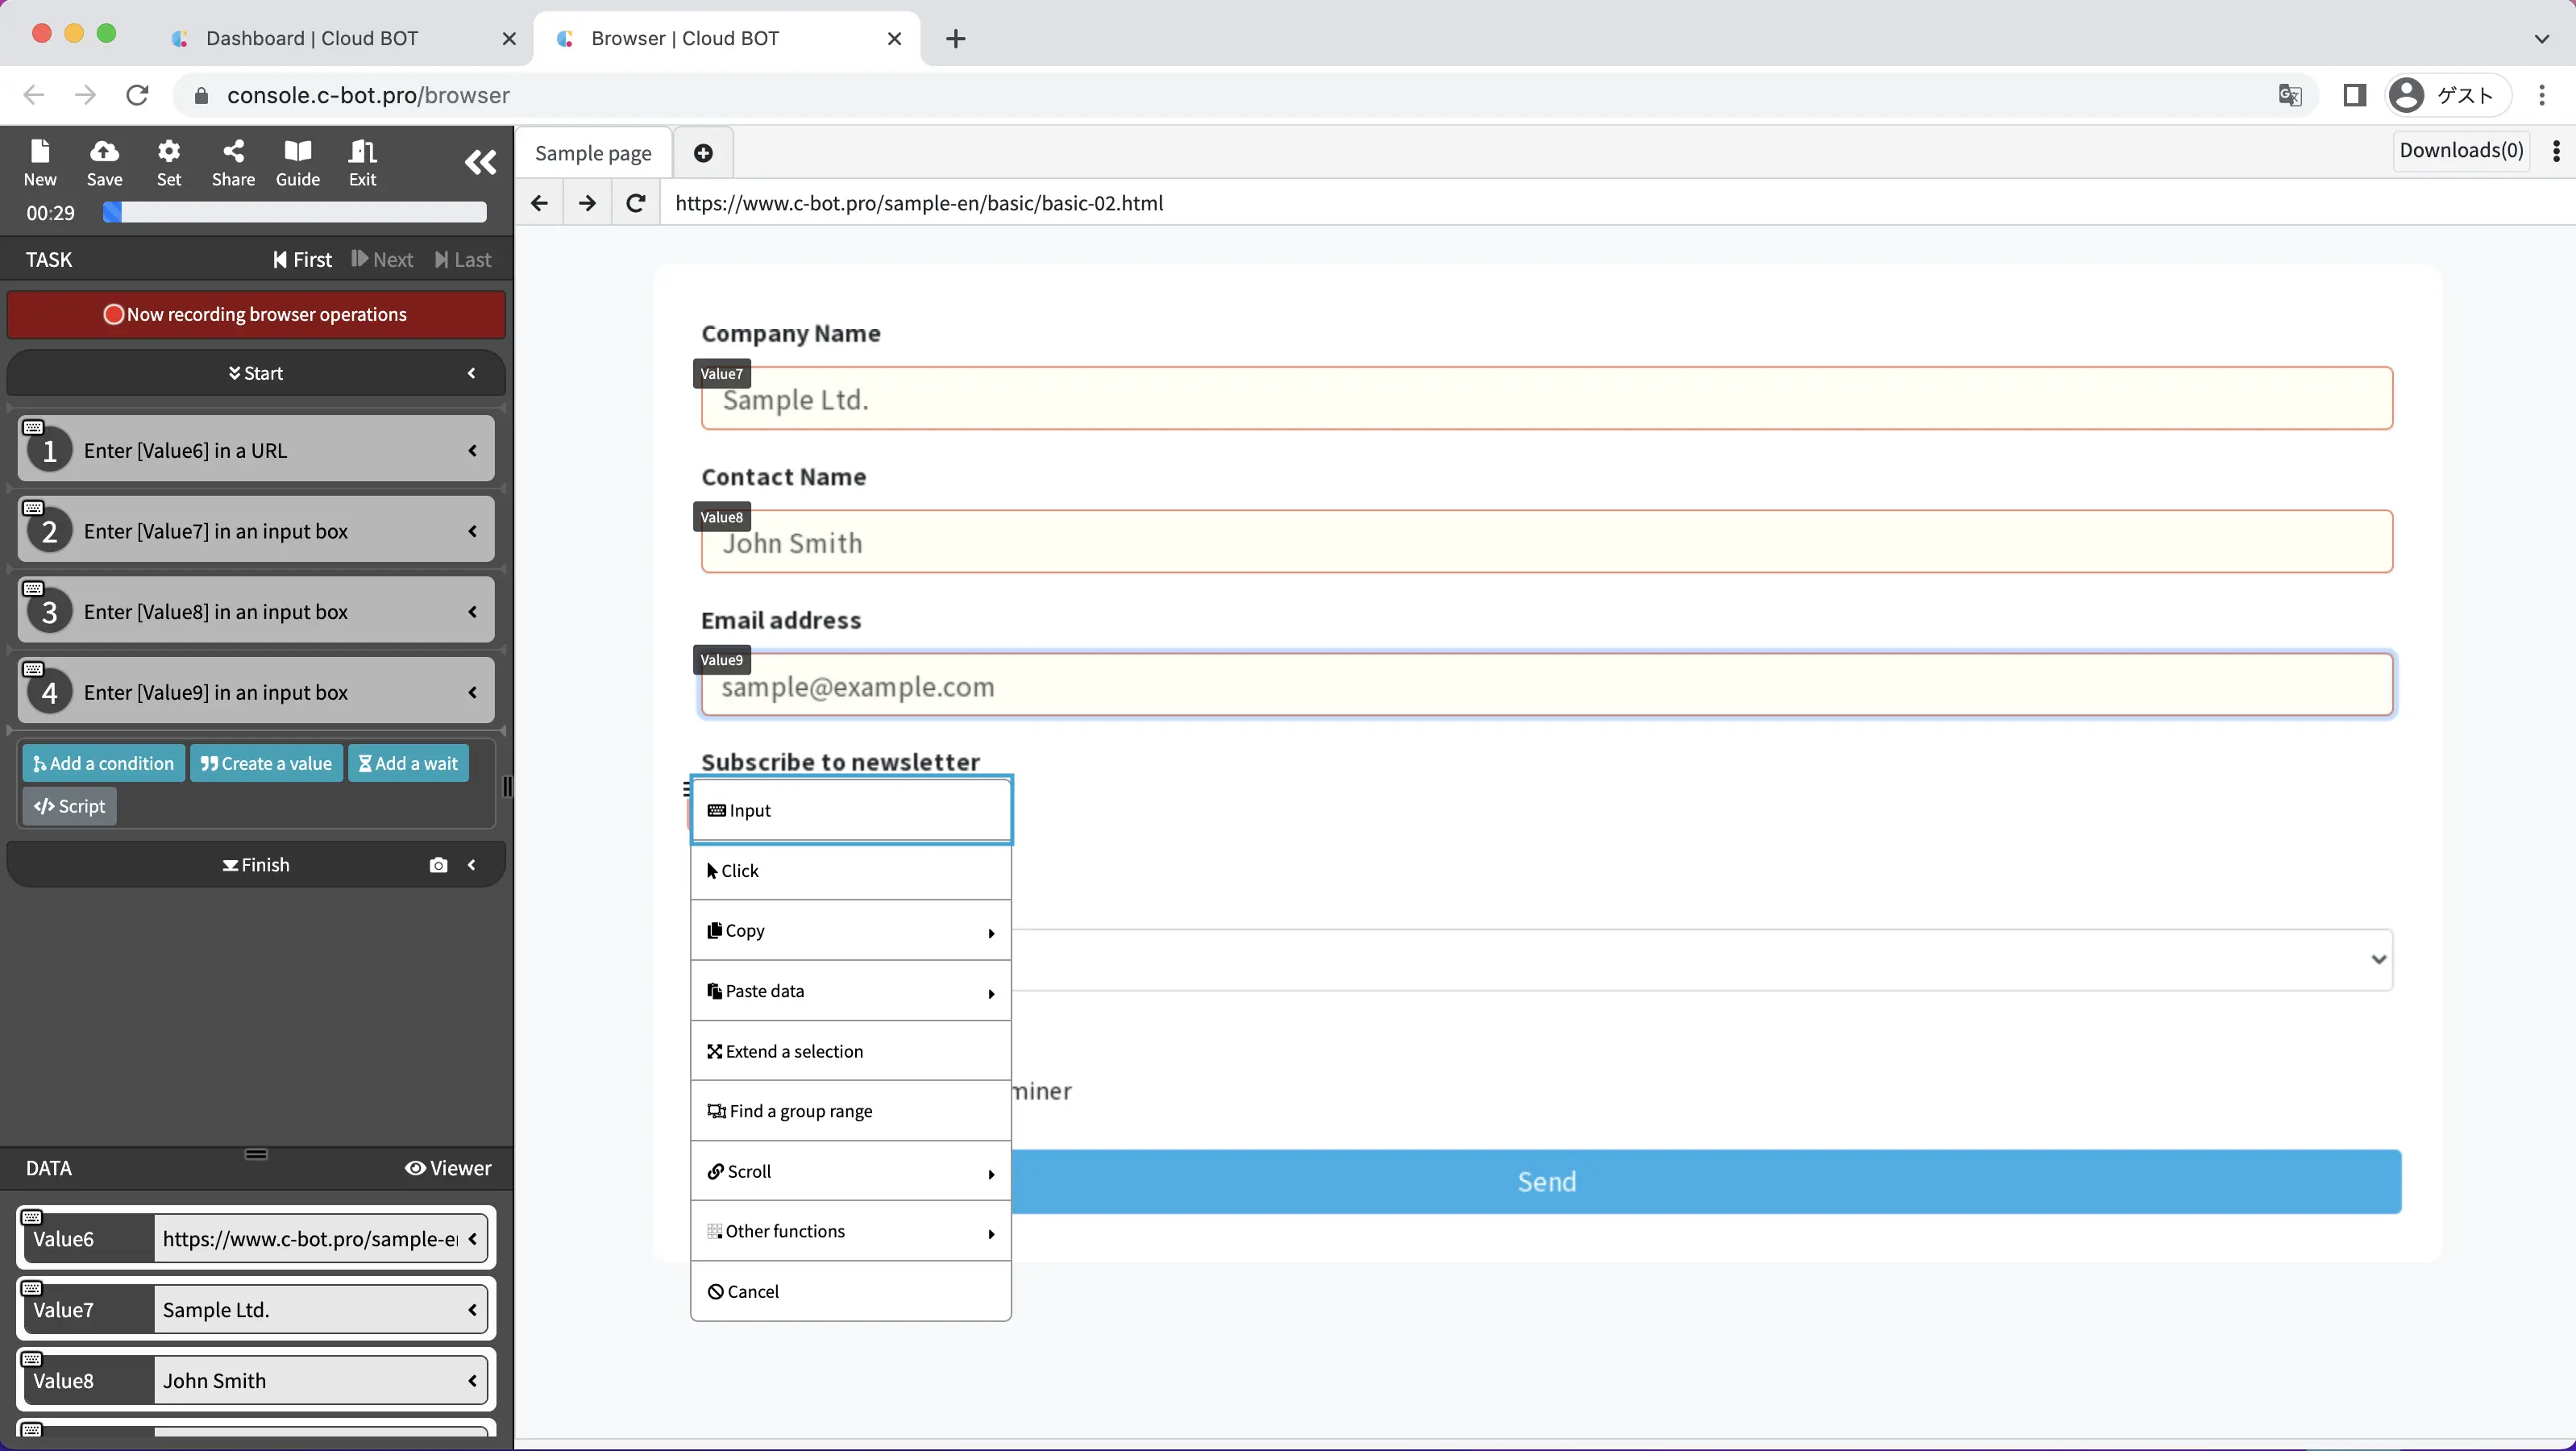
Next, record the operation to check the "Subscribe to newsletter" radio button.
Select the radio button to display the operation menu, then select "Input".
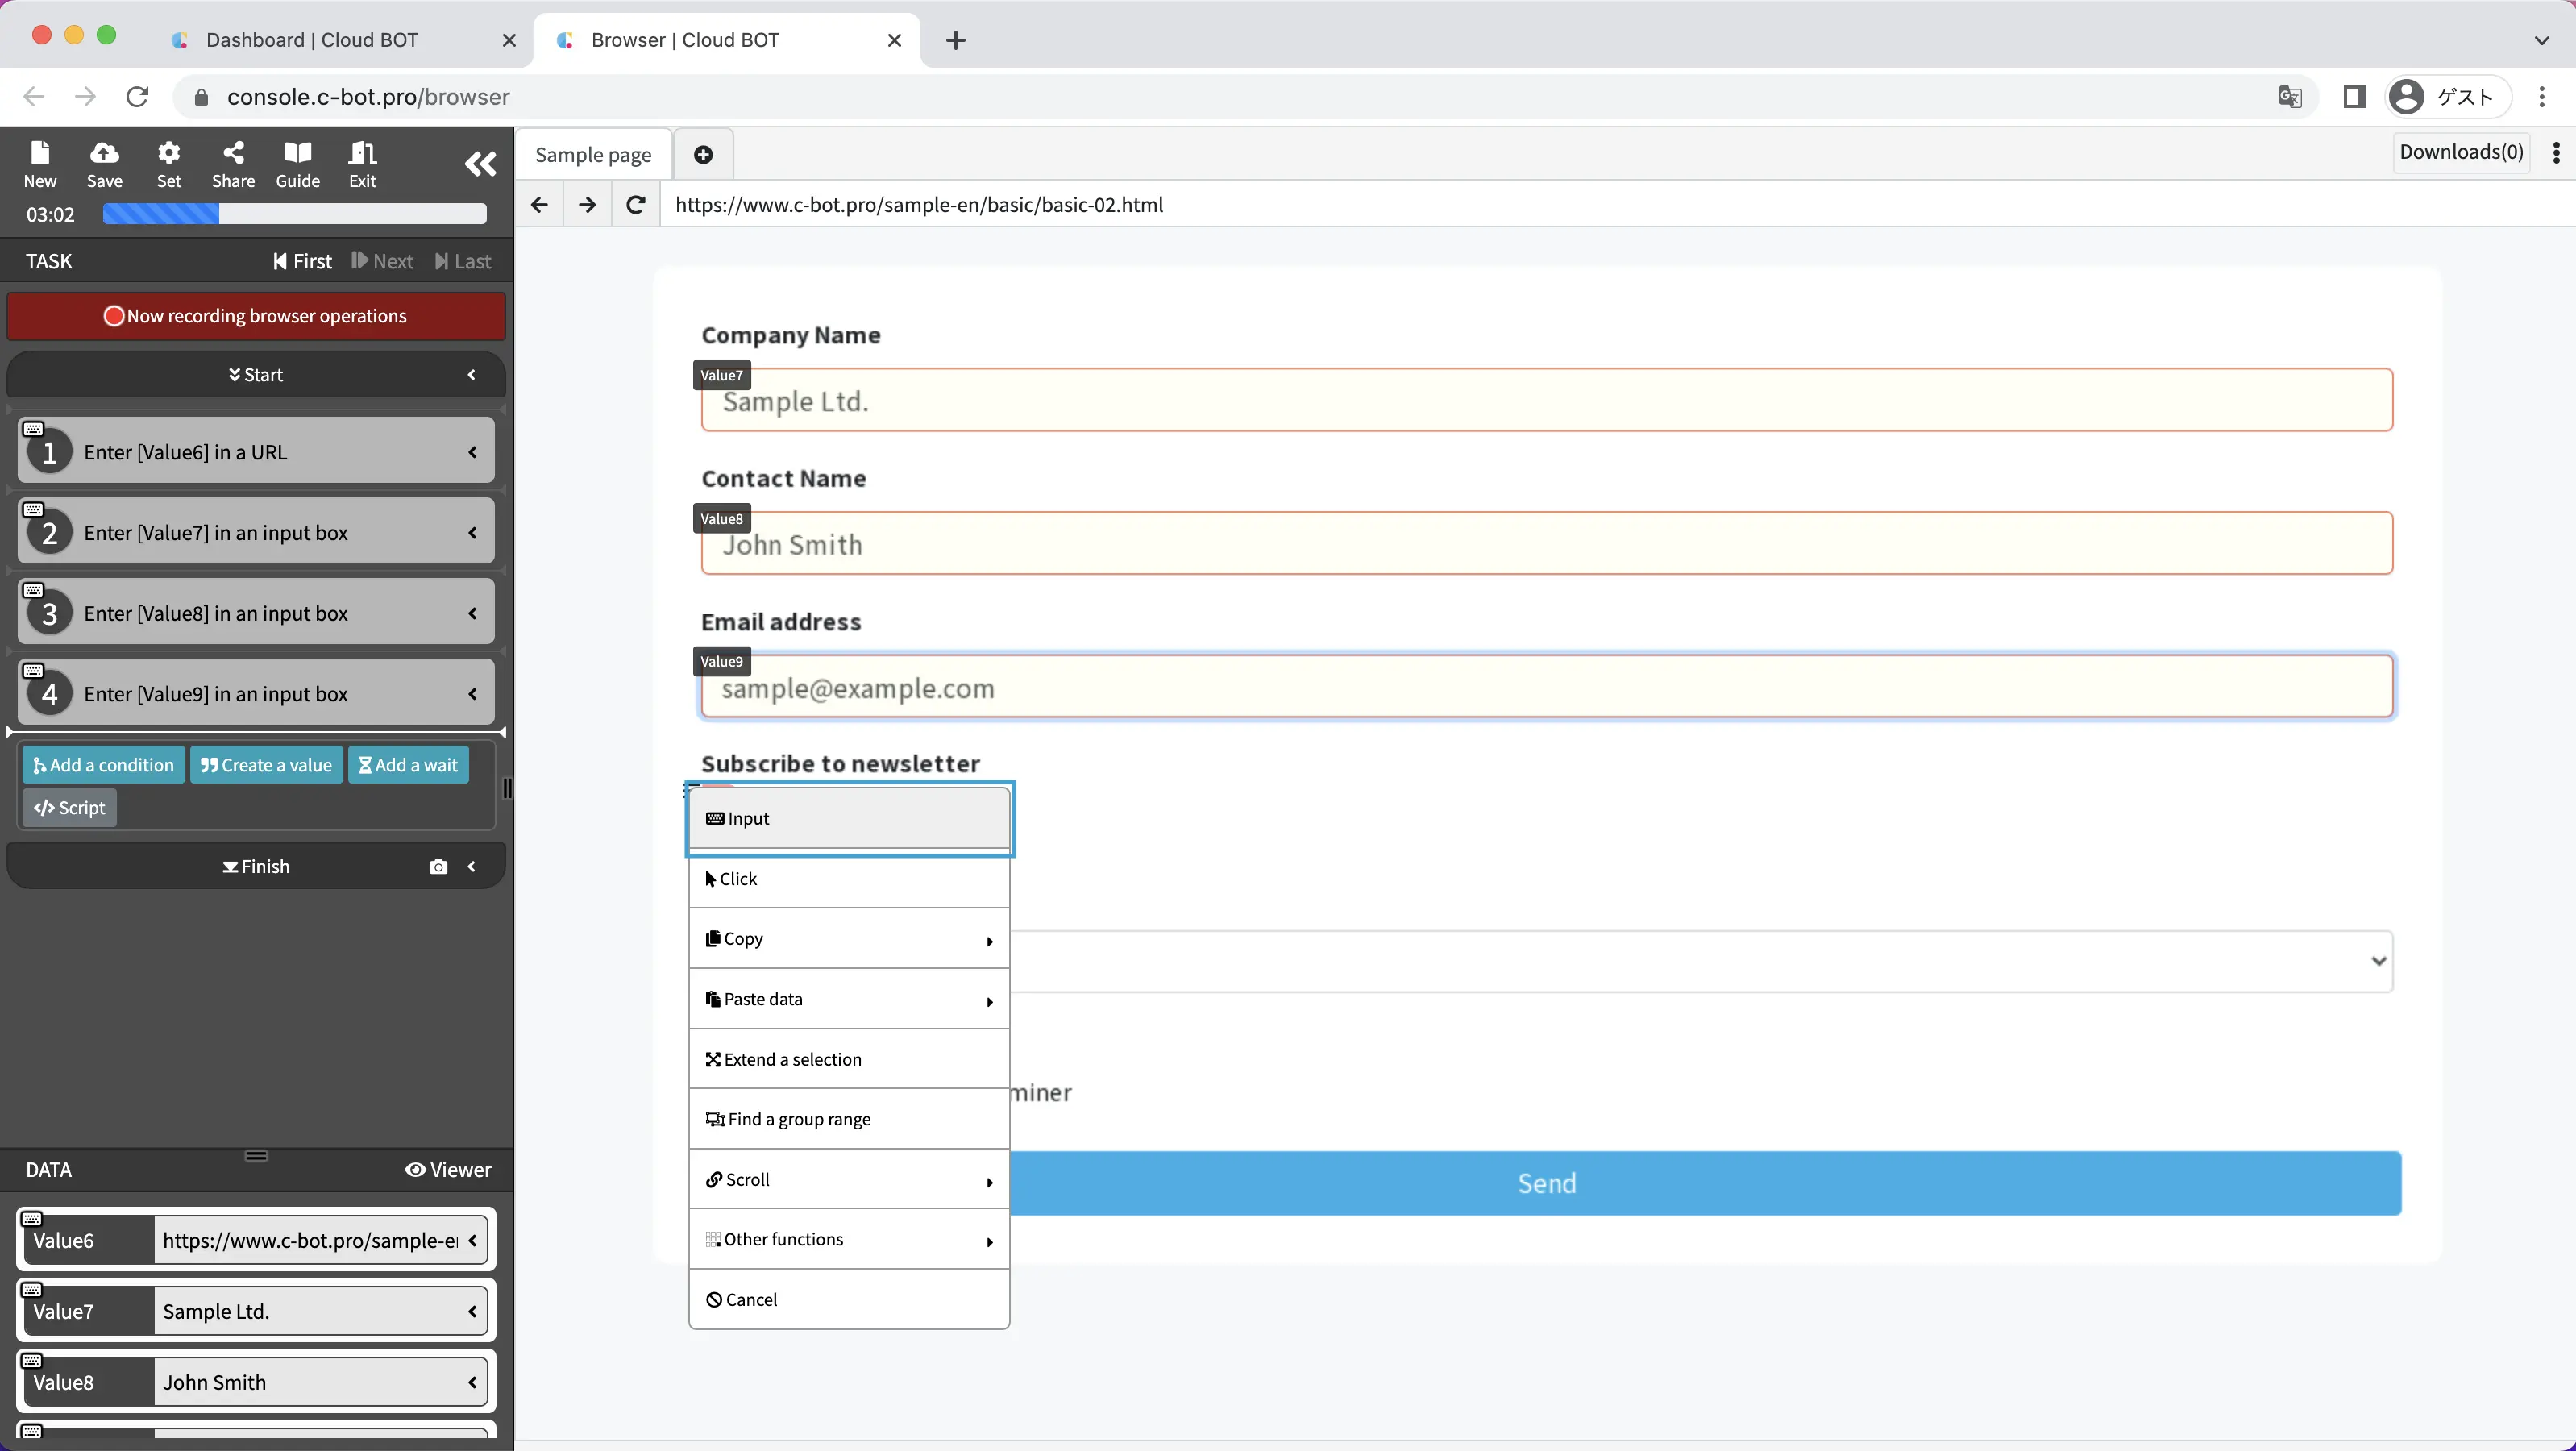
The radio button will change to a selectable state. Check "Yes" and click the blue check button.
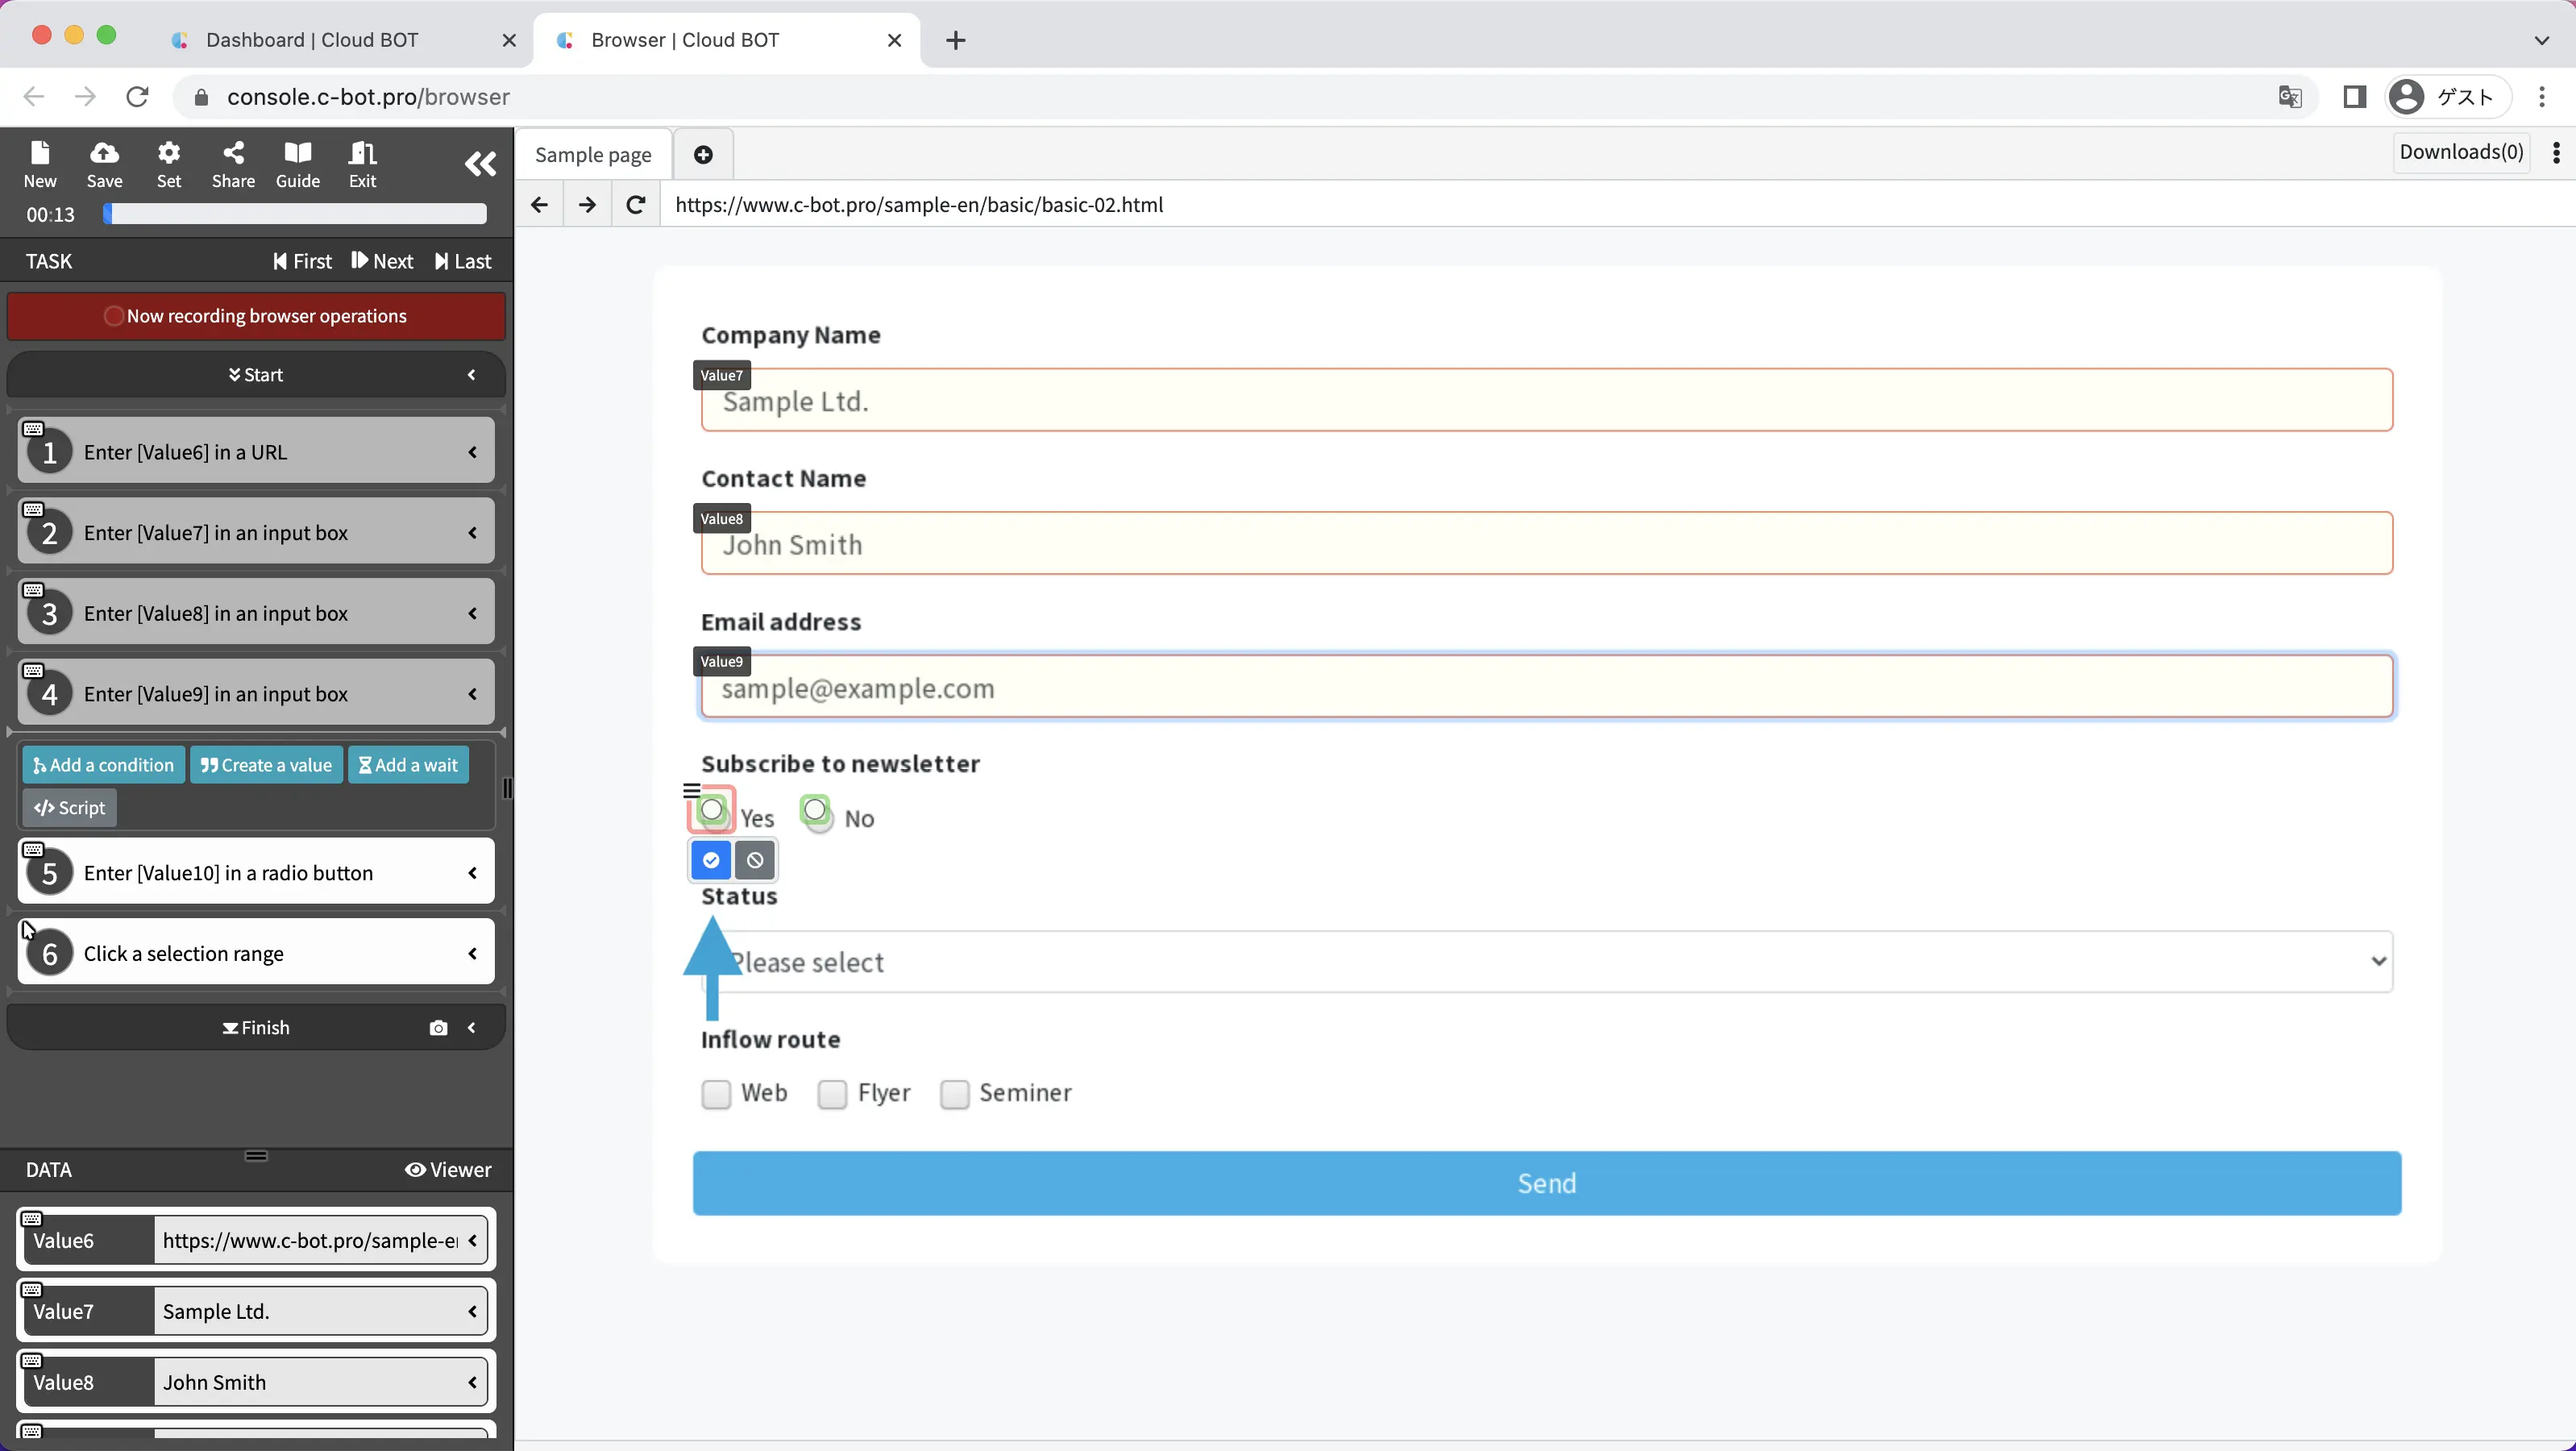
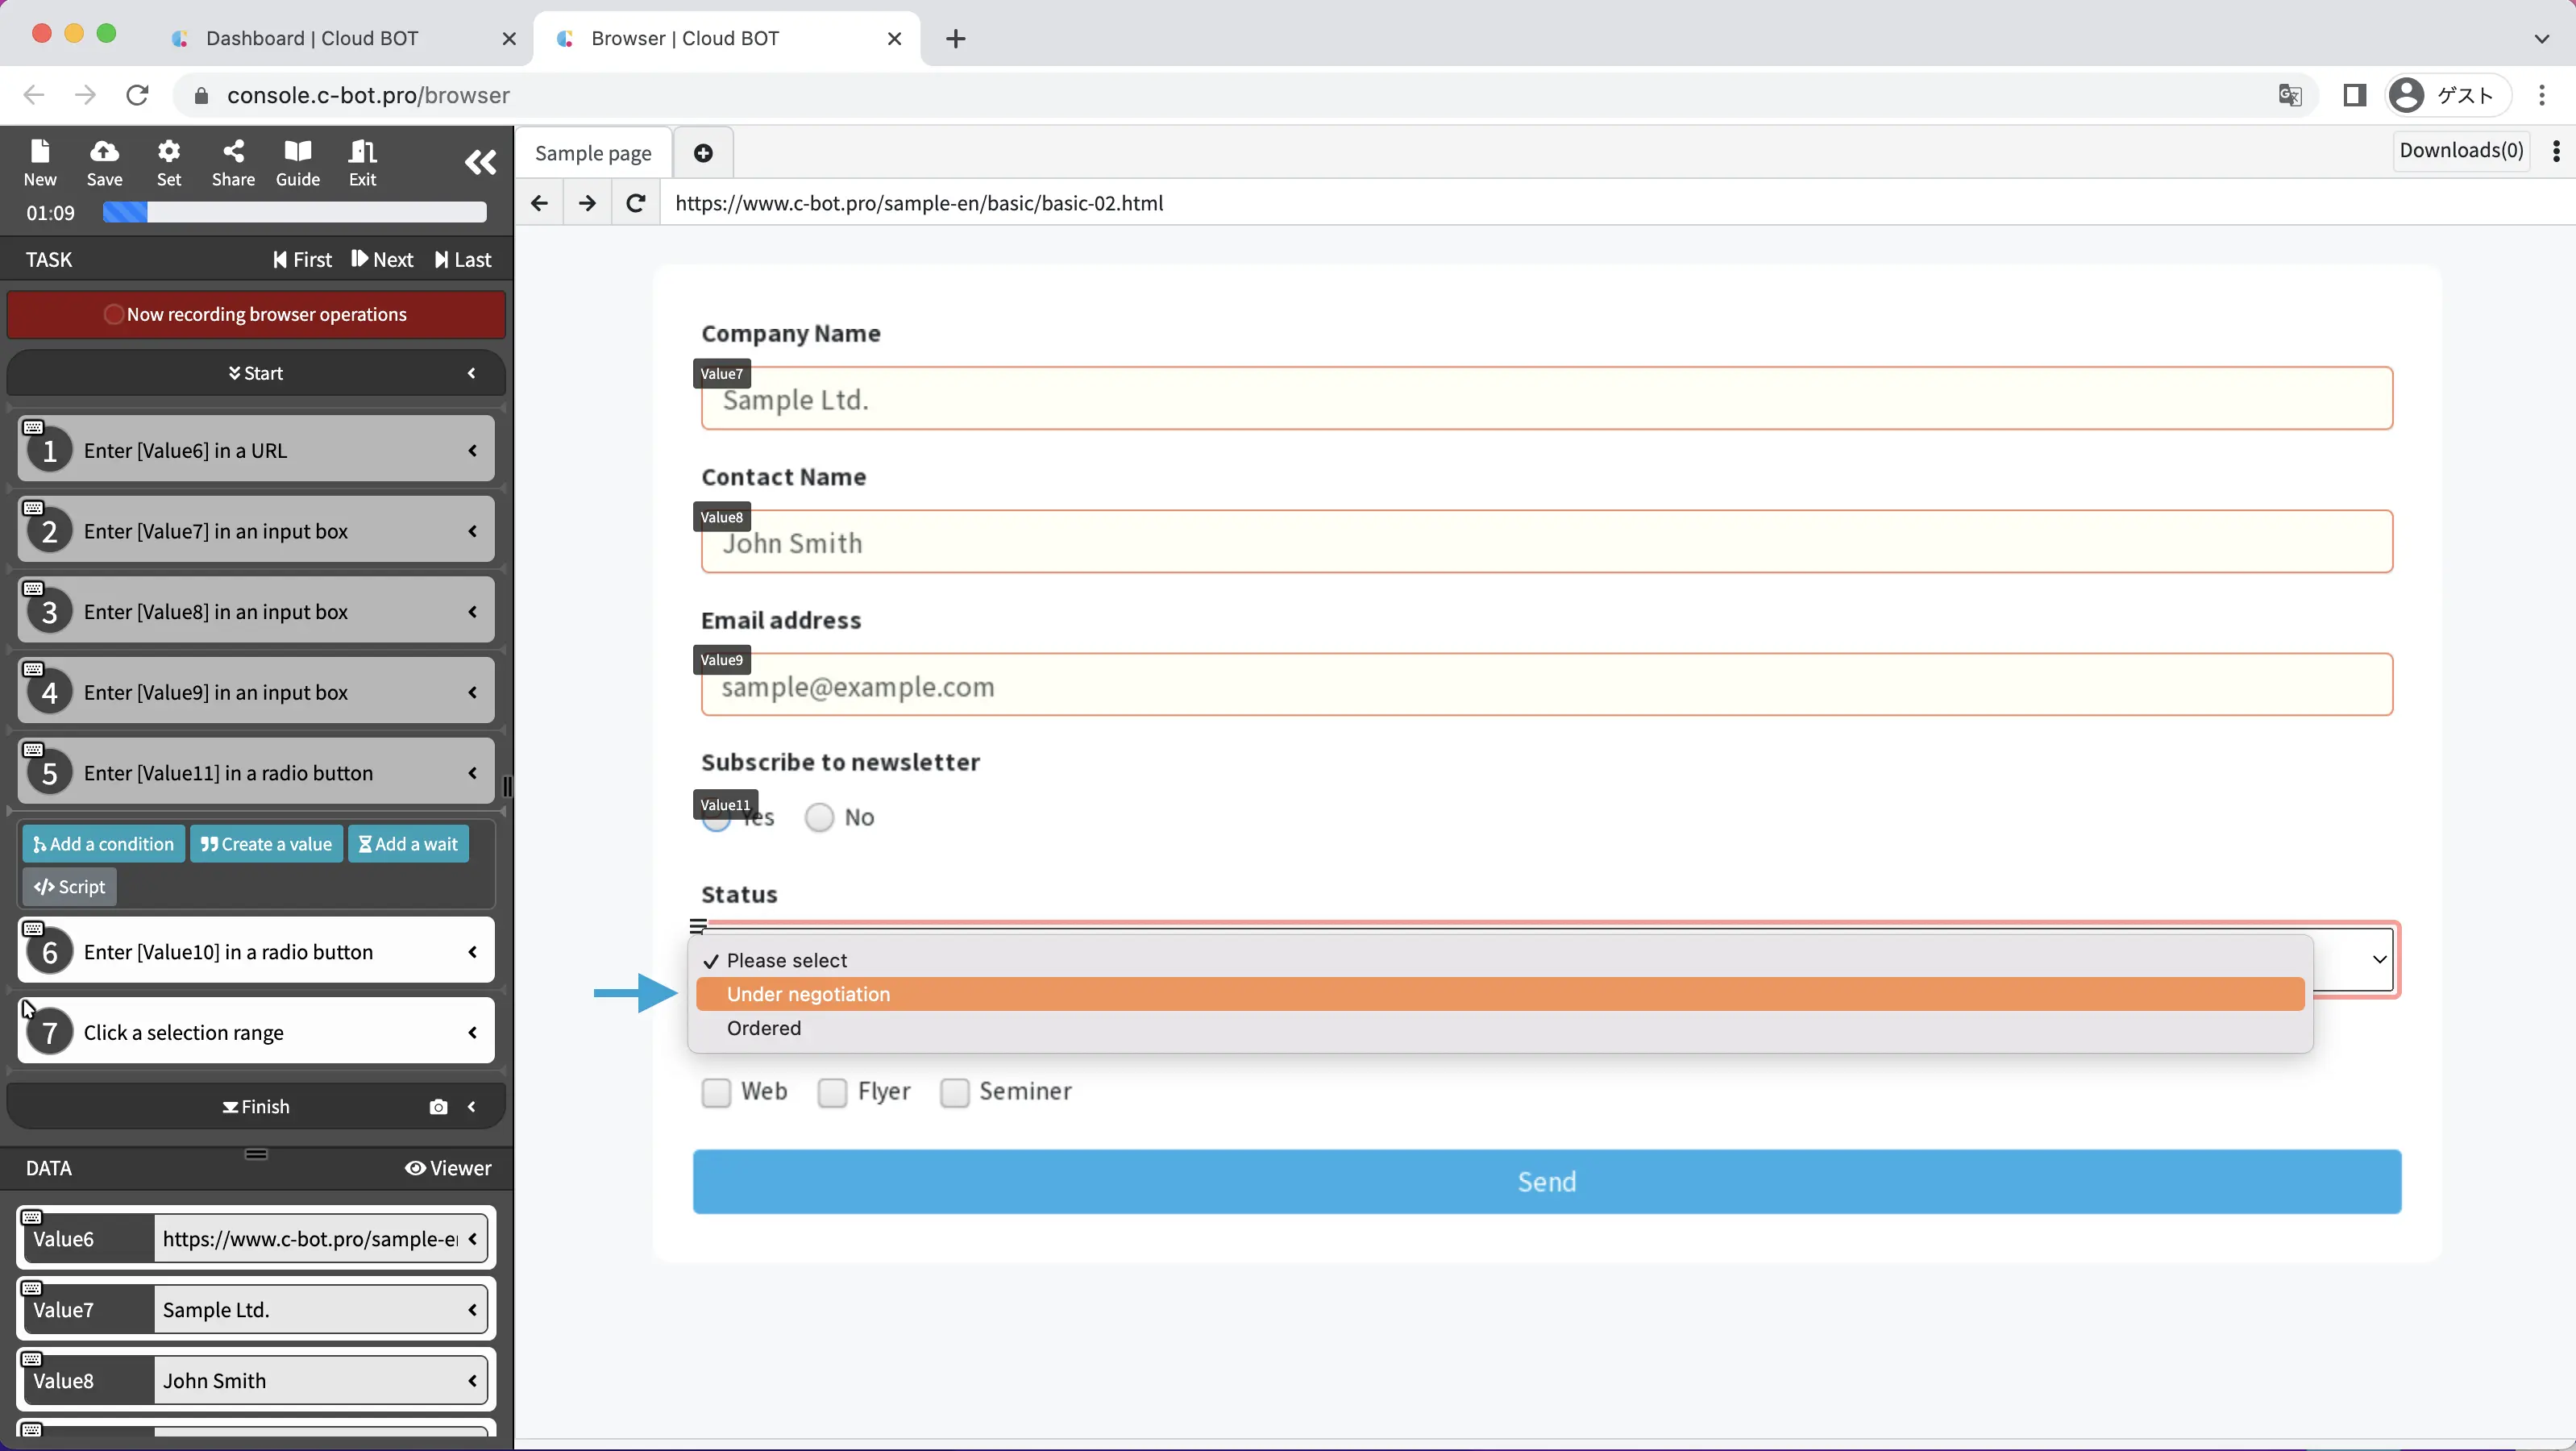
Next, record the operation to select the "Status" pull-down menu.
Select the pull-down menu to display the operation menu, then select "Enter".
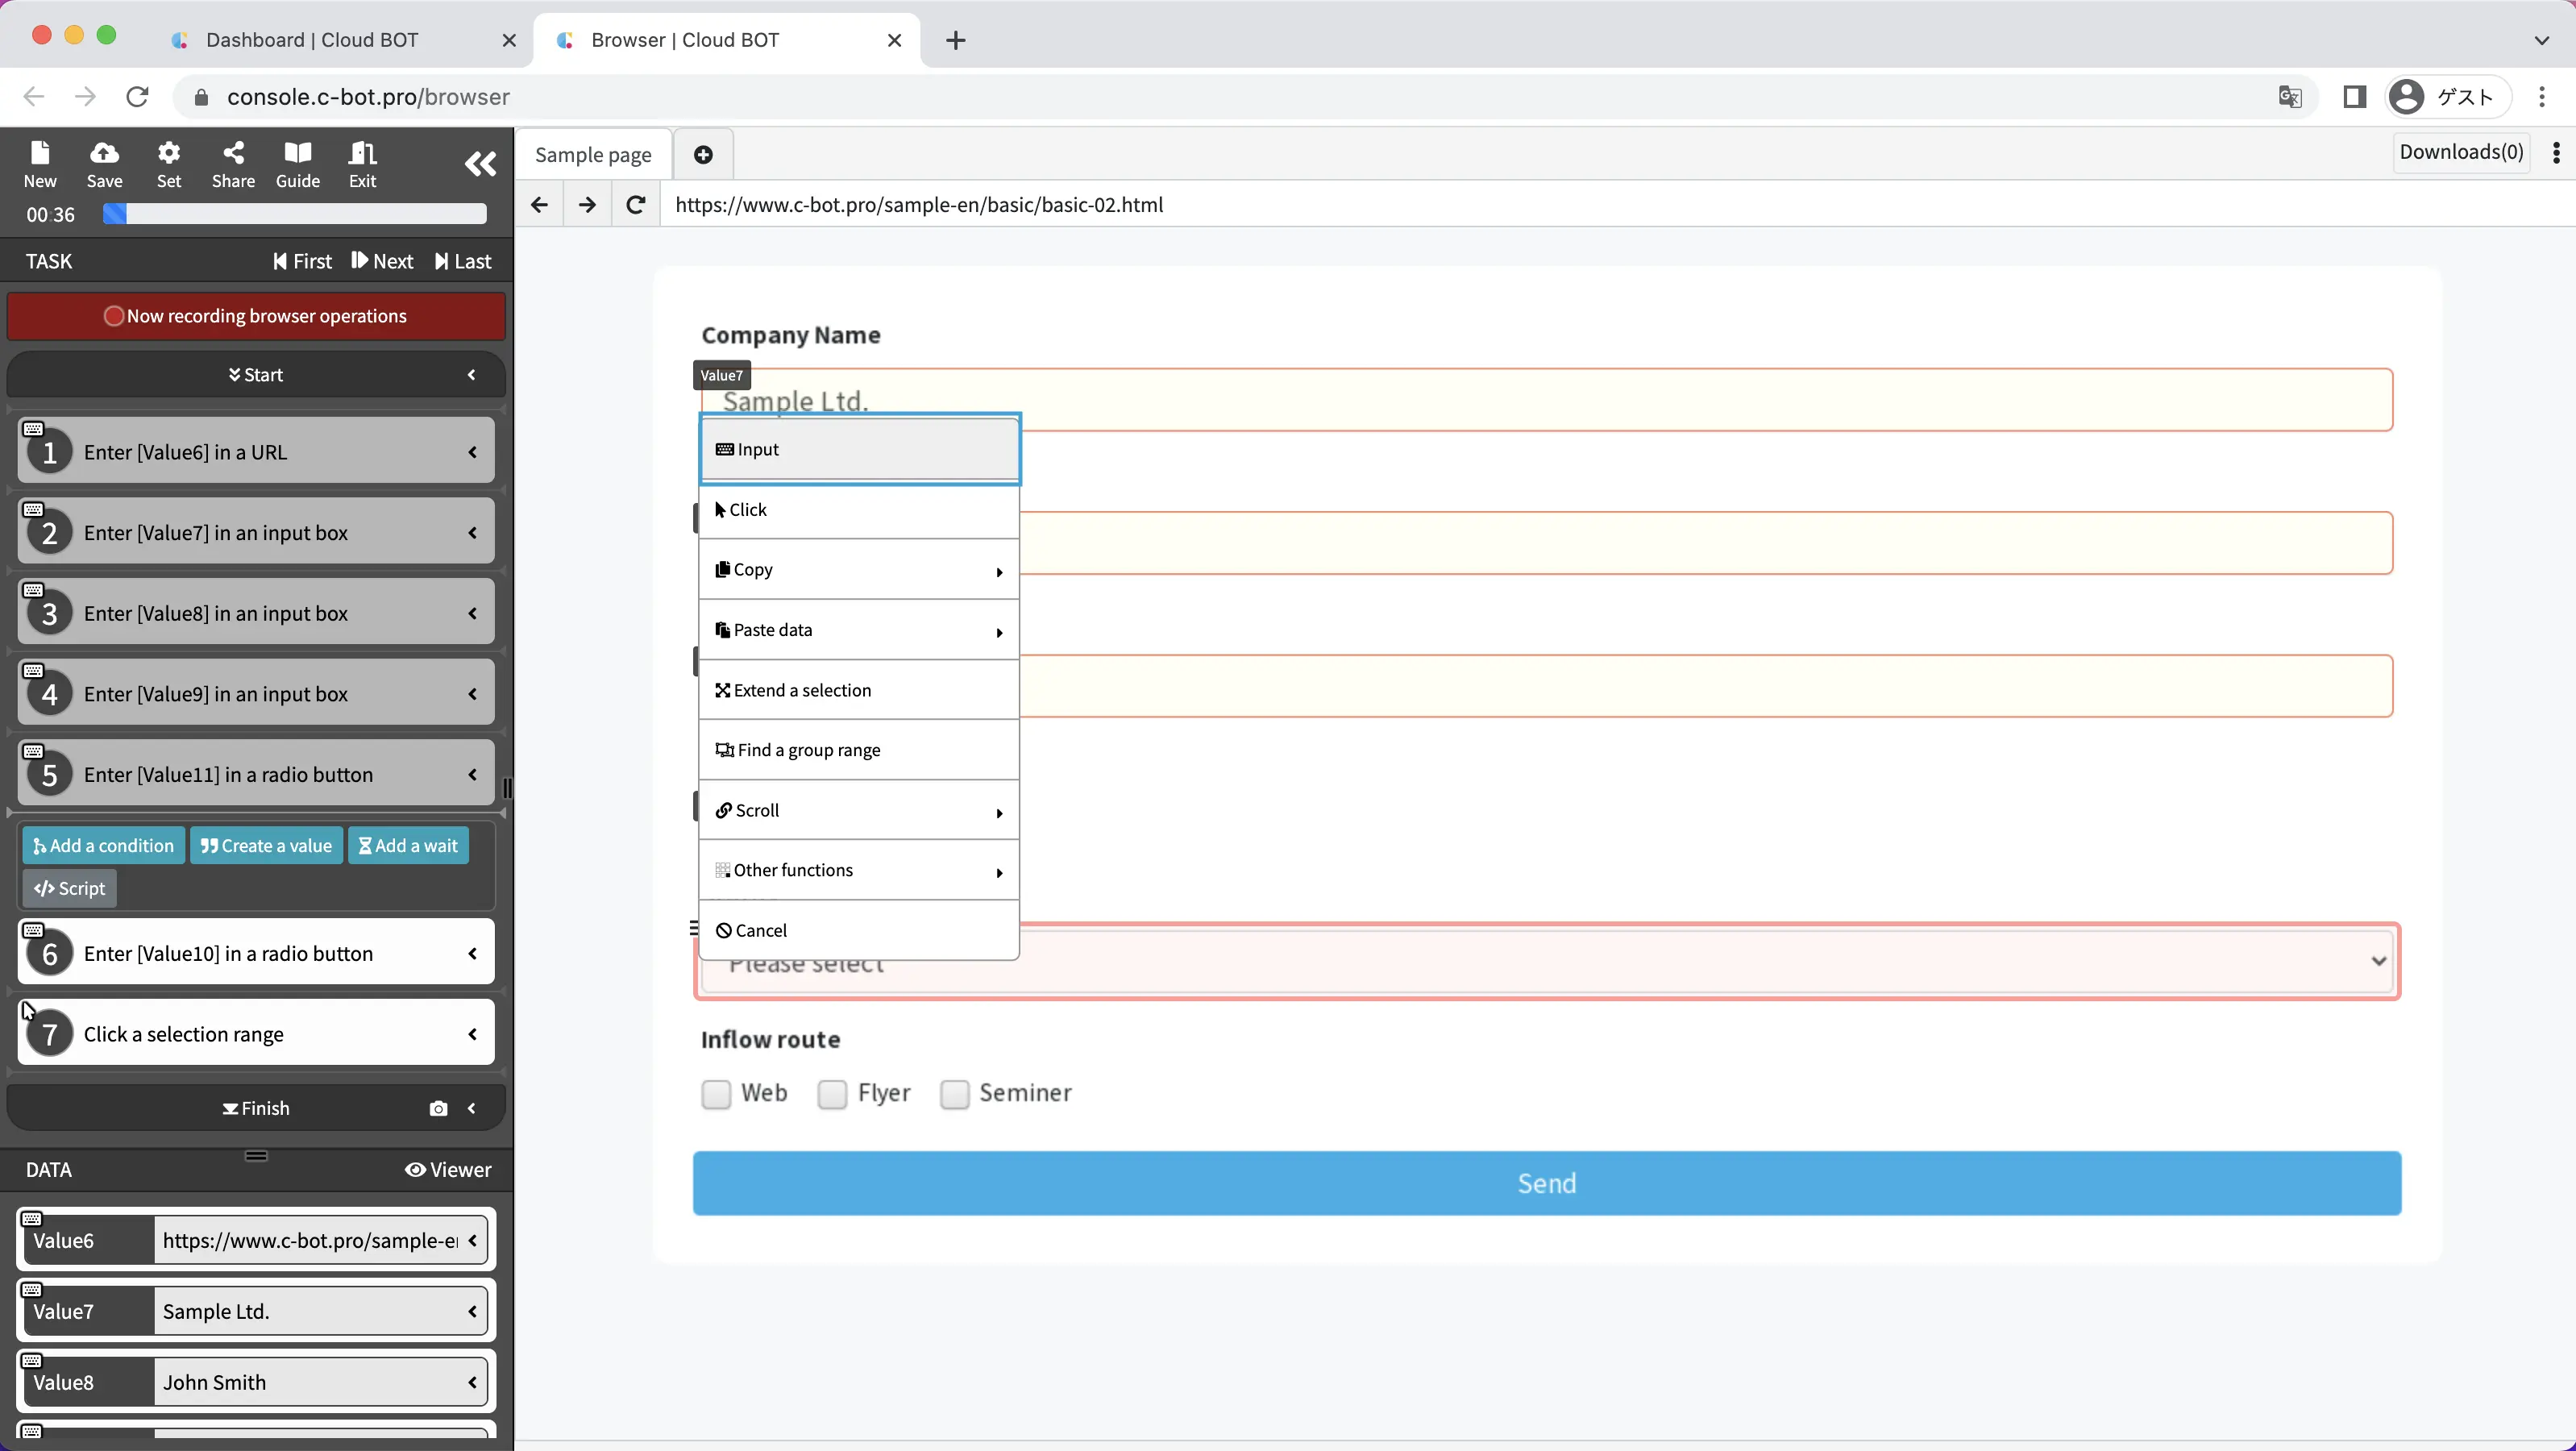
The pull-down menu will change to a selectable state, so select "Under negotiation".
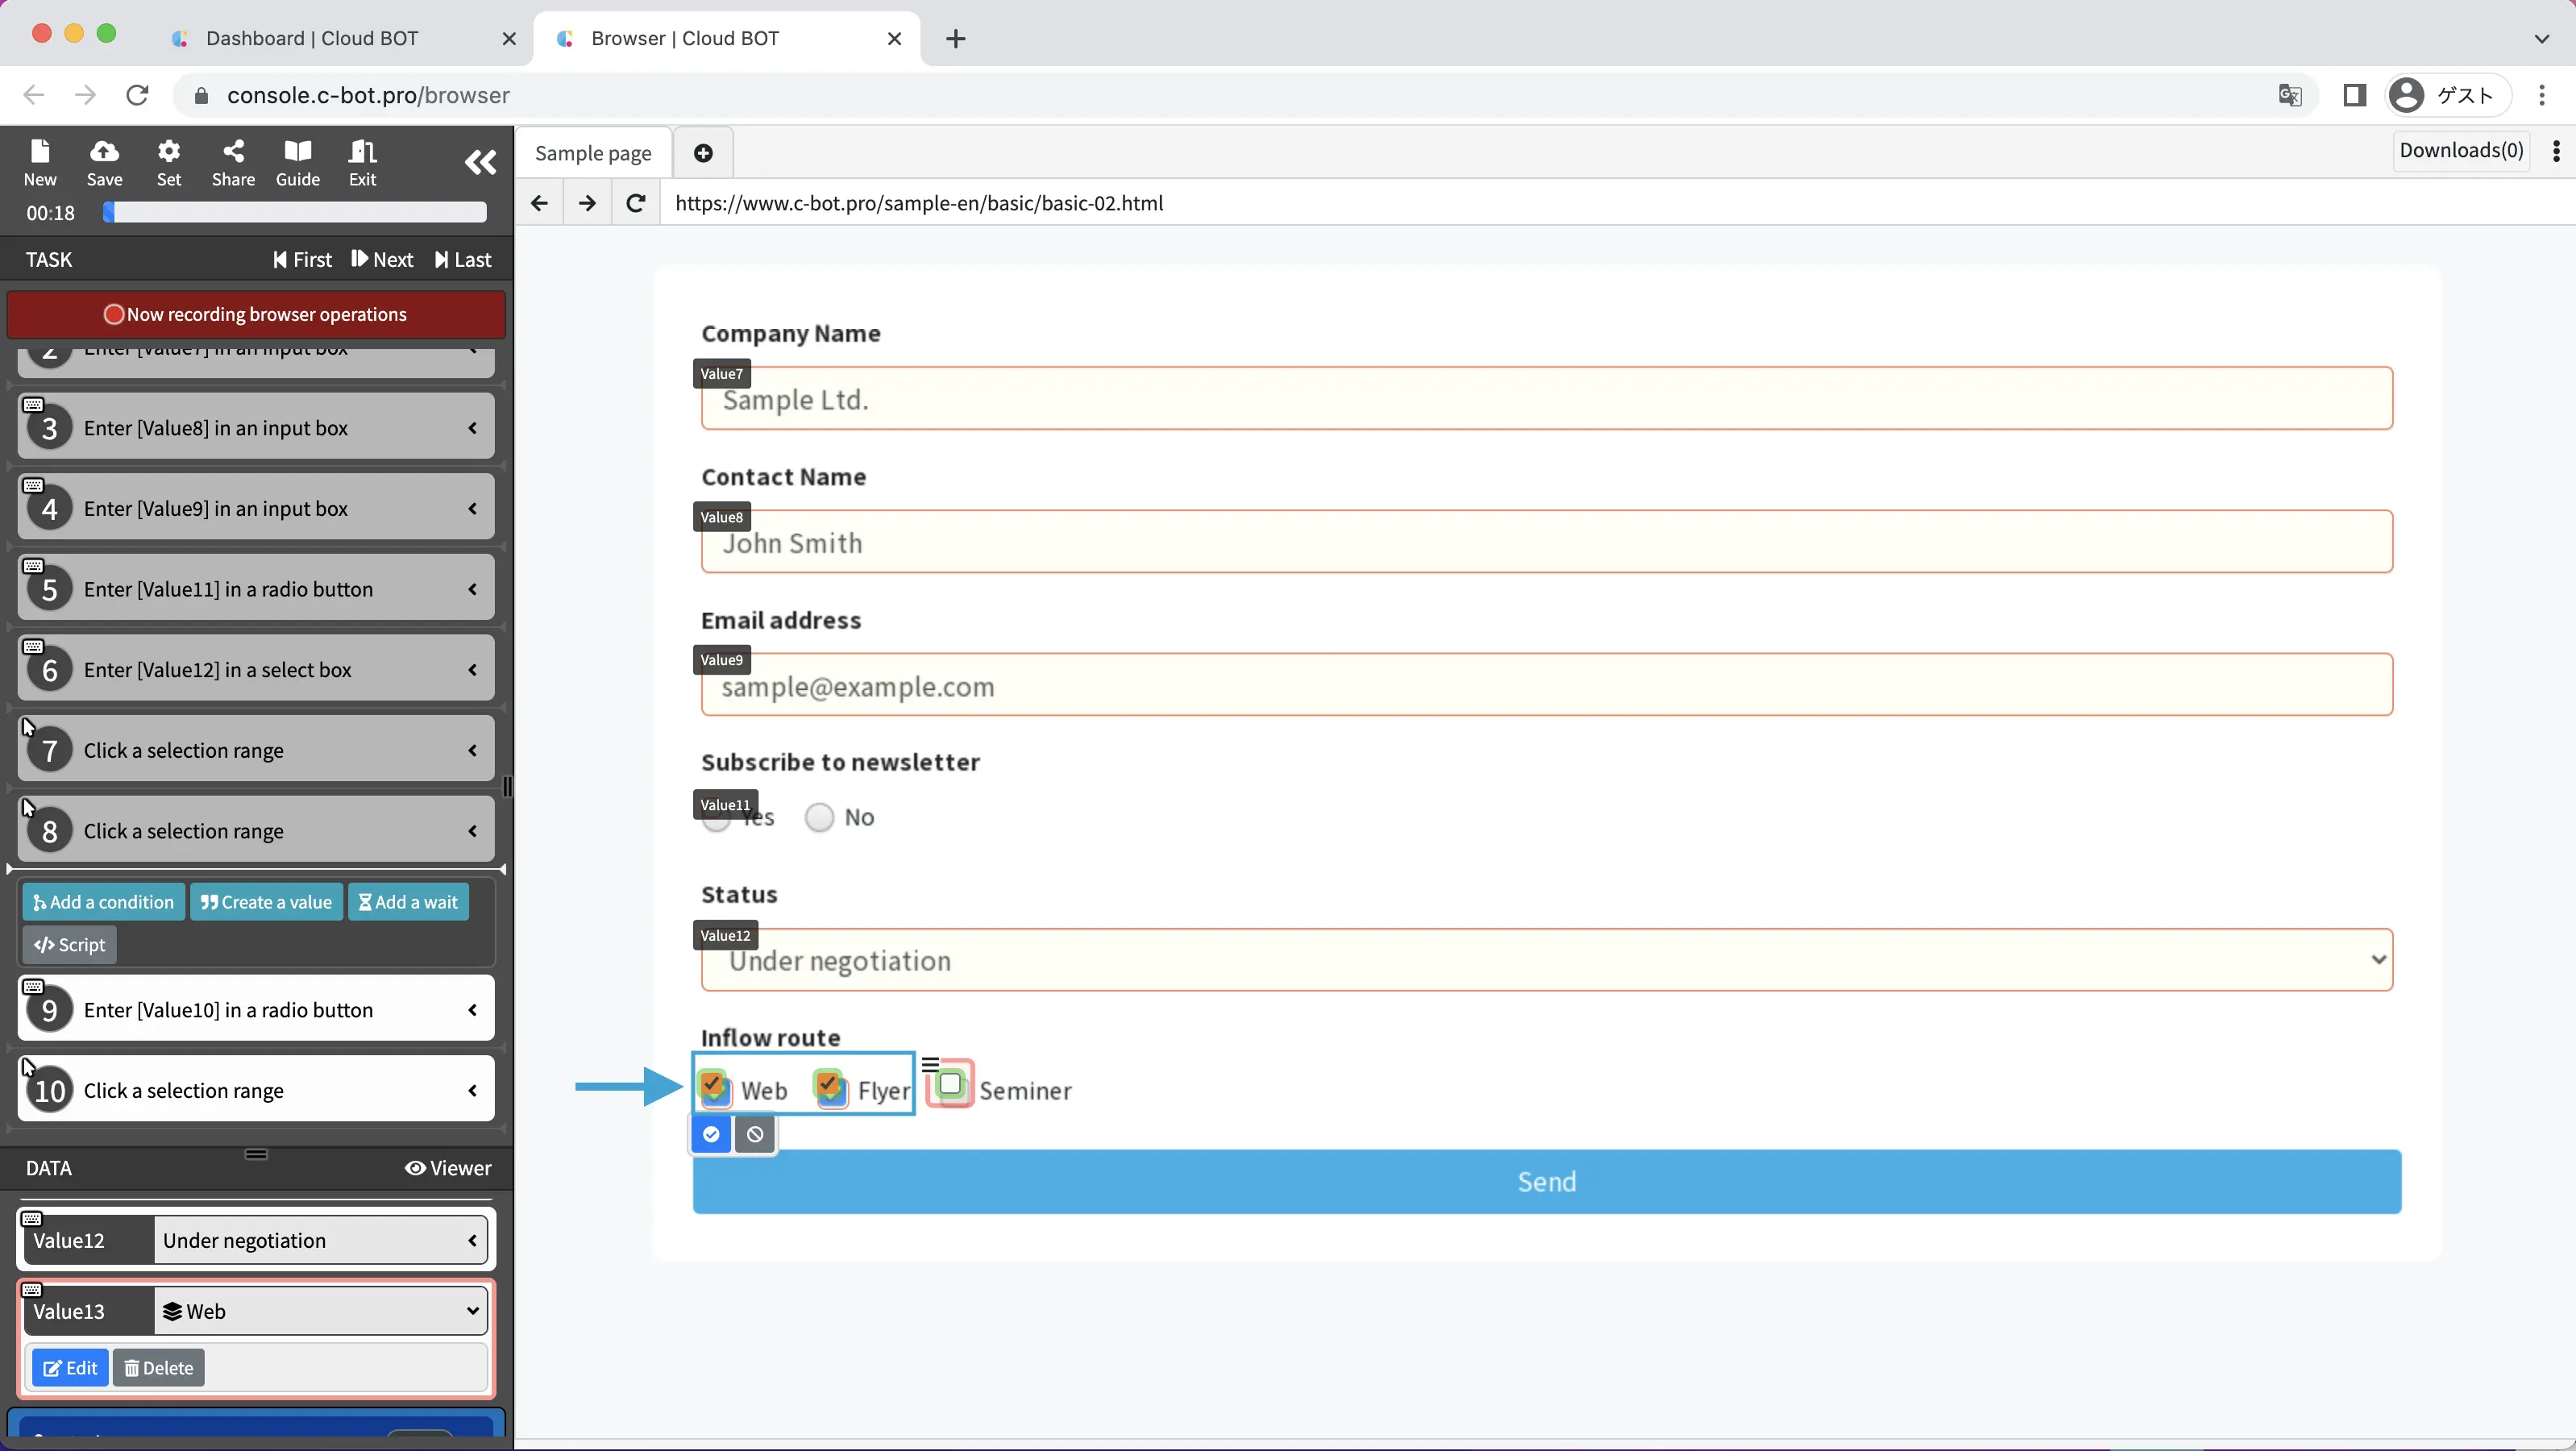
Next, record the operation to check the "Inflow route" checkbox.
Select the check box to display the operation menu, then select "Enter".
The checkboxes will change to selectable. Check "Web" and "Flyer" and click the blue check button.
3. Record the operation of clicking a button
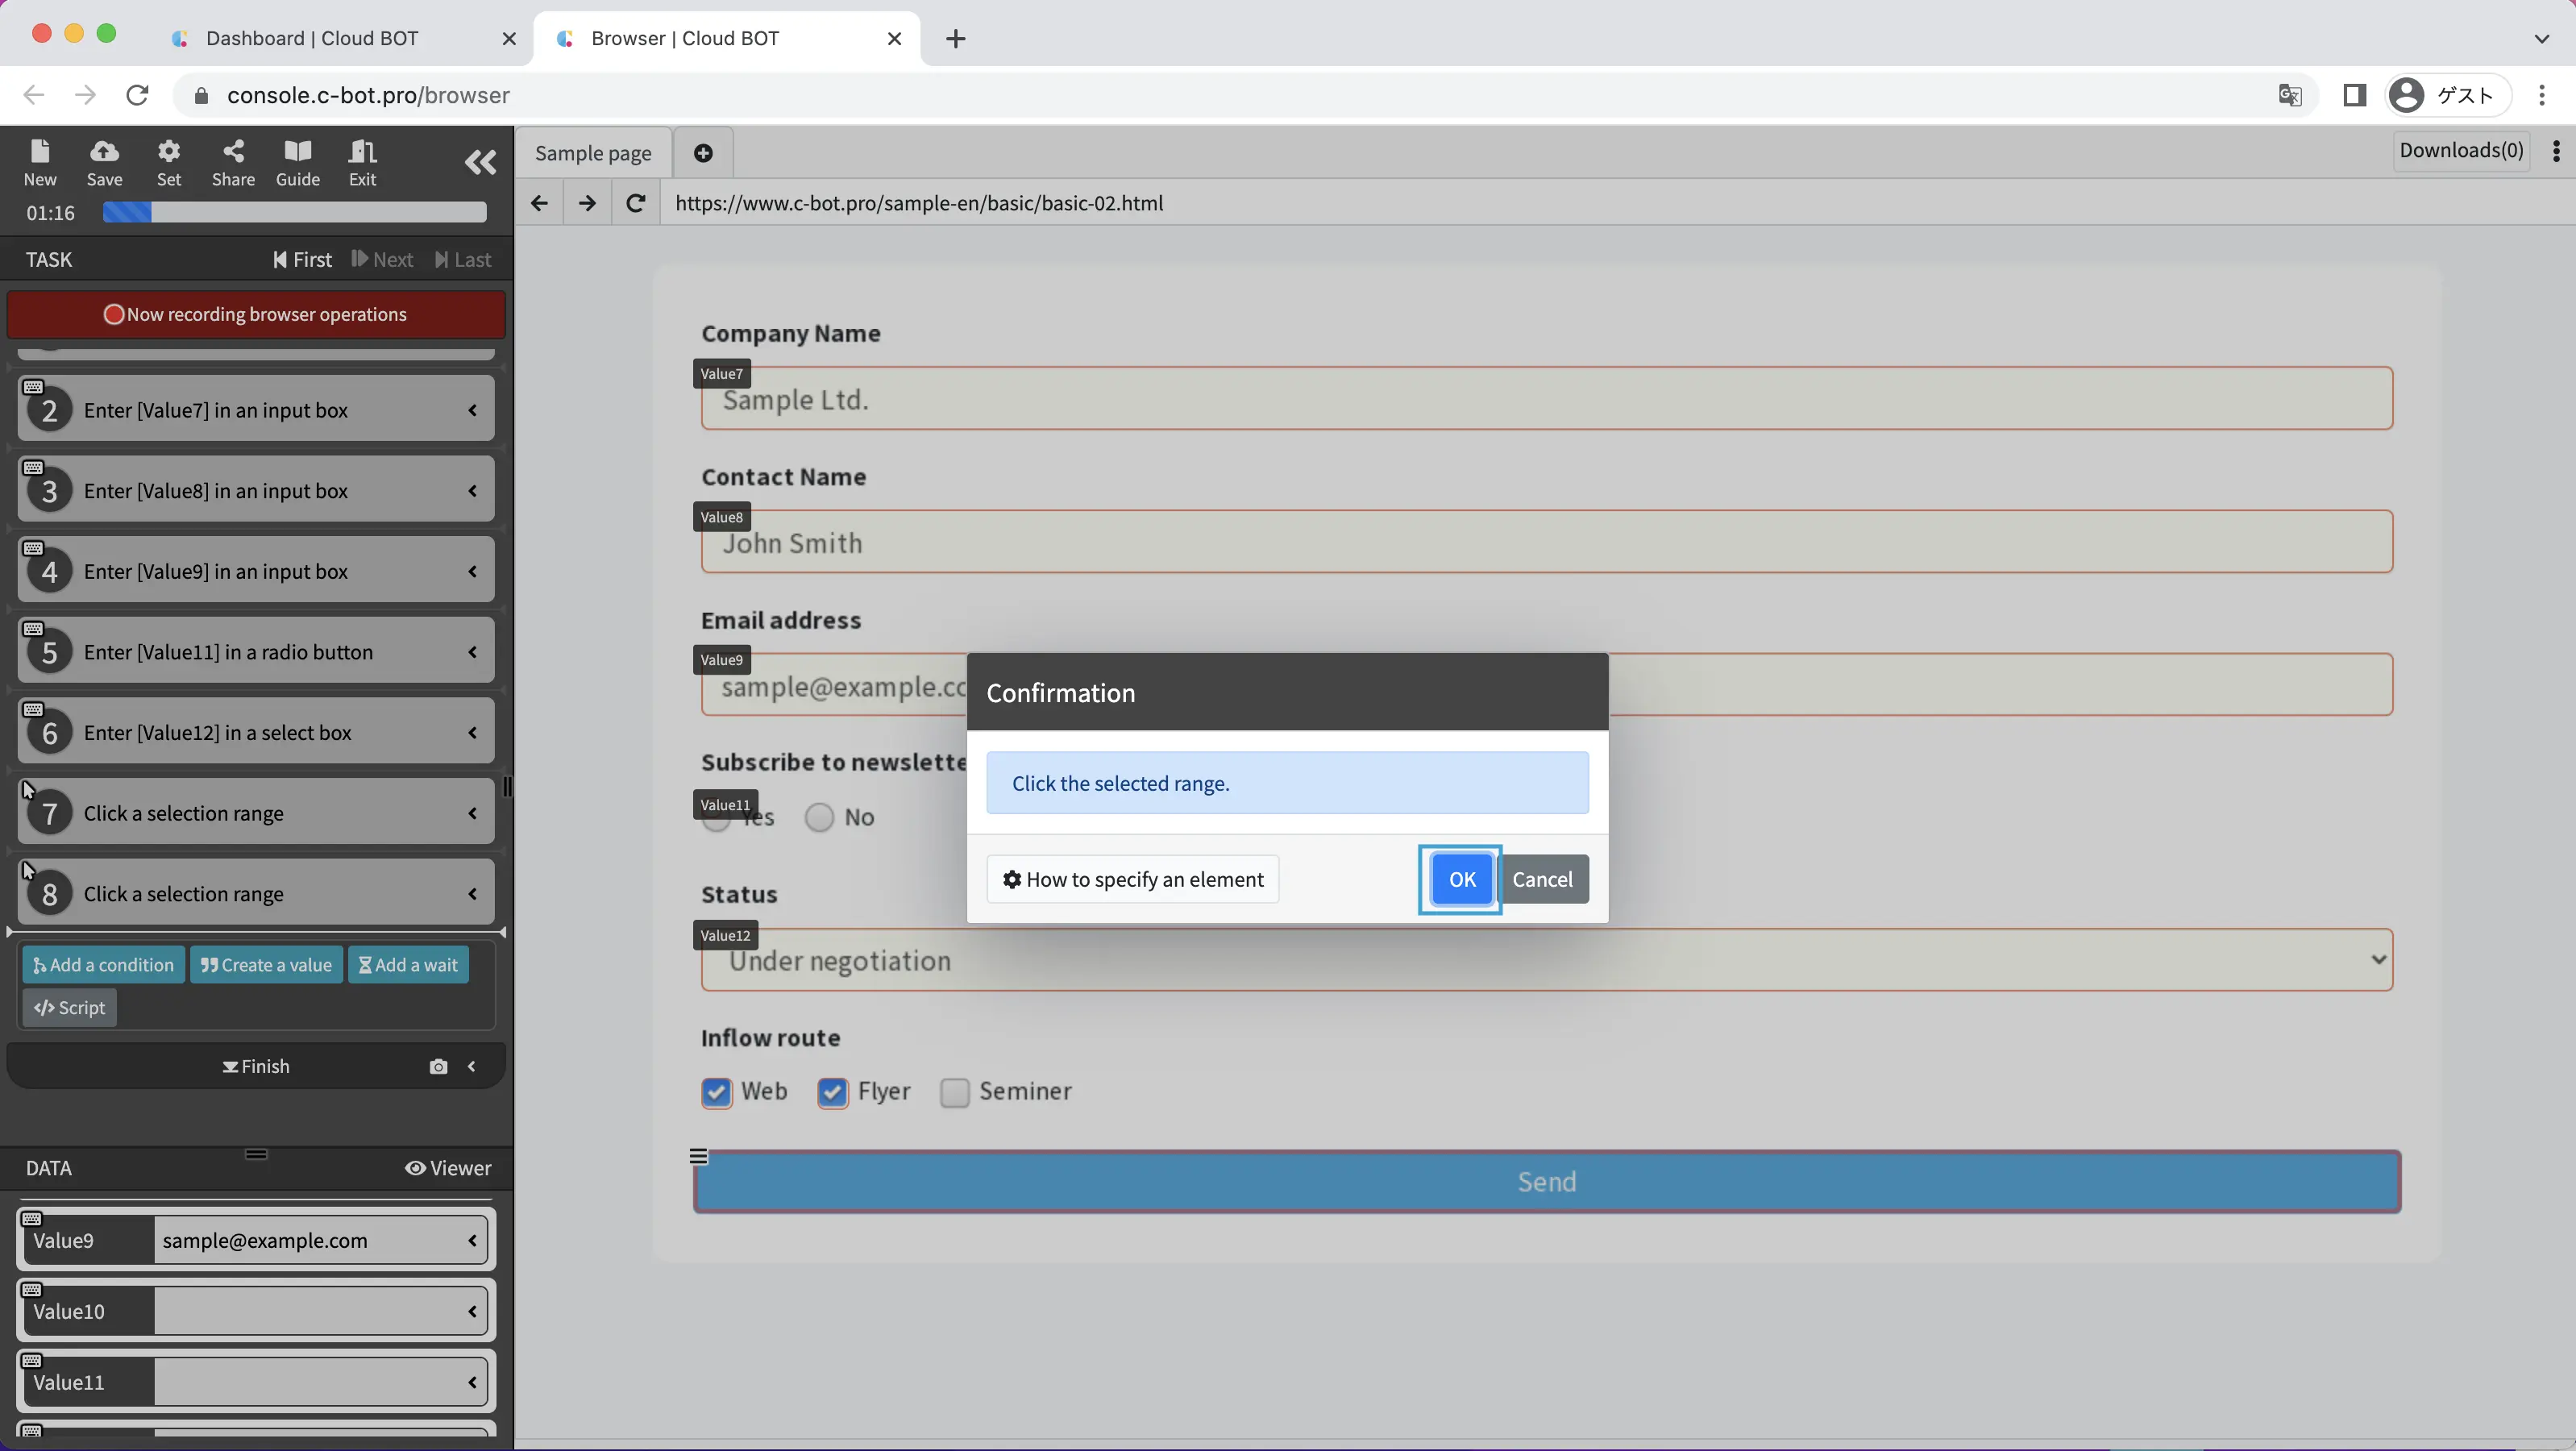
Select the "Send" button on the page to display the operation menu, then select "Click".
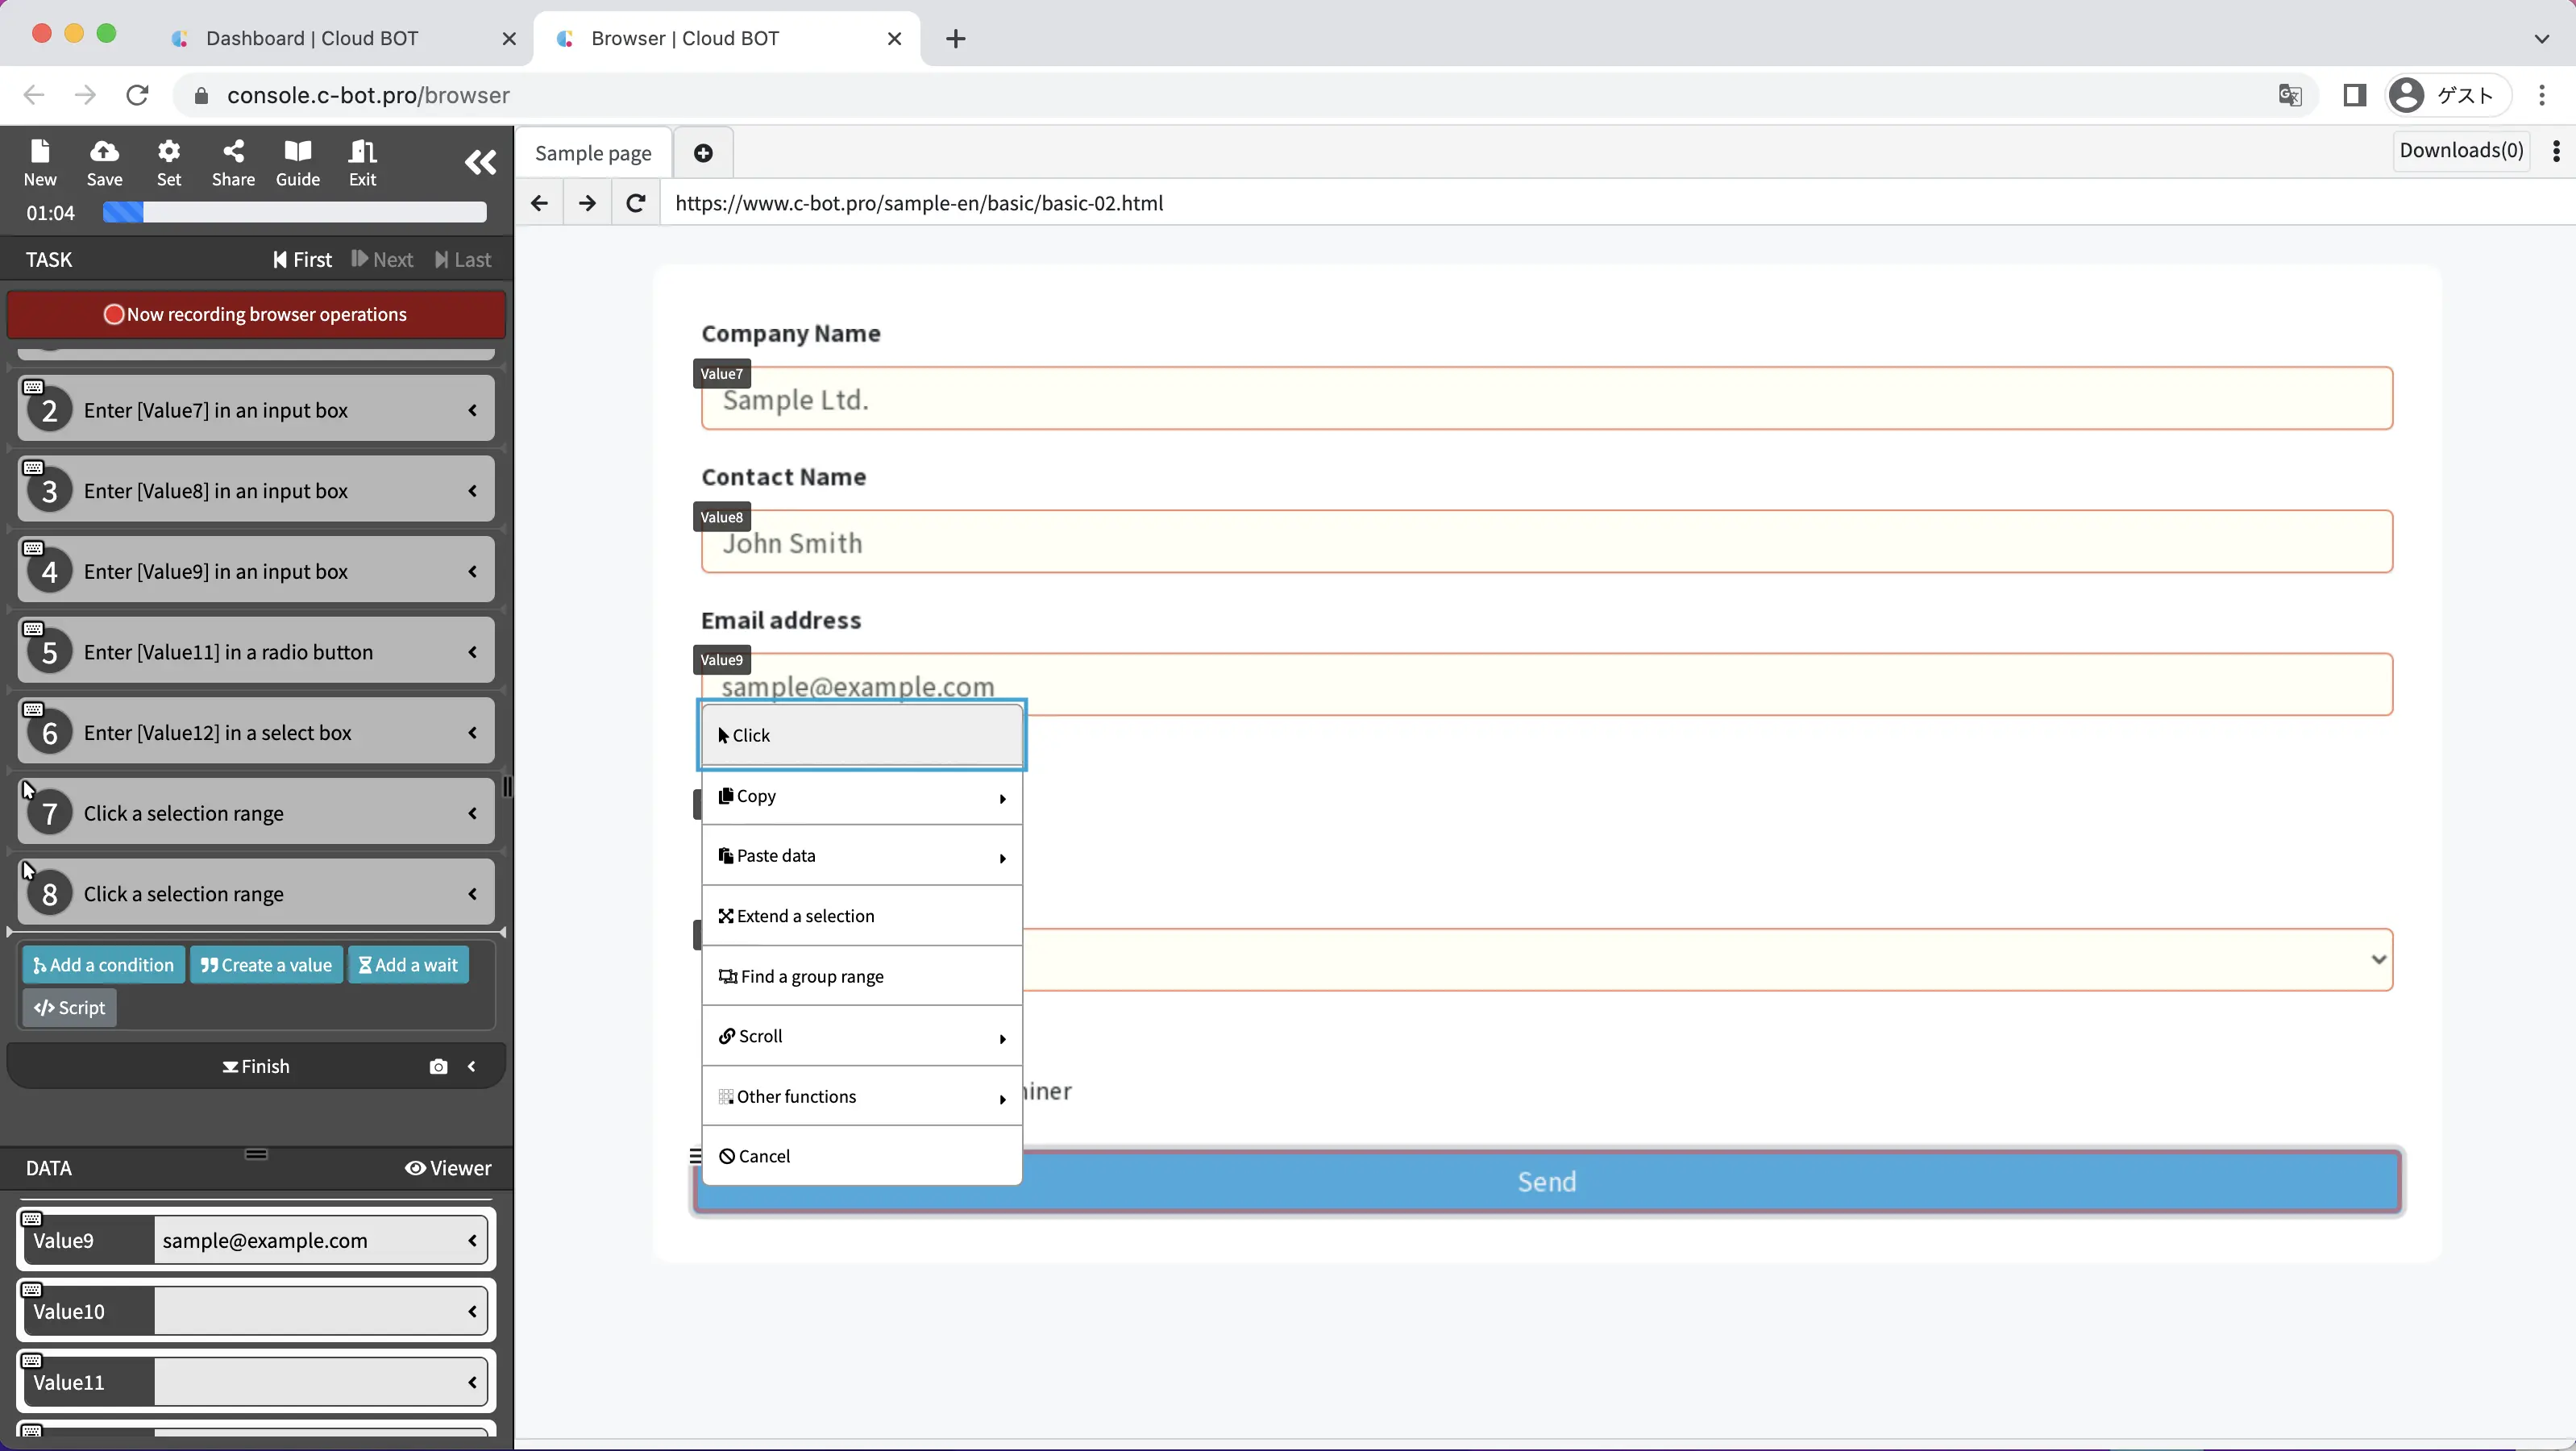
A confirmation modal will be displayed, so click the "OK" button.
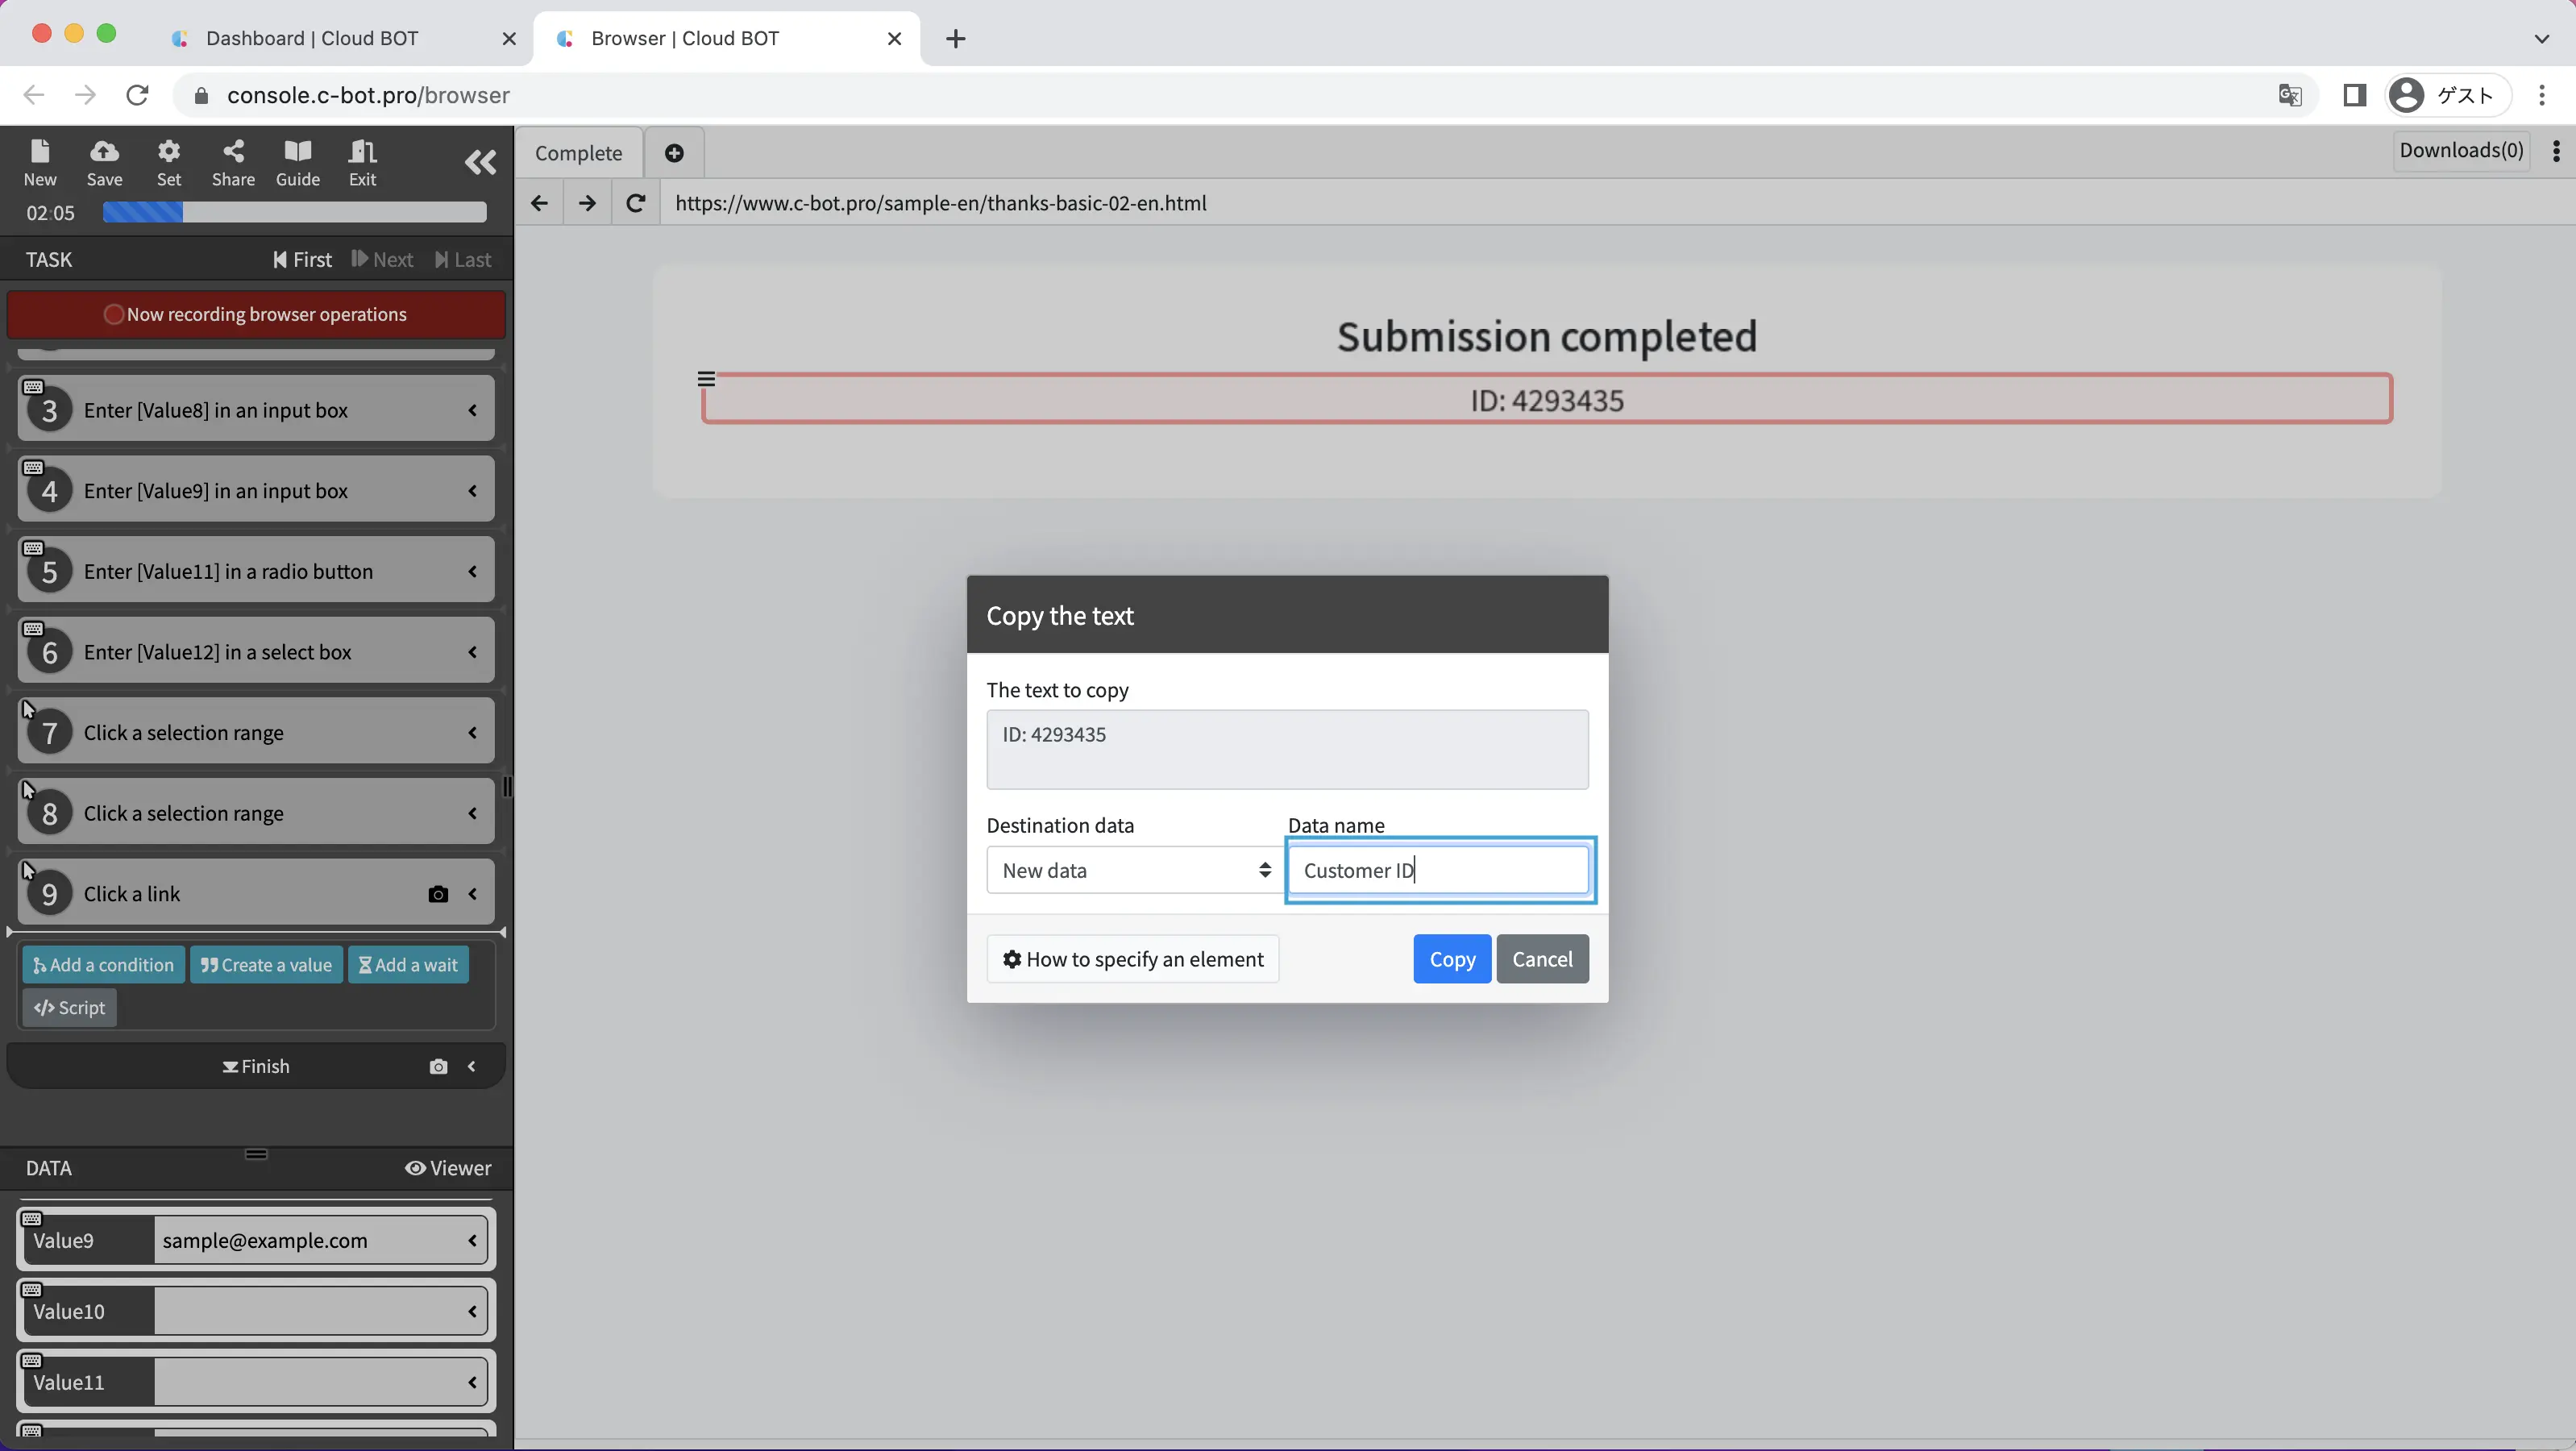
4. Record the operation to copy data
The page will move, and "Message sent successfully." will be displayed on the page.
Record the operation to copy the ID displayed below as the Customer ID.
*Please refer to "1. Acquiring data from a web page (including an explanation of basic operations)" for an explanation of recording copy operations.
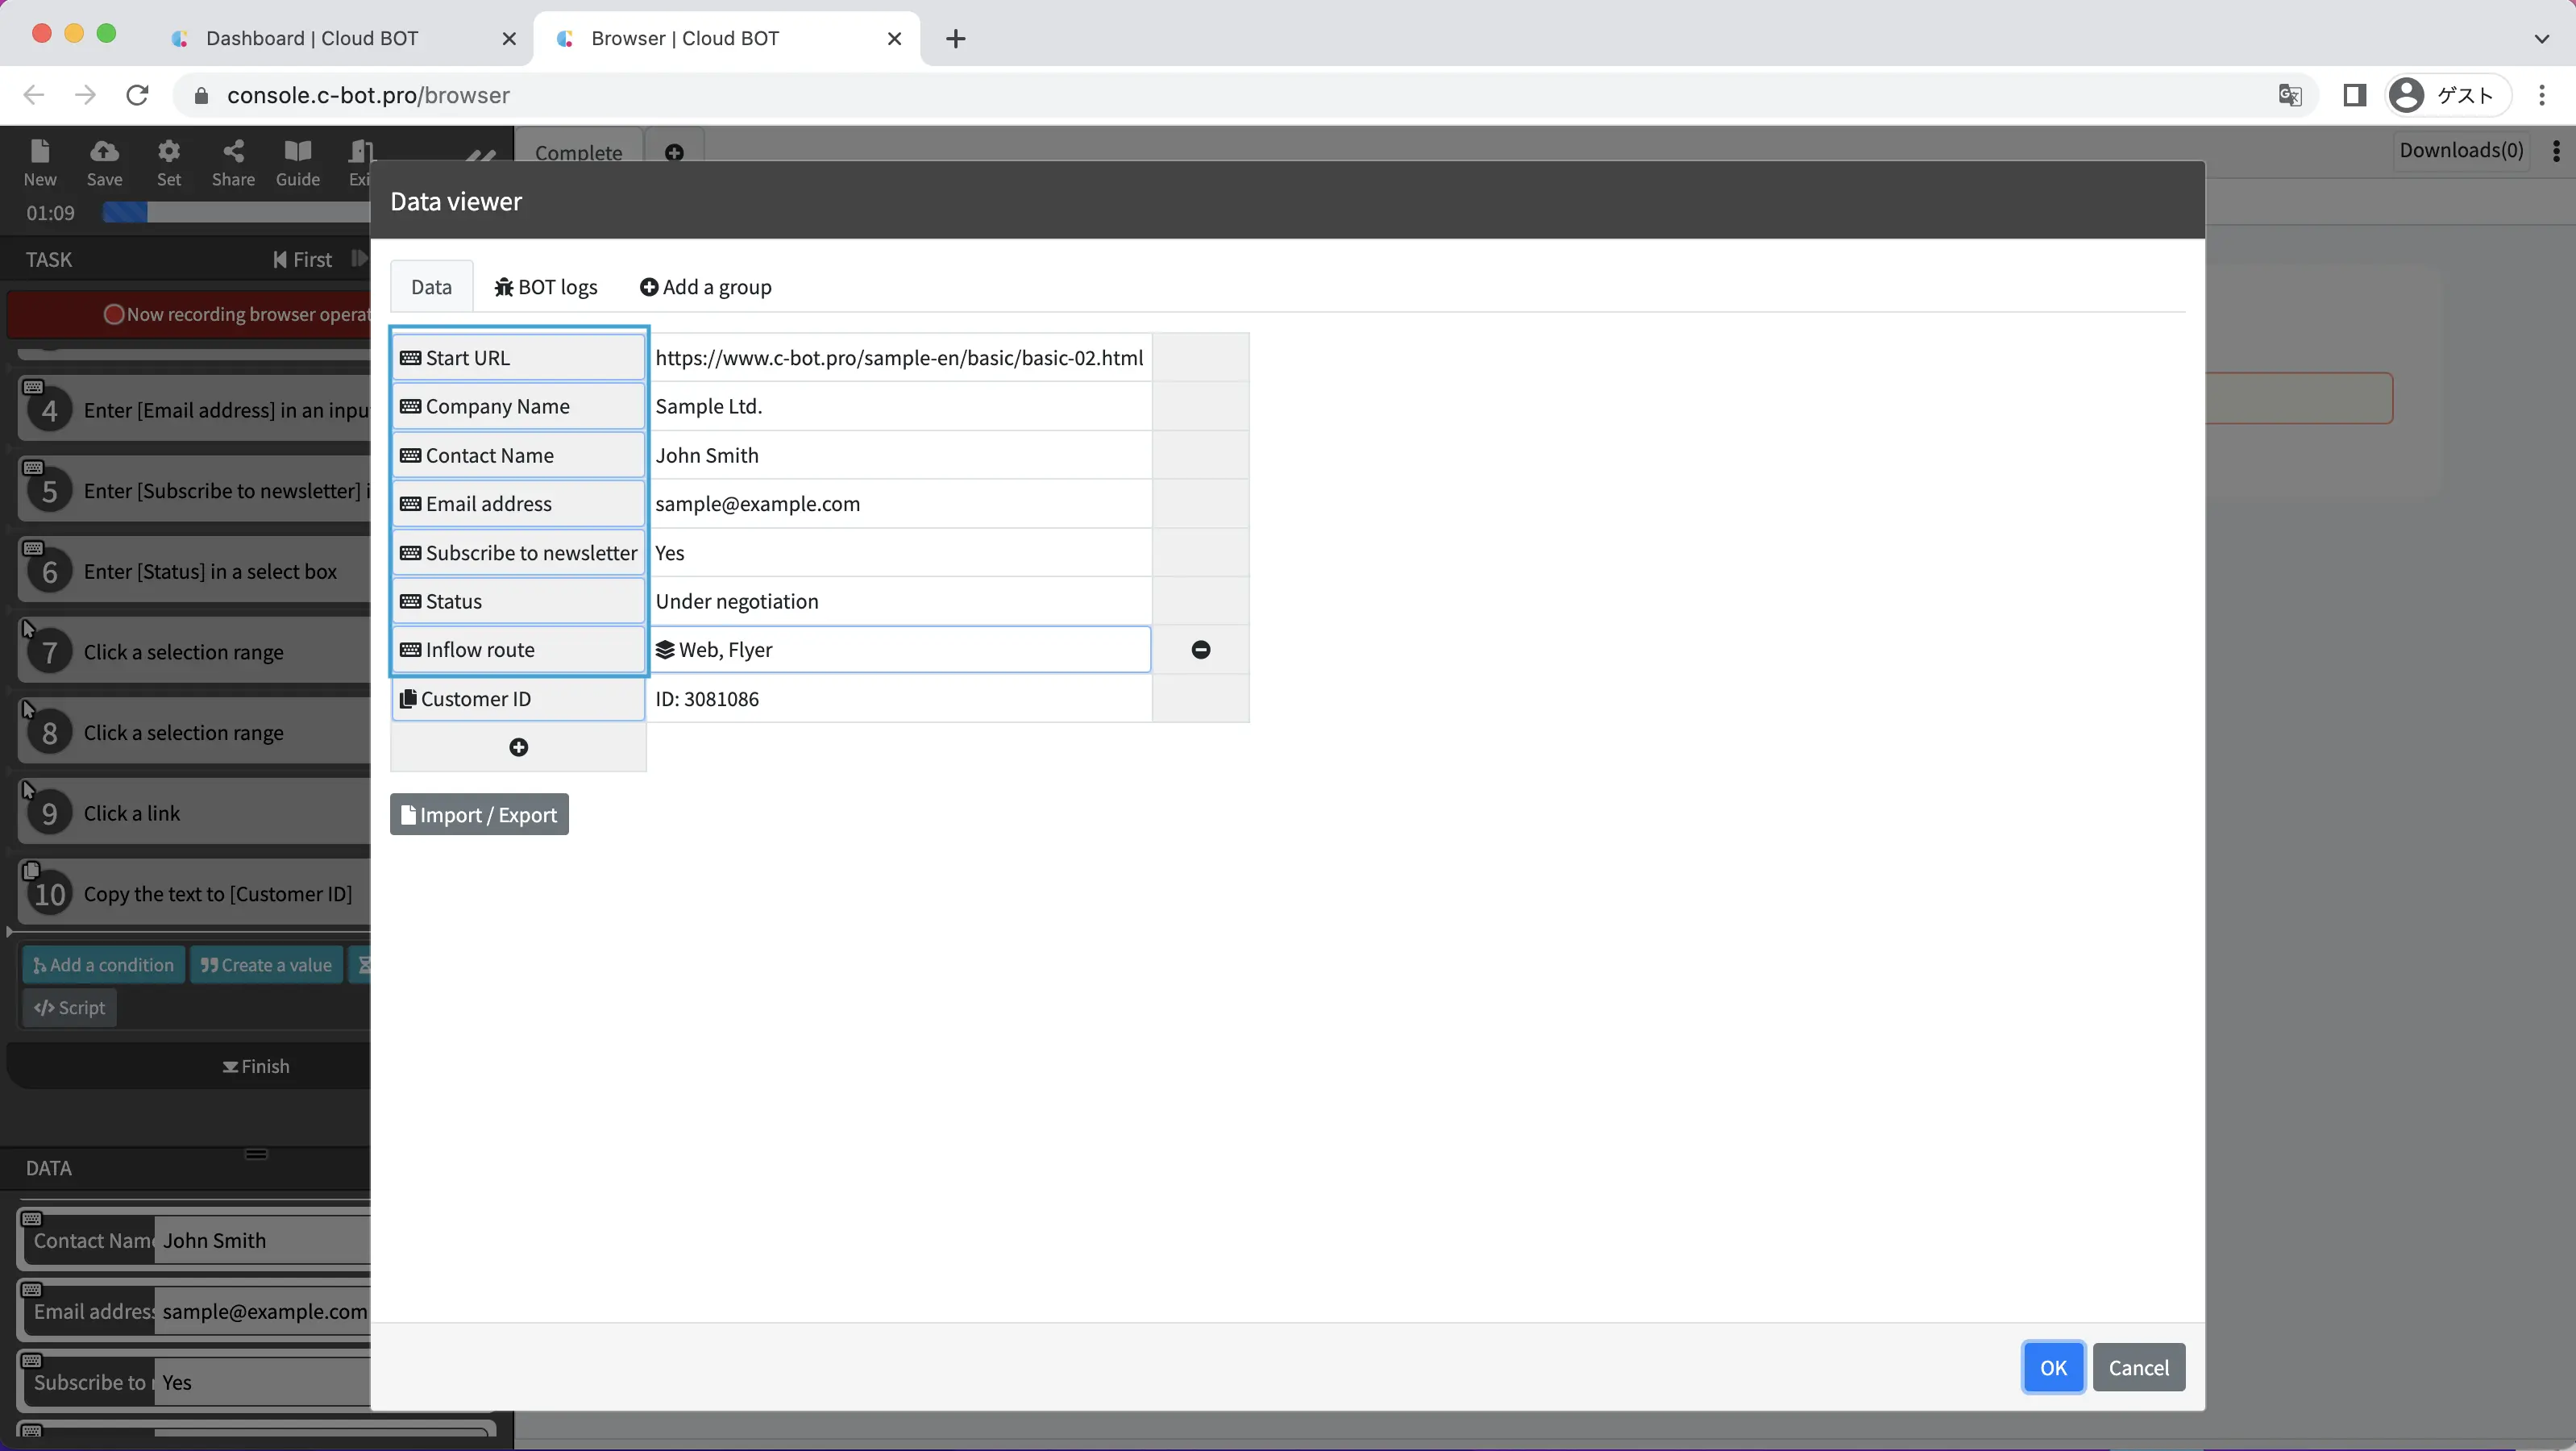
5. Change a data name
Change the data names as follows.
"1st data": Start URL
"2nd data": Company Name
"3rd data": Contact Name
"4th data": Email address
"5th data"”: Subscribe to newsletter
"6th data": Status
"7th data": Inflow route
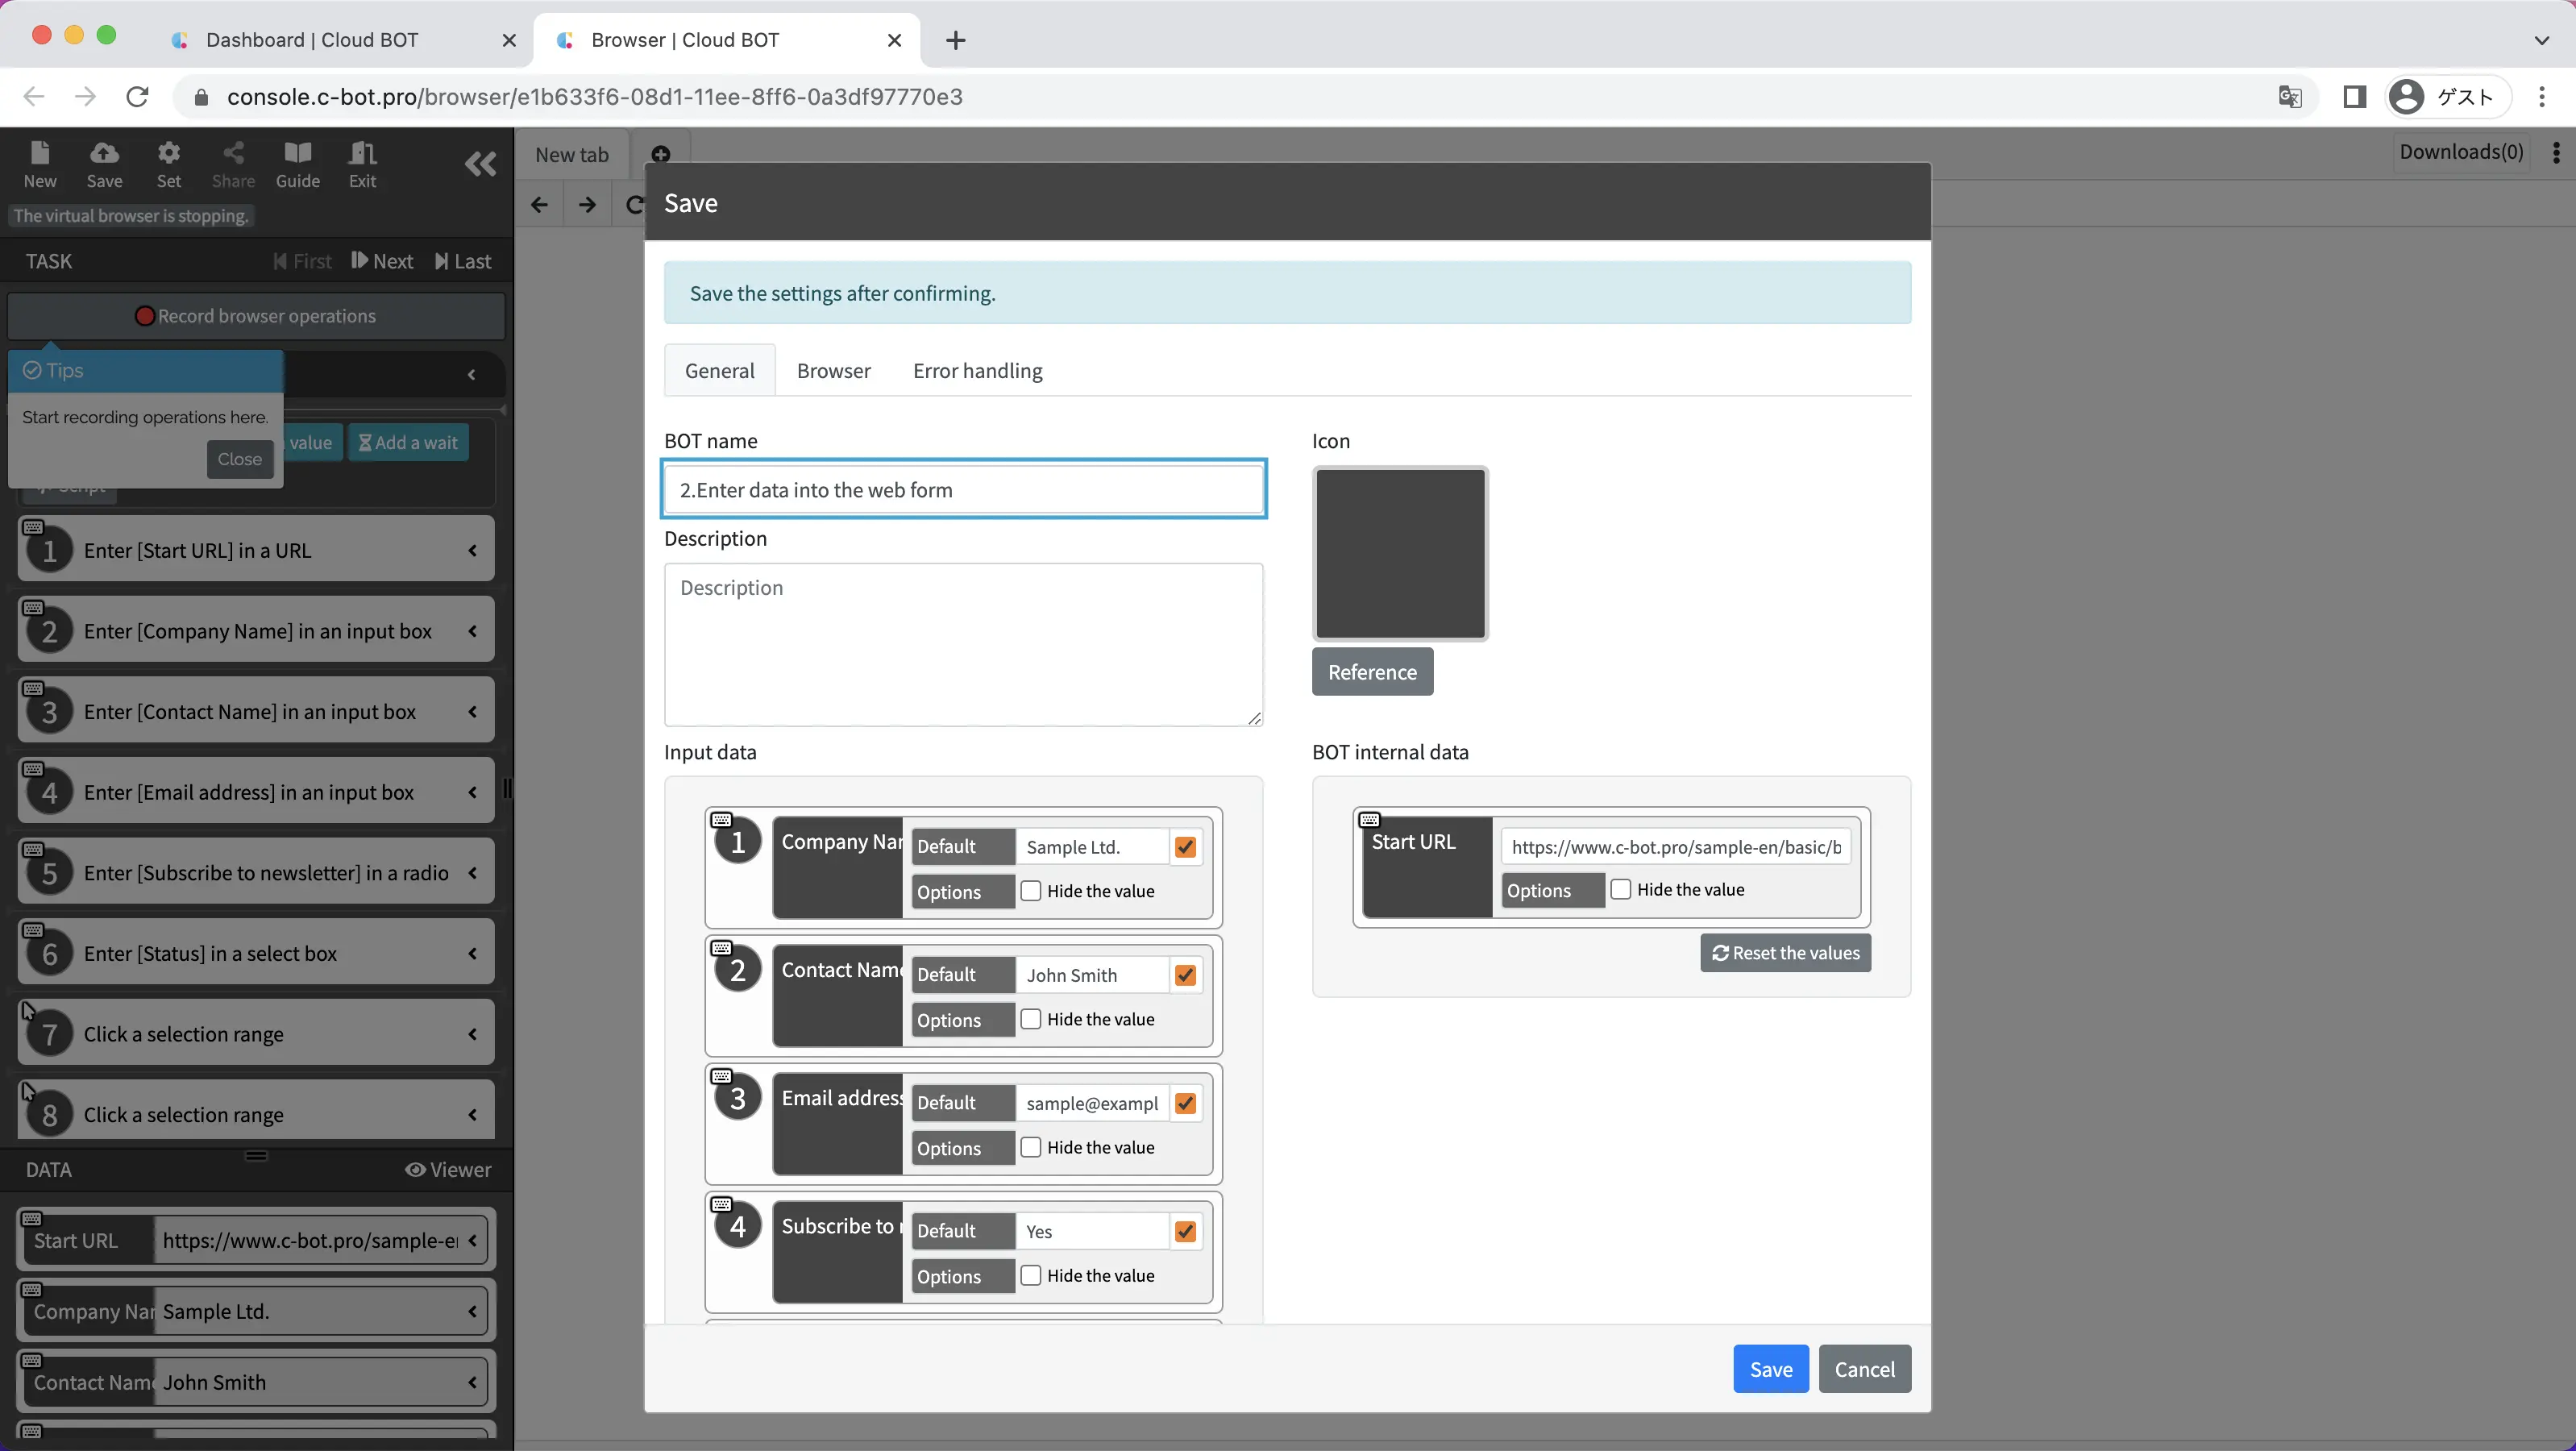
6. Save the BOT
Change the "BOT Name" to 1-2. Enter data into the web form and save the BOT.
Execute a BOT
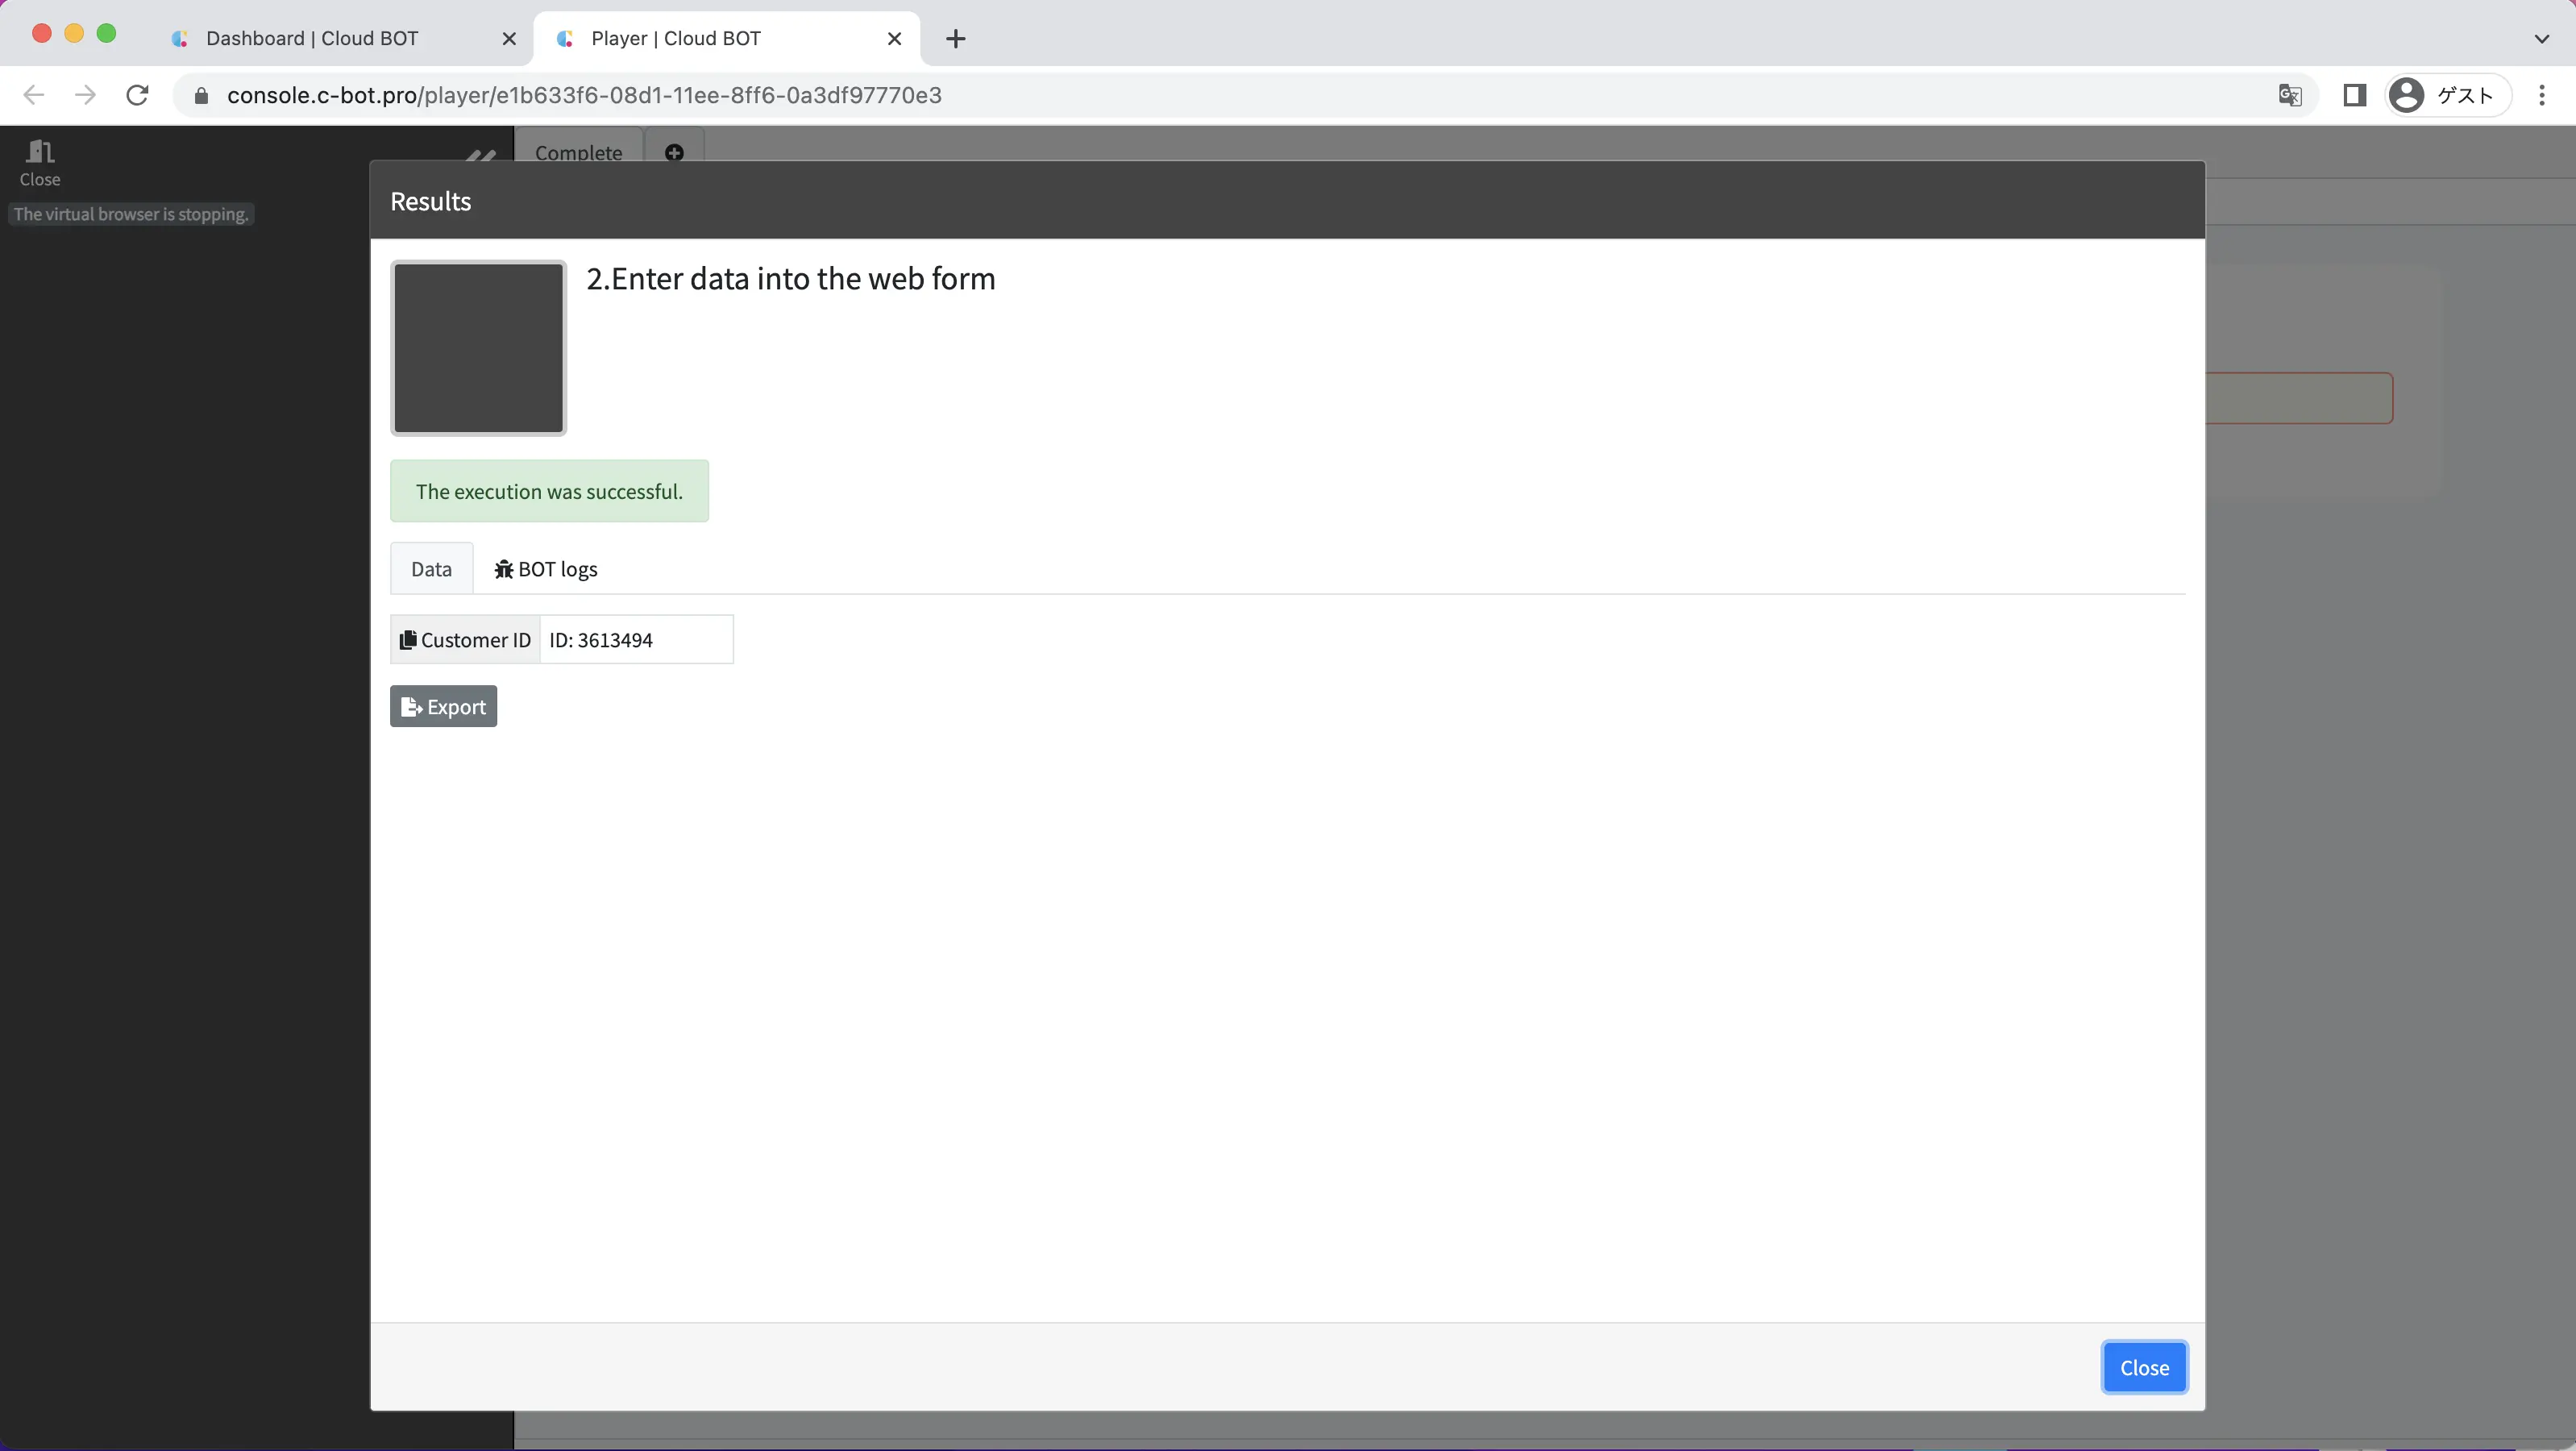
1. Execute the created BOT
Select the created BOT and execute the BOT from the execution screen.
When the BOT execution is completed, the execution result will be displayed.
It is completed if "The execution was successful." and the acquired data is displayed.
This concludes the tutorial “1-2. Entering data into a web form”.
Go to the next tutorial >> 1-3. Paste data acquired from a Web page into a Web form