1-1. Acquiring data from web pages (including an explanation of basic operations)
Sample pages for this tutorial
Create a simple BOT that copies text data displayed on a Web page and outputs it to the results screen.
This page explains basic operations, from creating the BOT to executing it and checking its logs.
(*Images in this tutorial can be enlarged by clicking on them.)
Create a BOT
1.Open BOT Editor
Log in to Cloud BOT and click the "Create BOT" button on the dashboard screen.
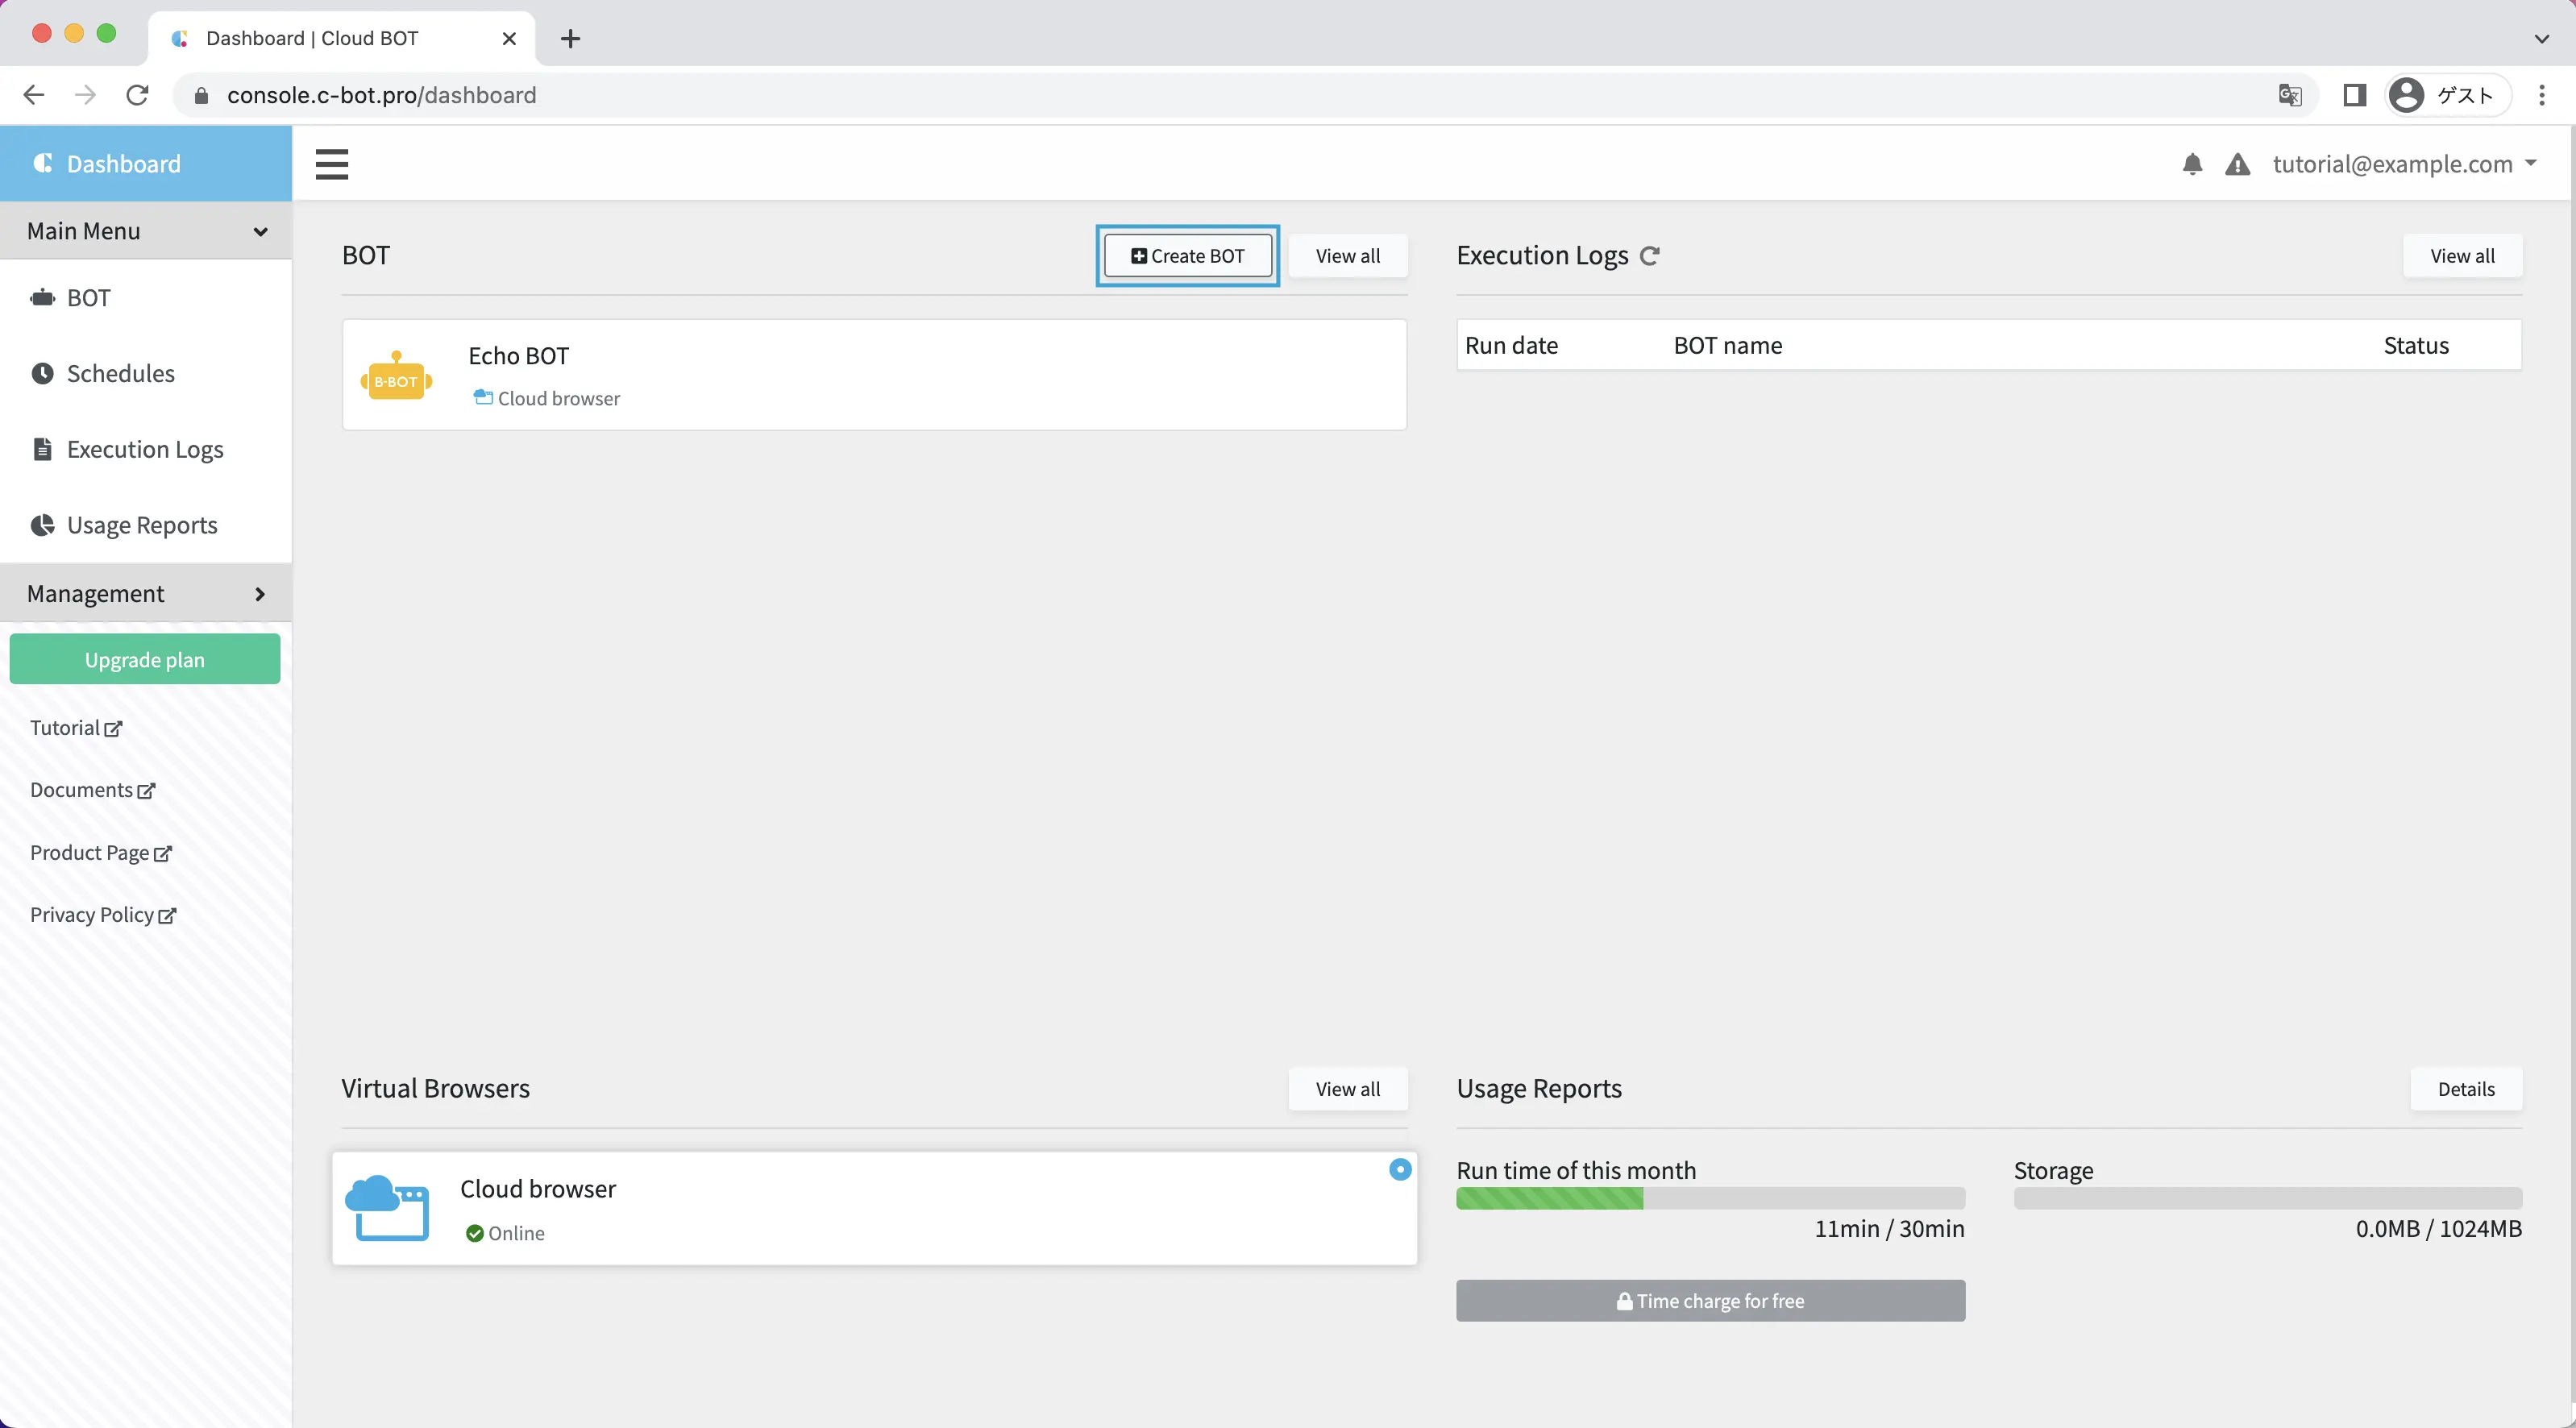
A BOT Editor screen will be displayed in a new tab.
The dedicated browser displayed in the BOT editor is called the virtual browser.
2.Display the web page to be operated
In the section "Enter your search term or URL.",
Input the sample page https://www.c-bot.pro/sample-en/basic/basic-01.html and click on the blue search button.
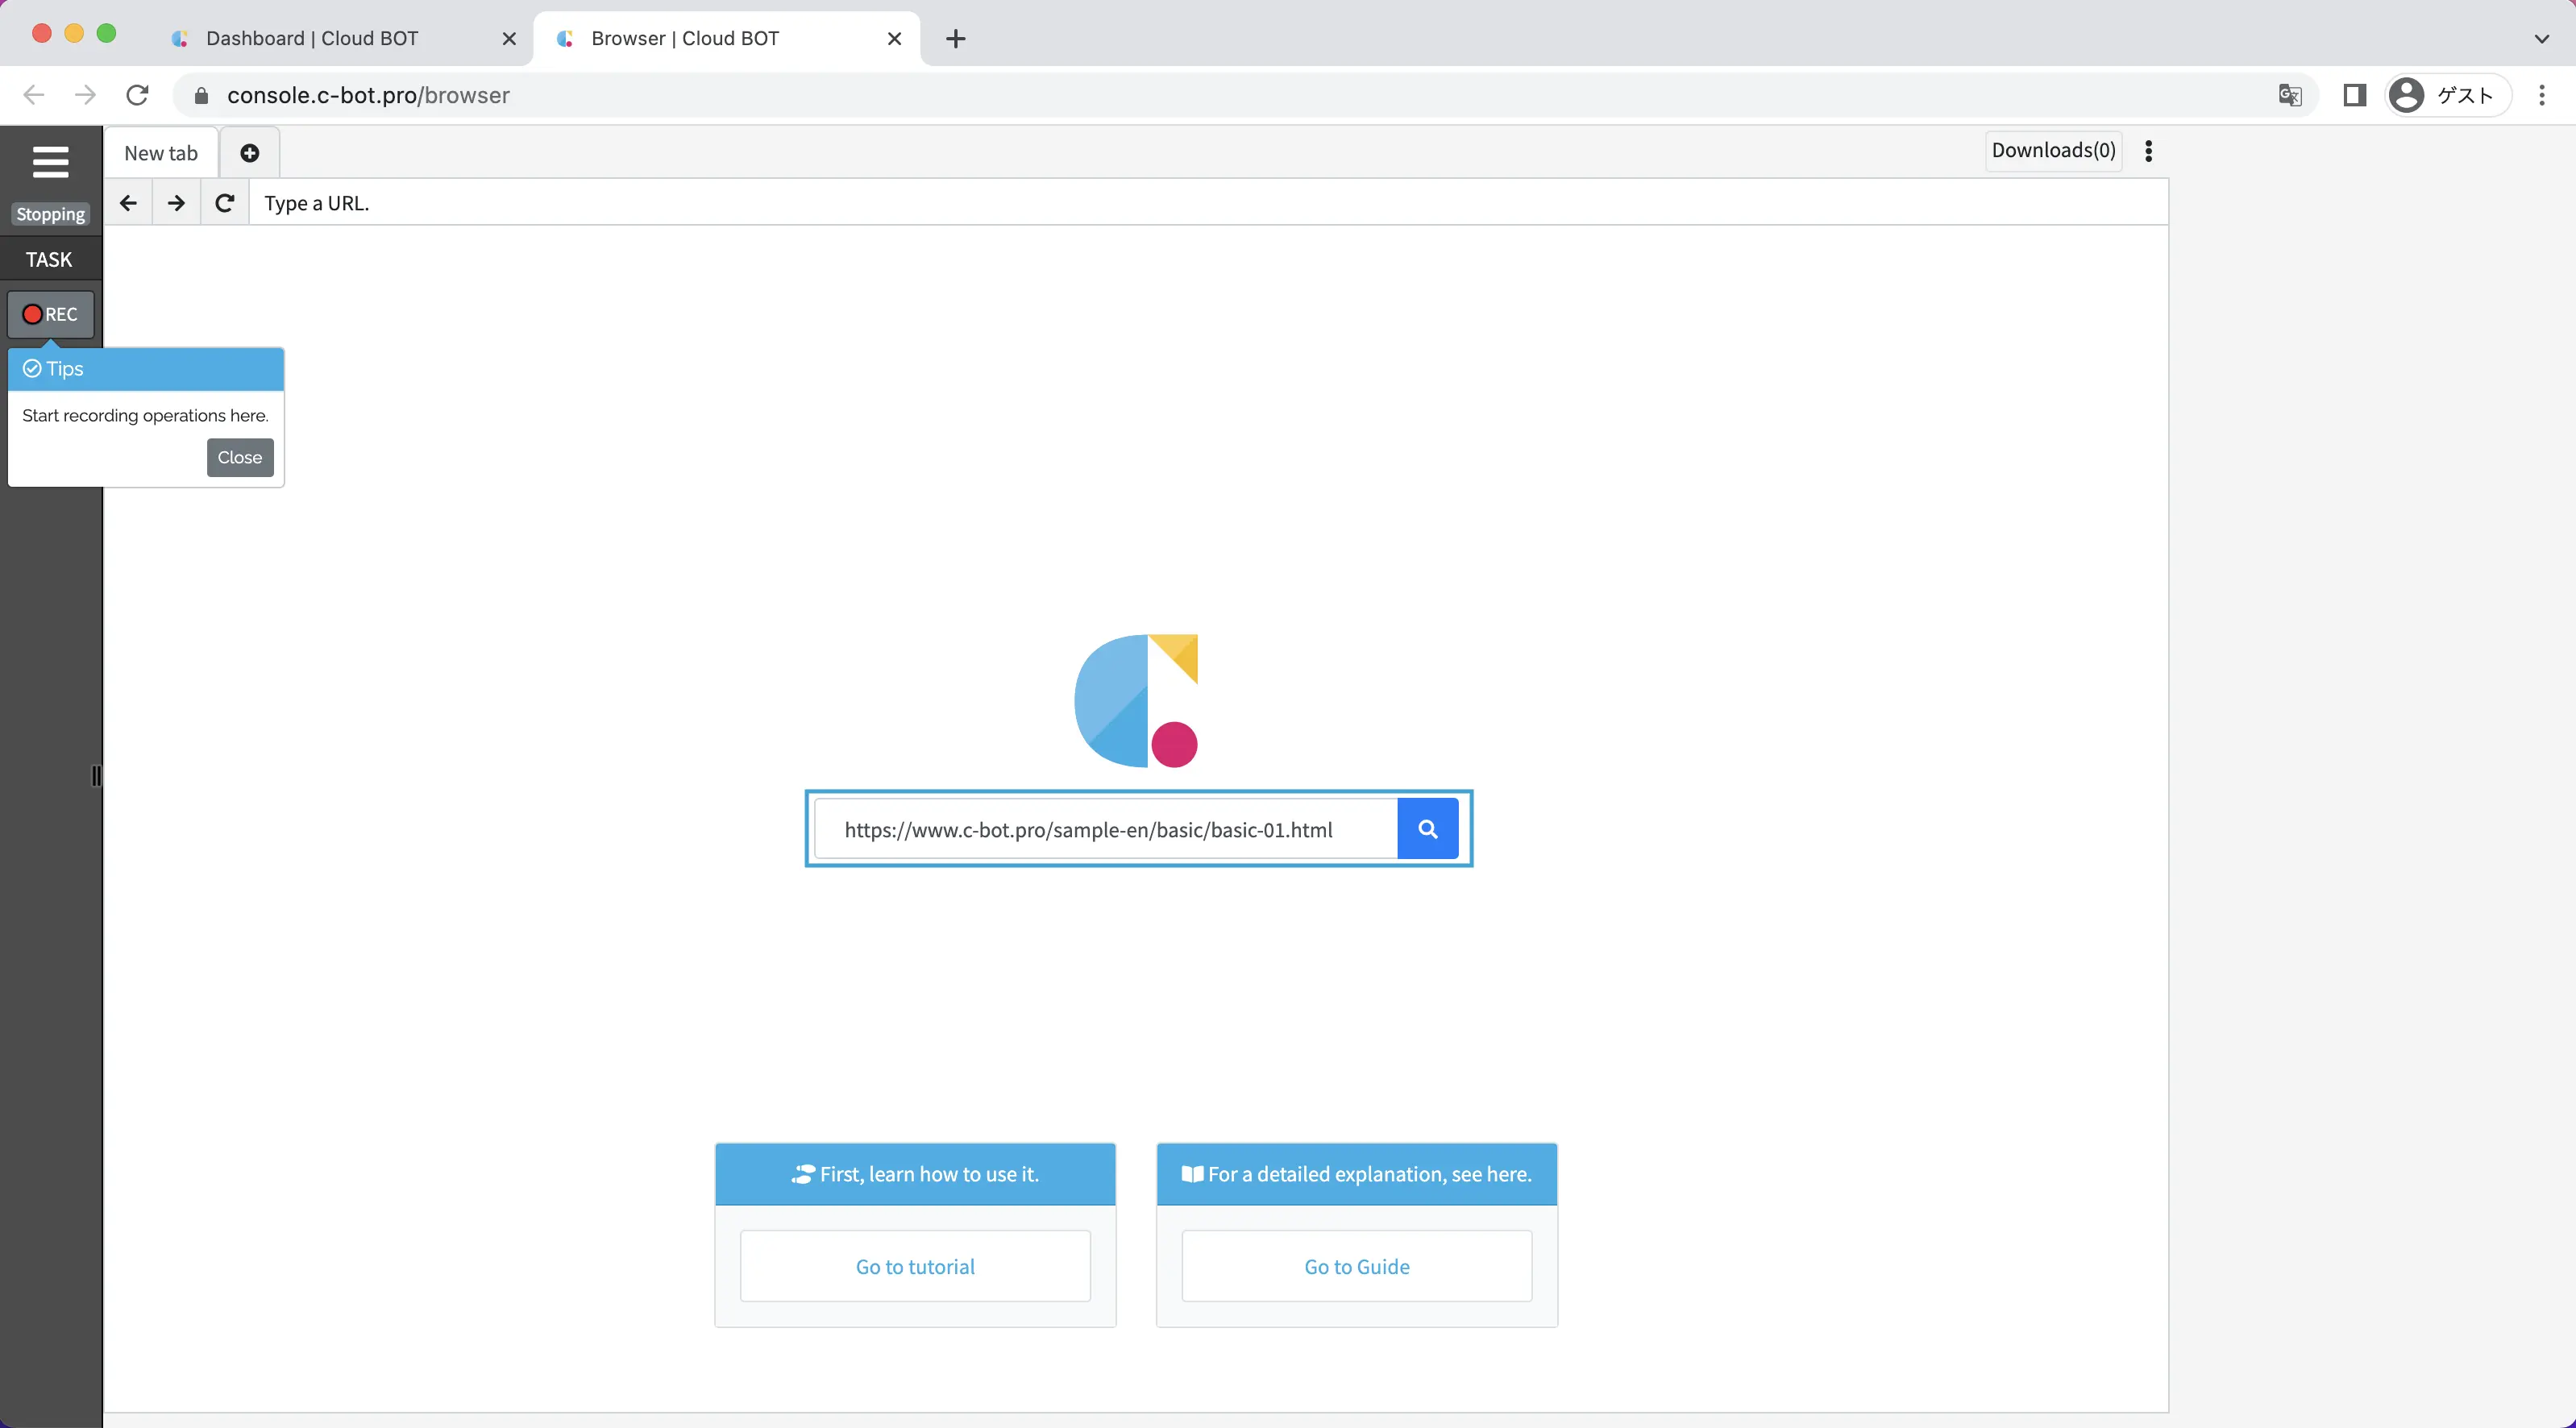
A virtual browser will be displayed on the sample page.
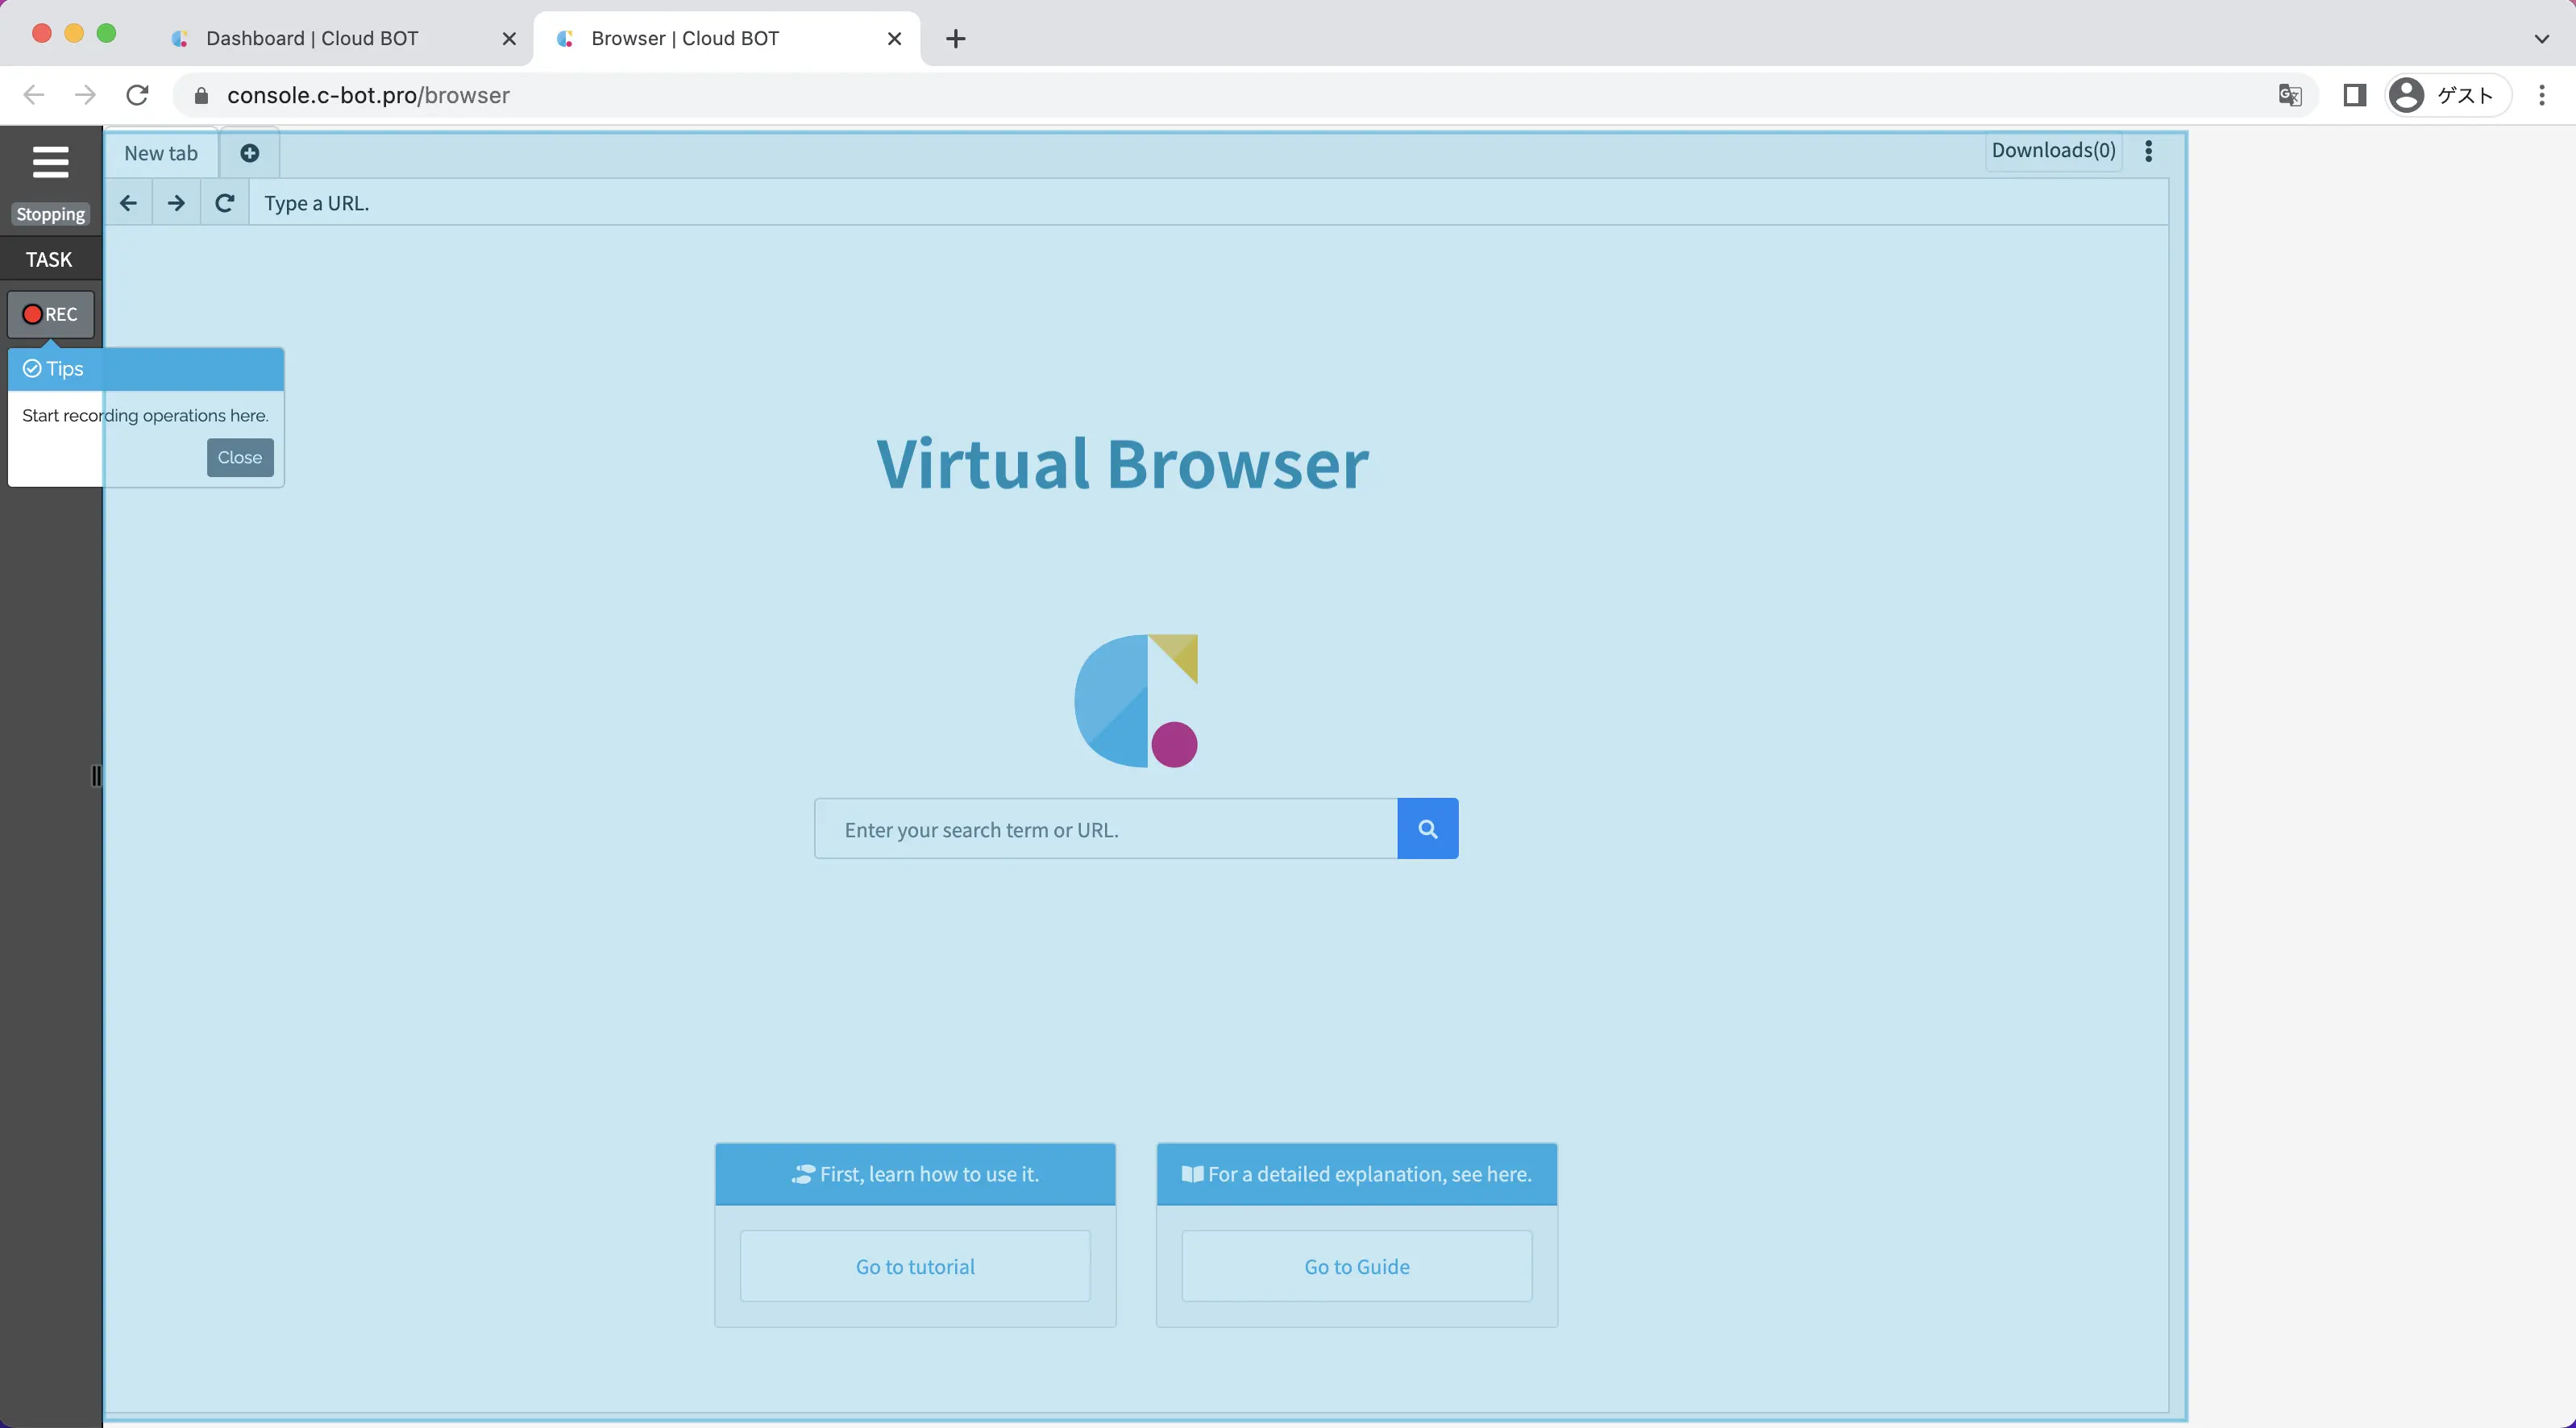
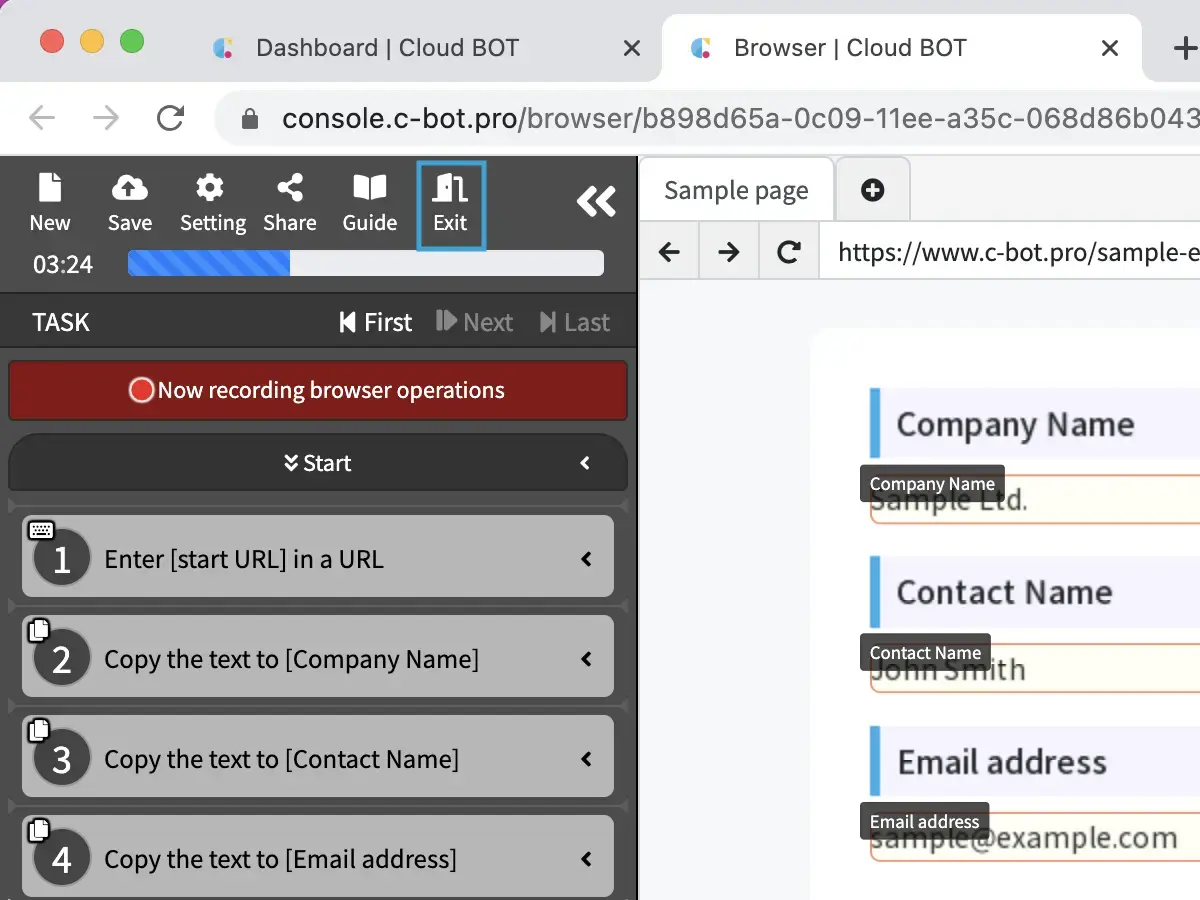
3.Record the operation
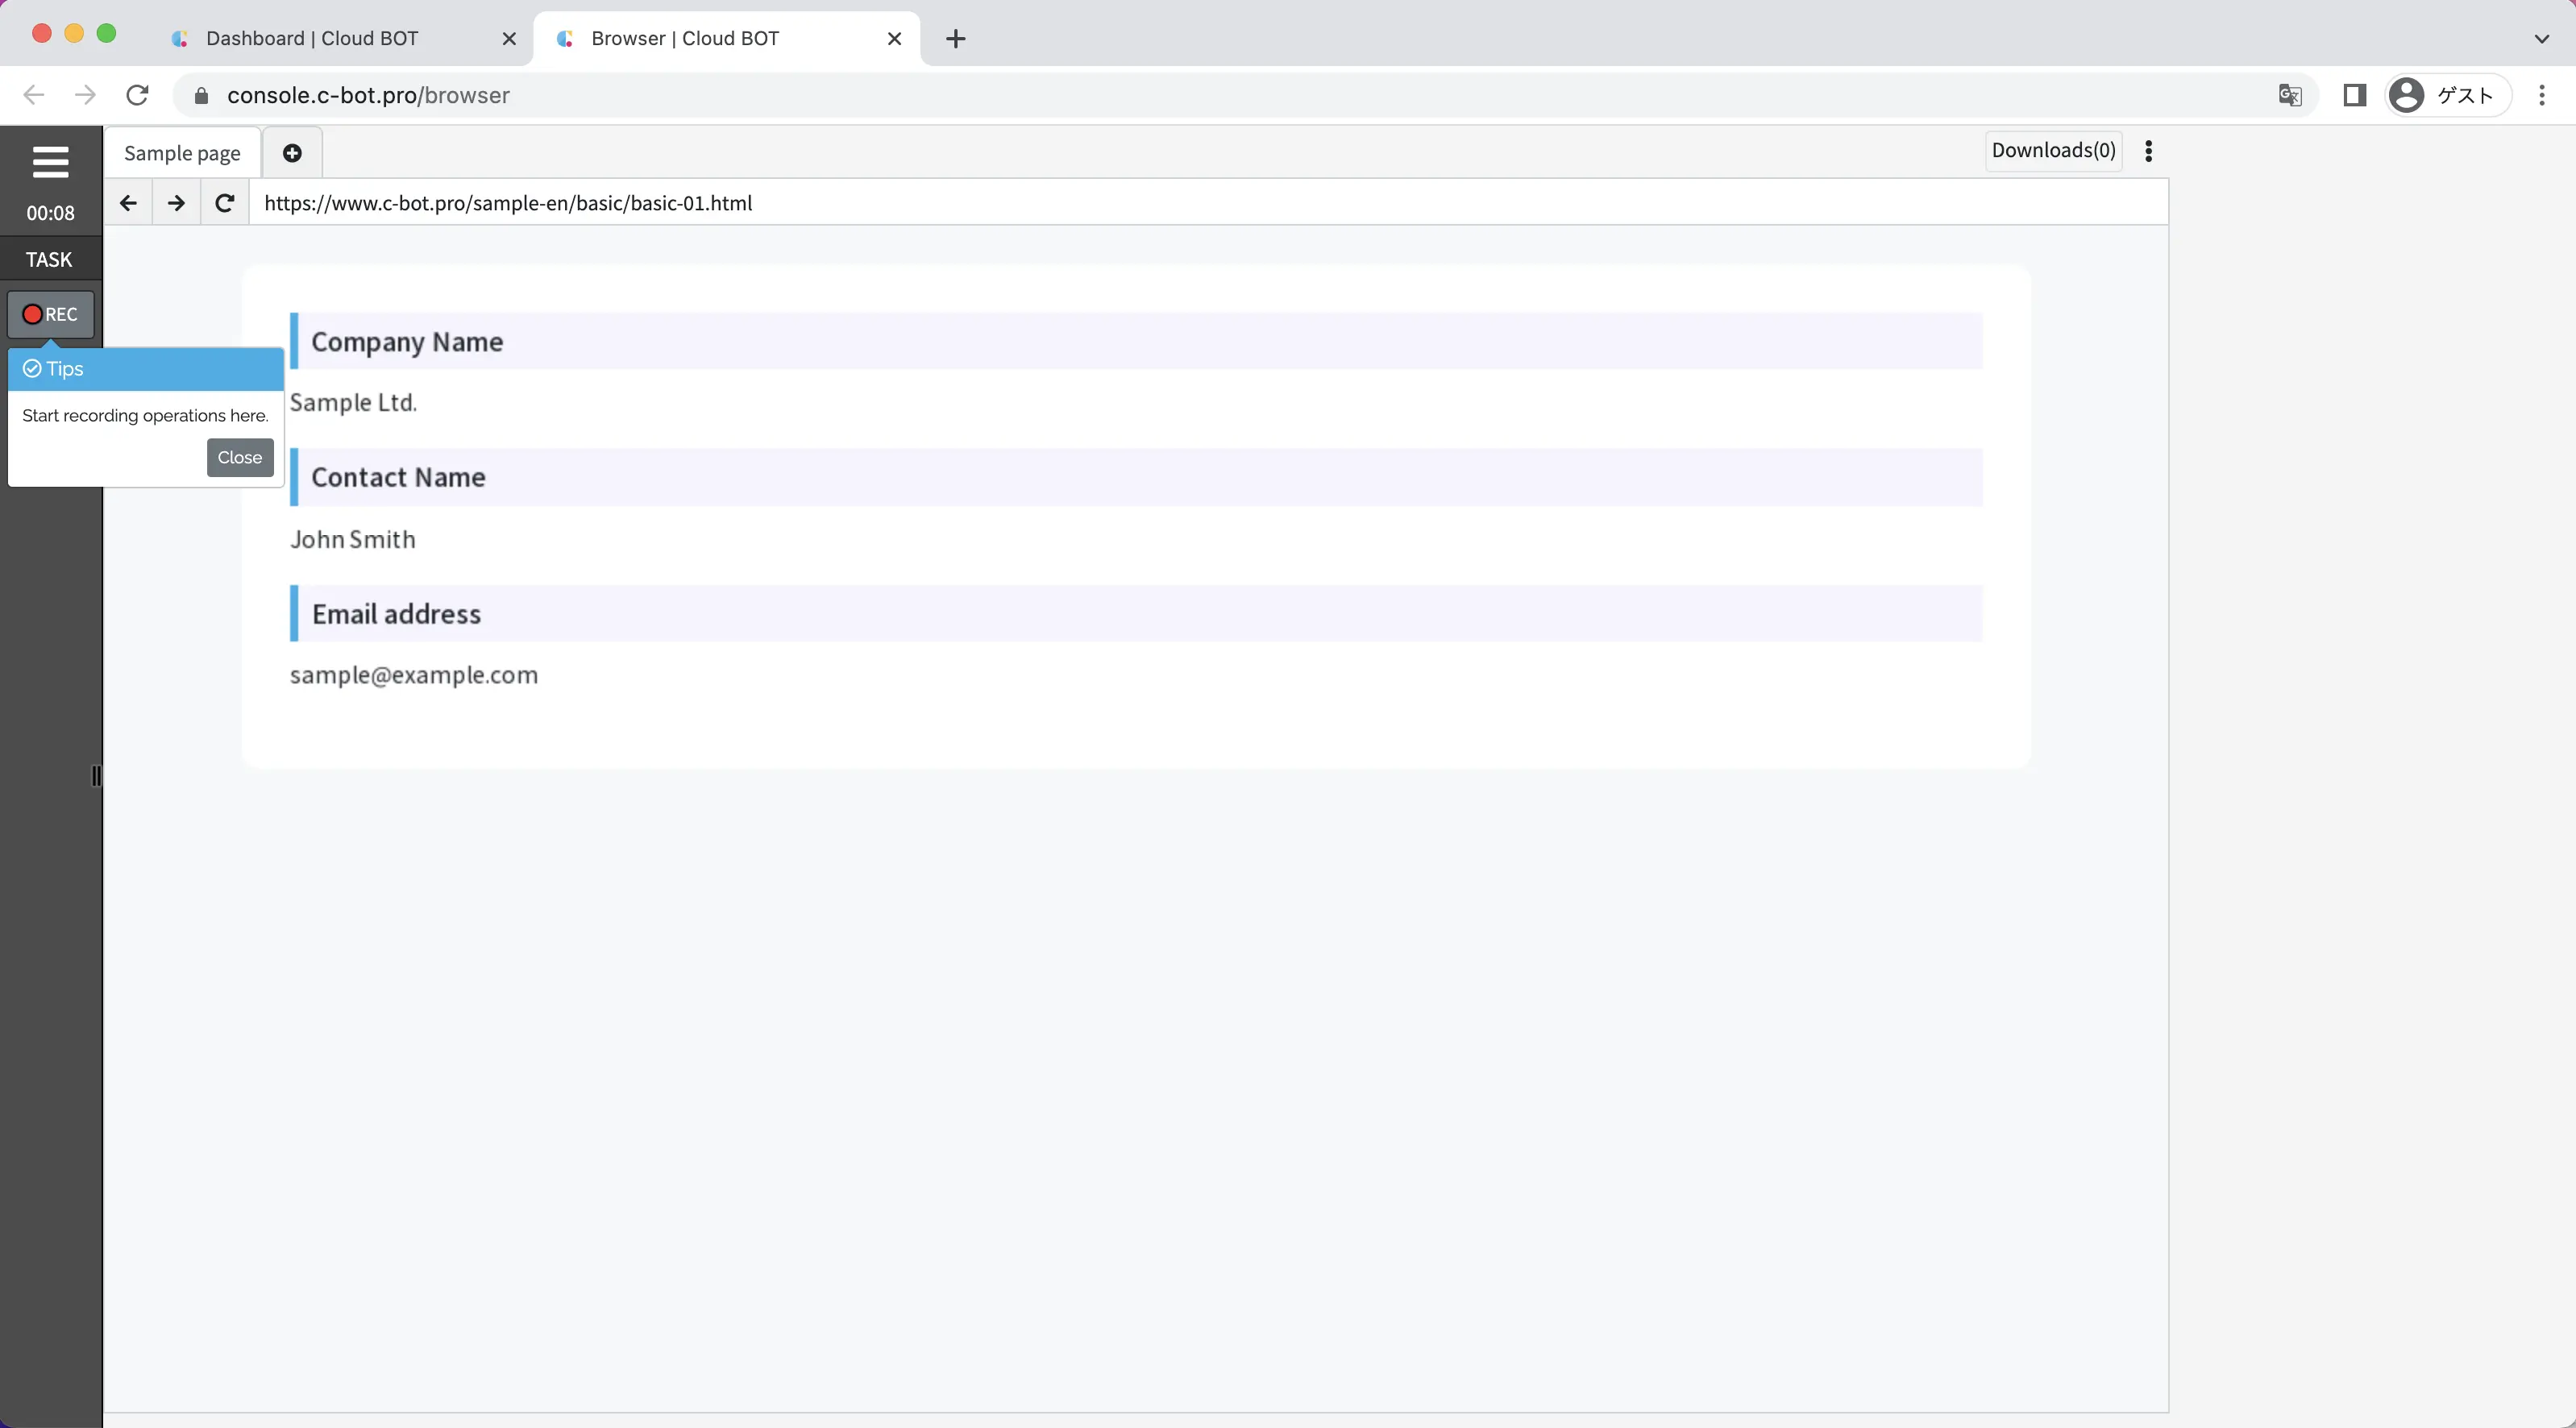
Click the three-line button in the upper left corner of the screen to display the side menu.
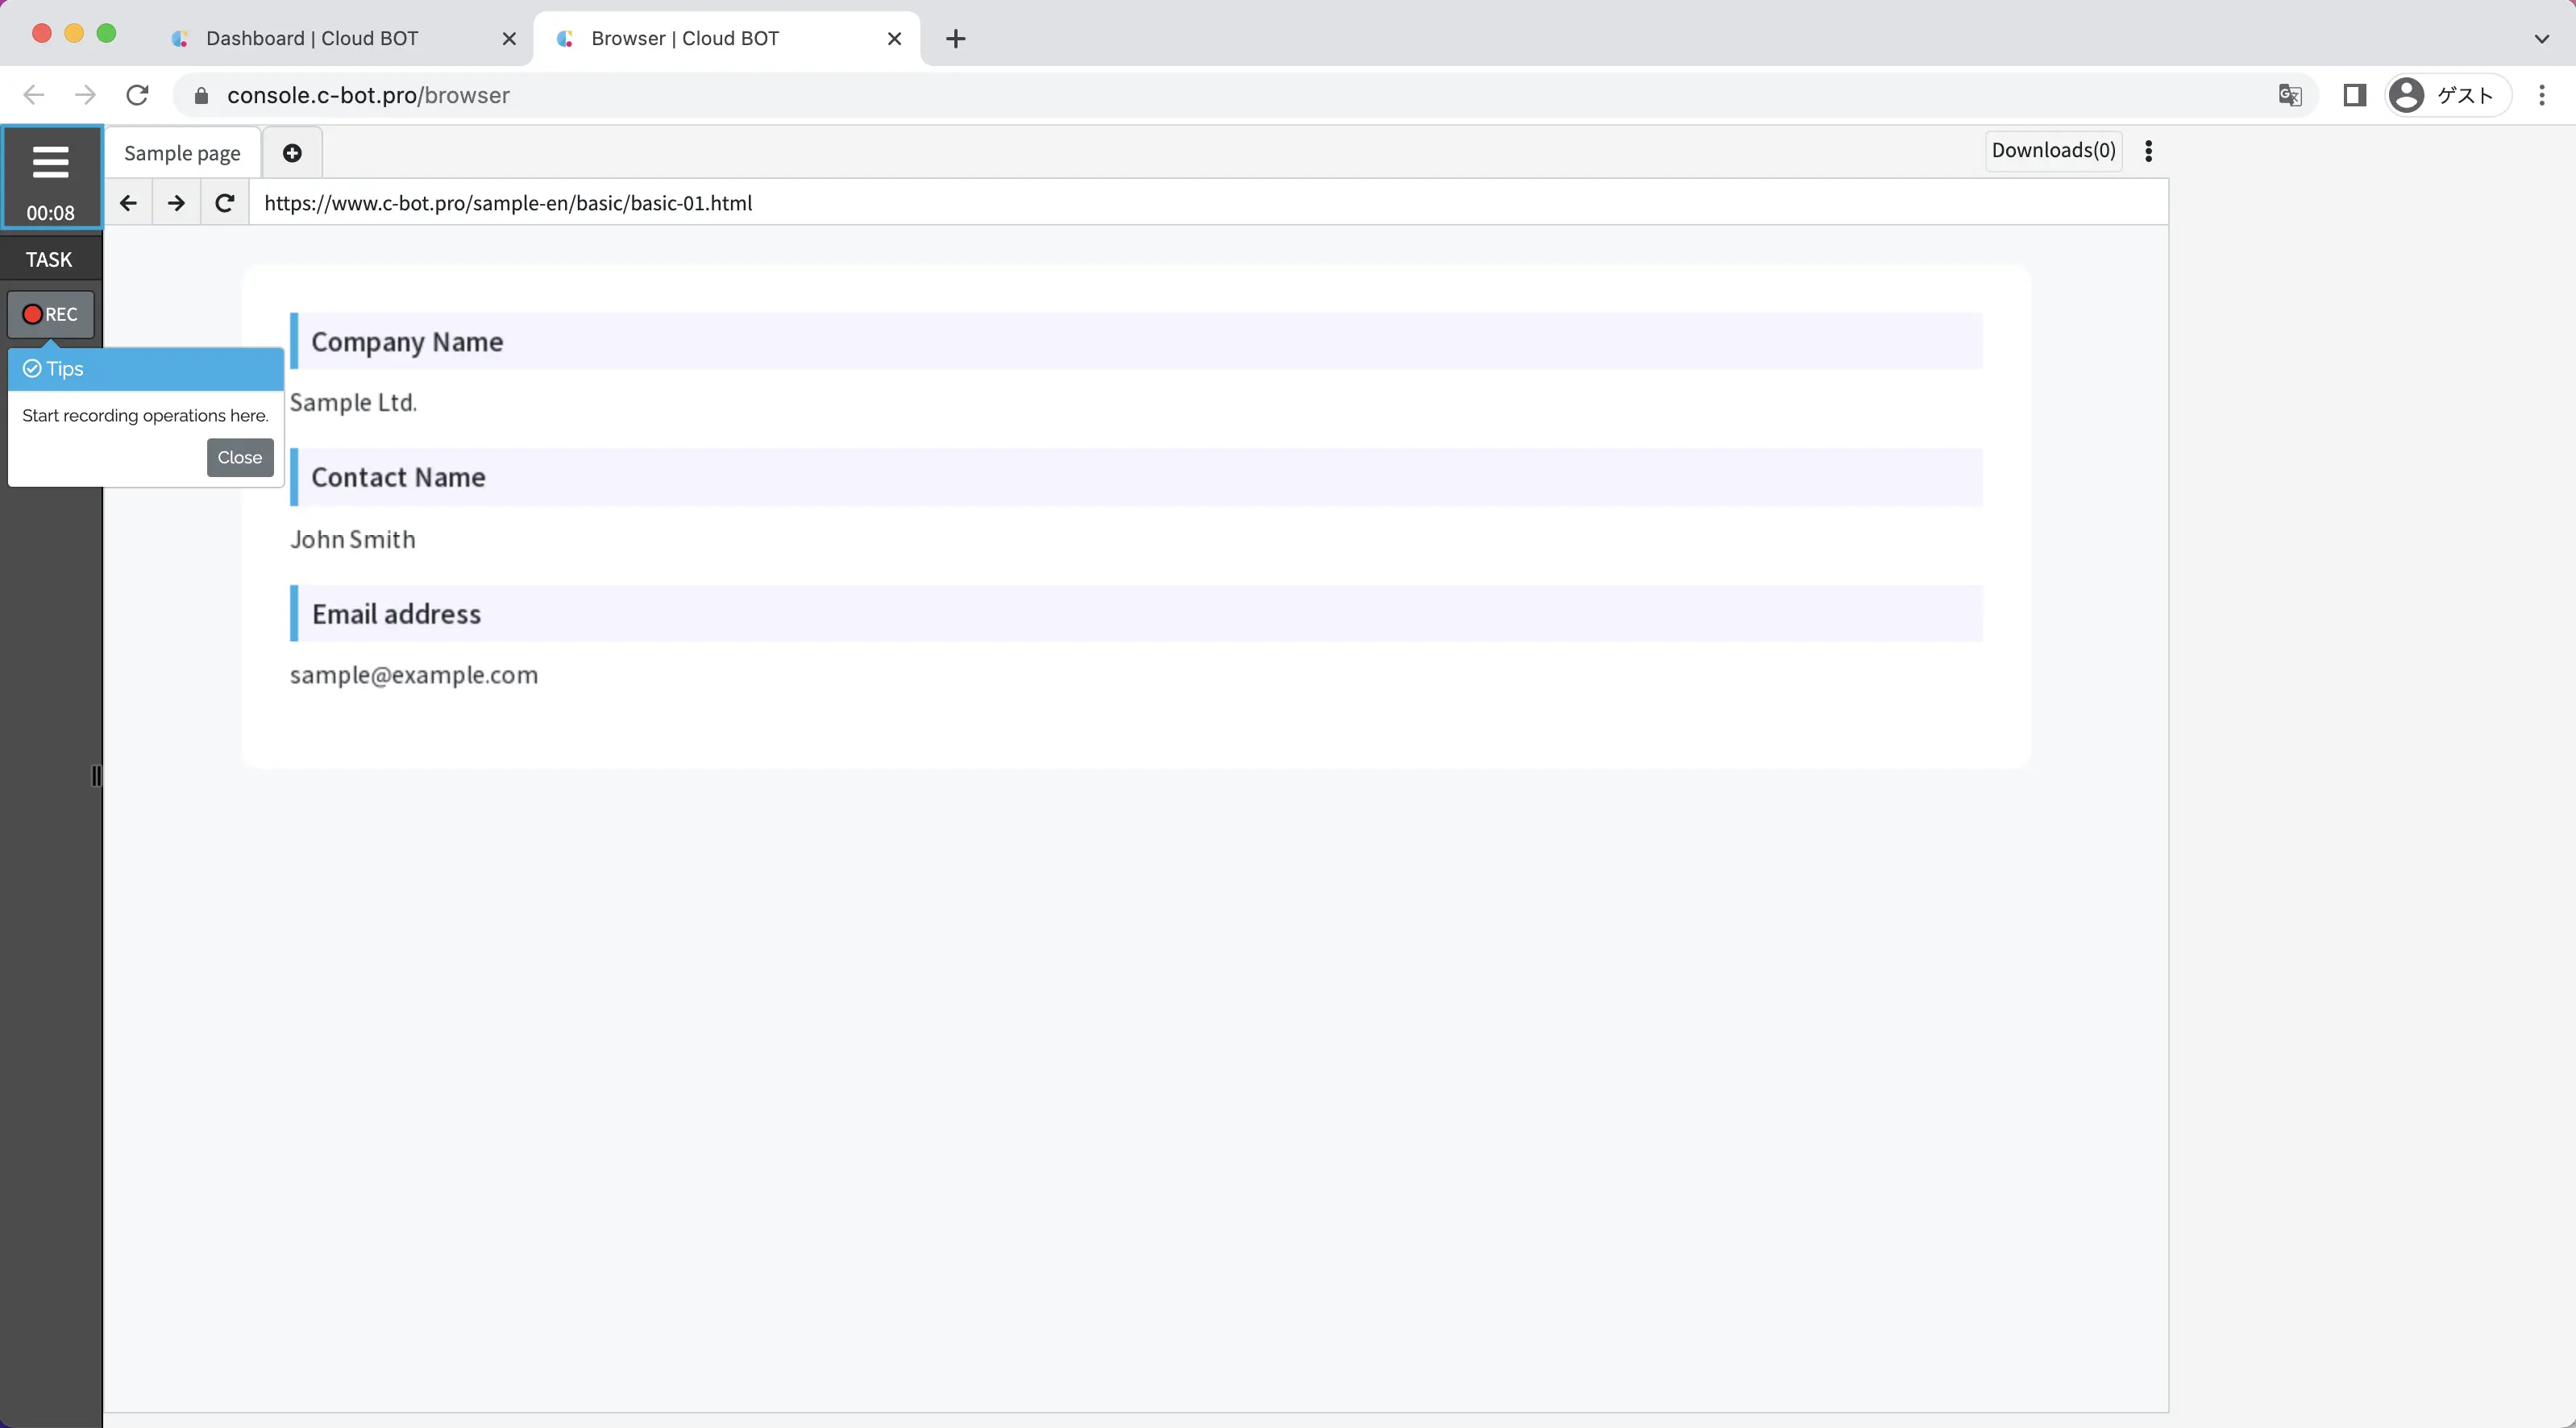
Click the "Record browser operations" button.
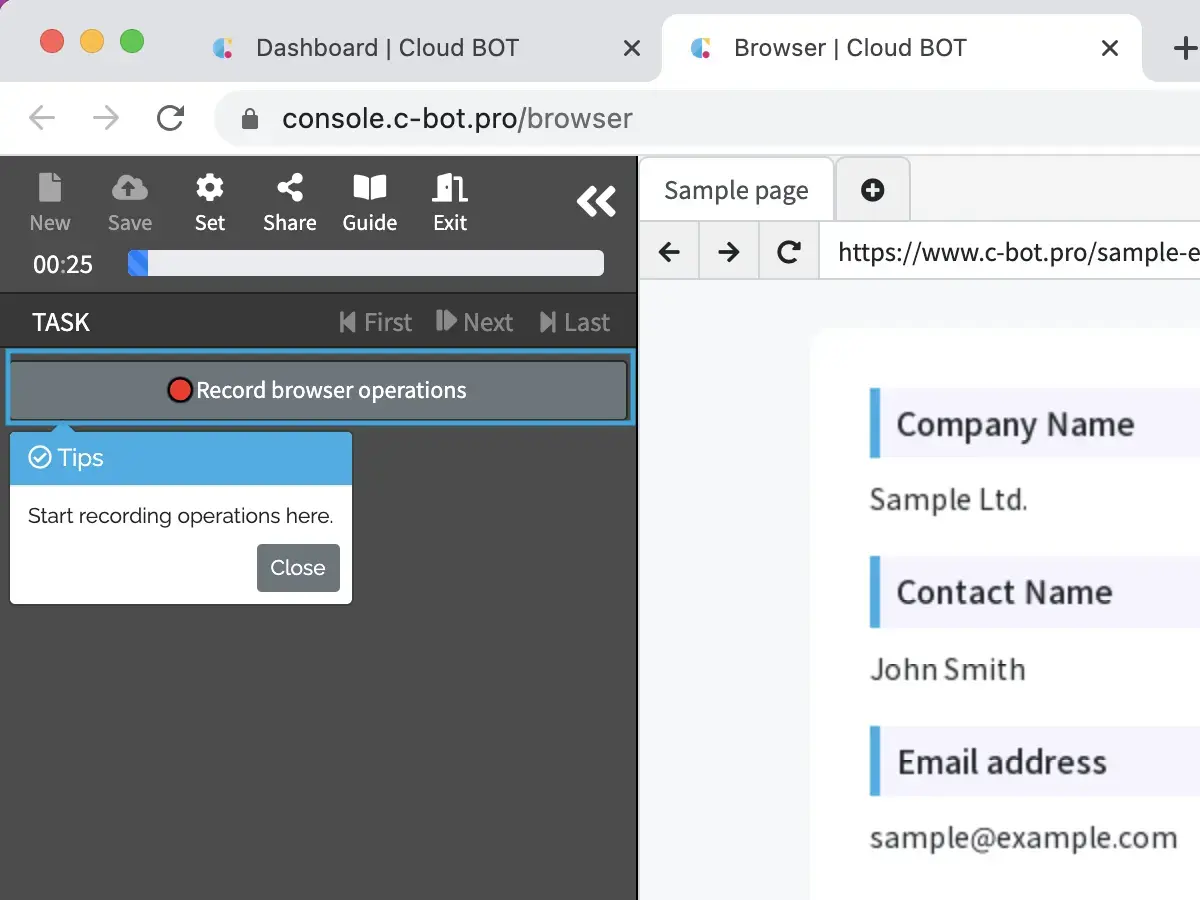
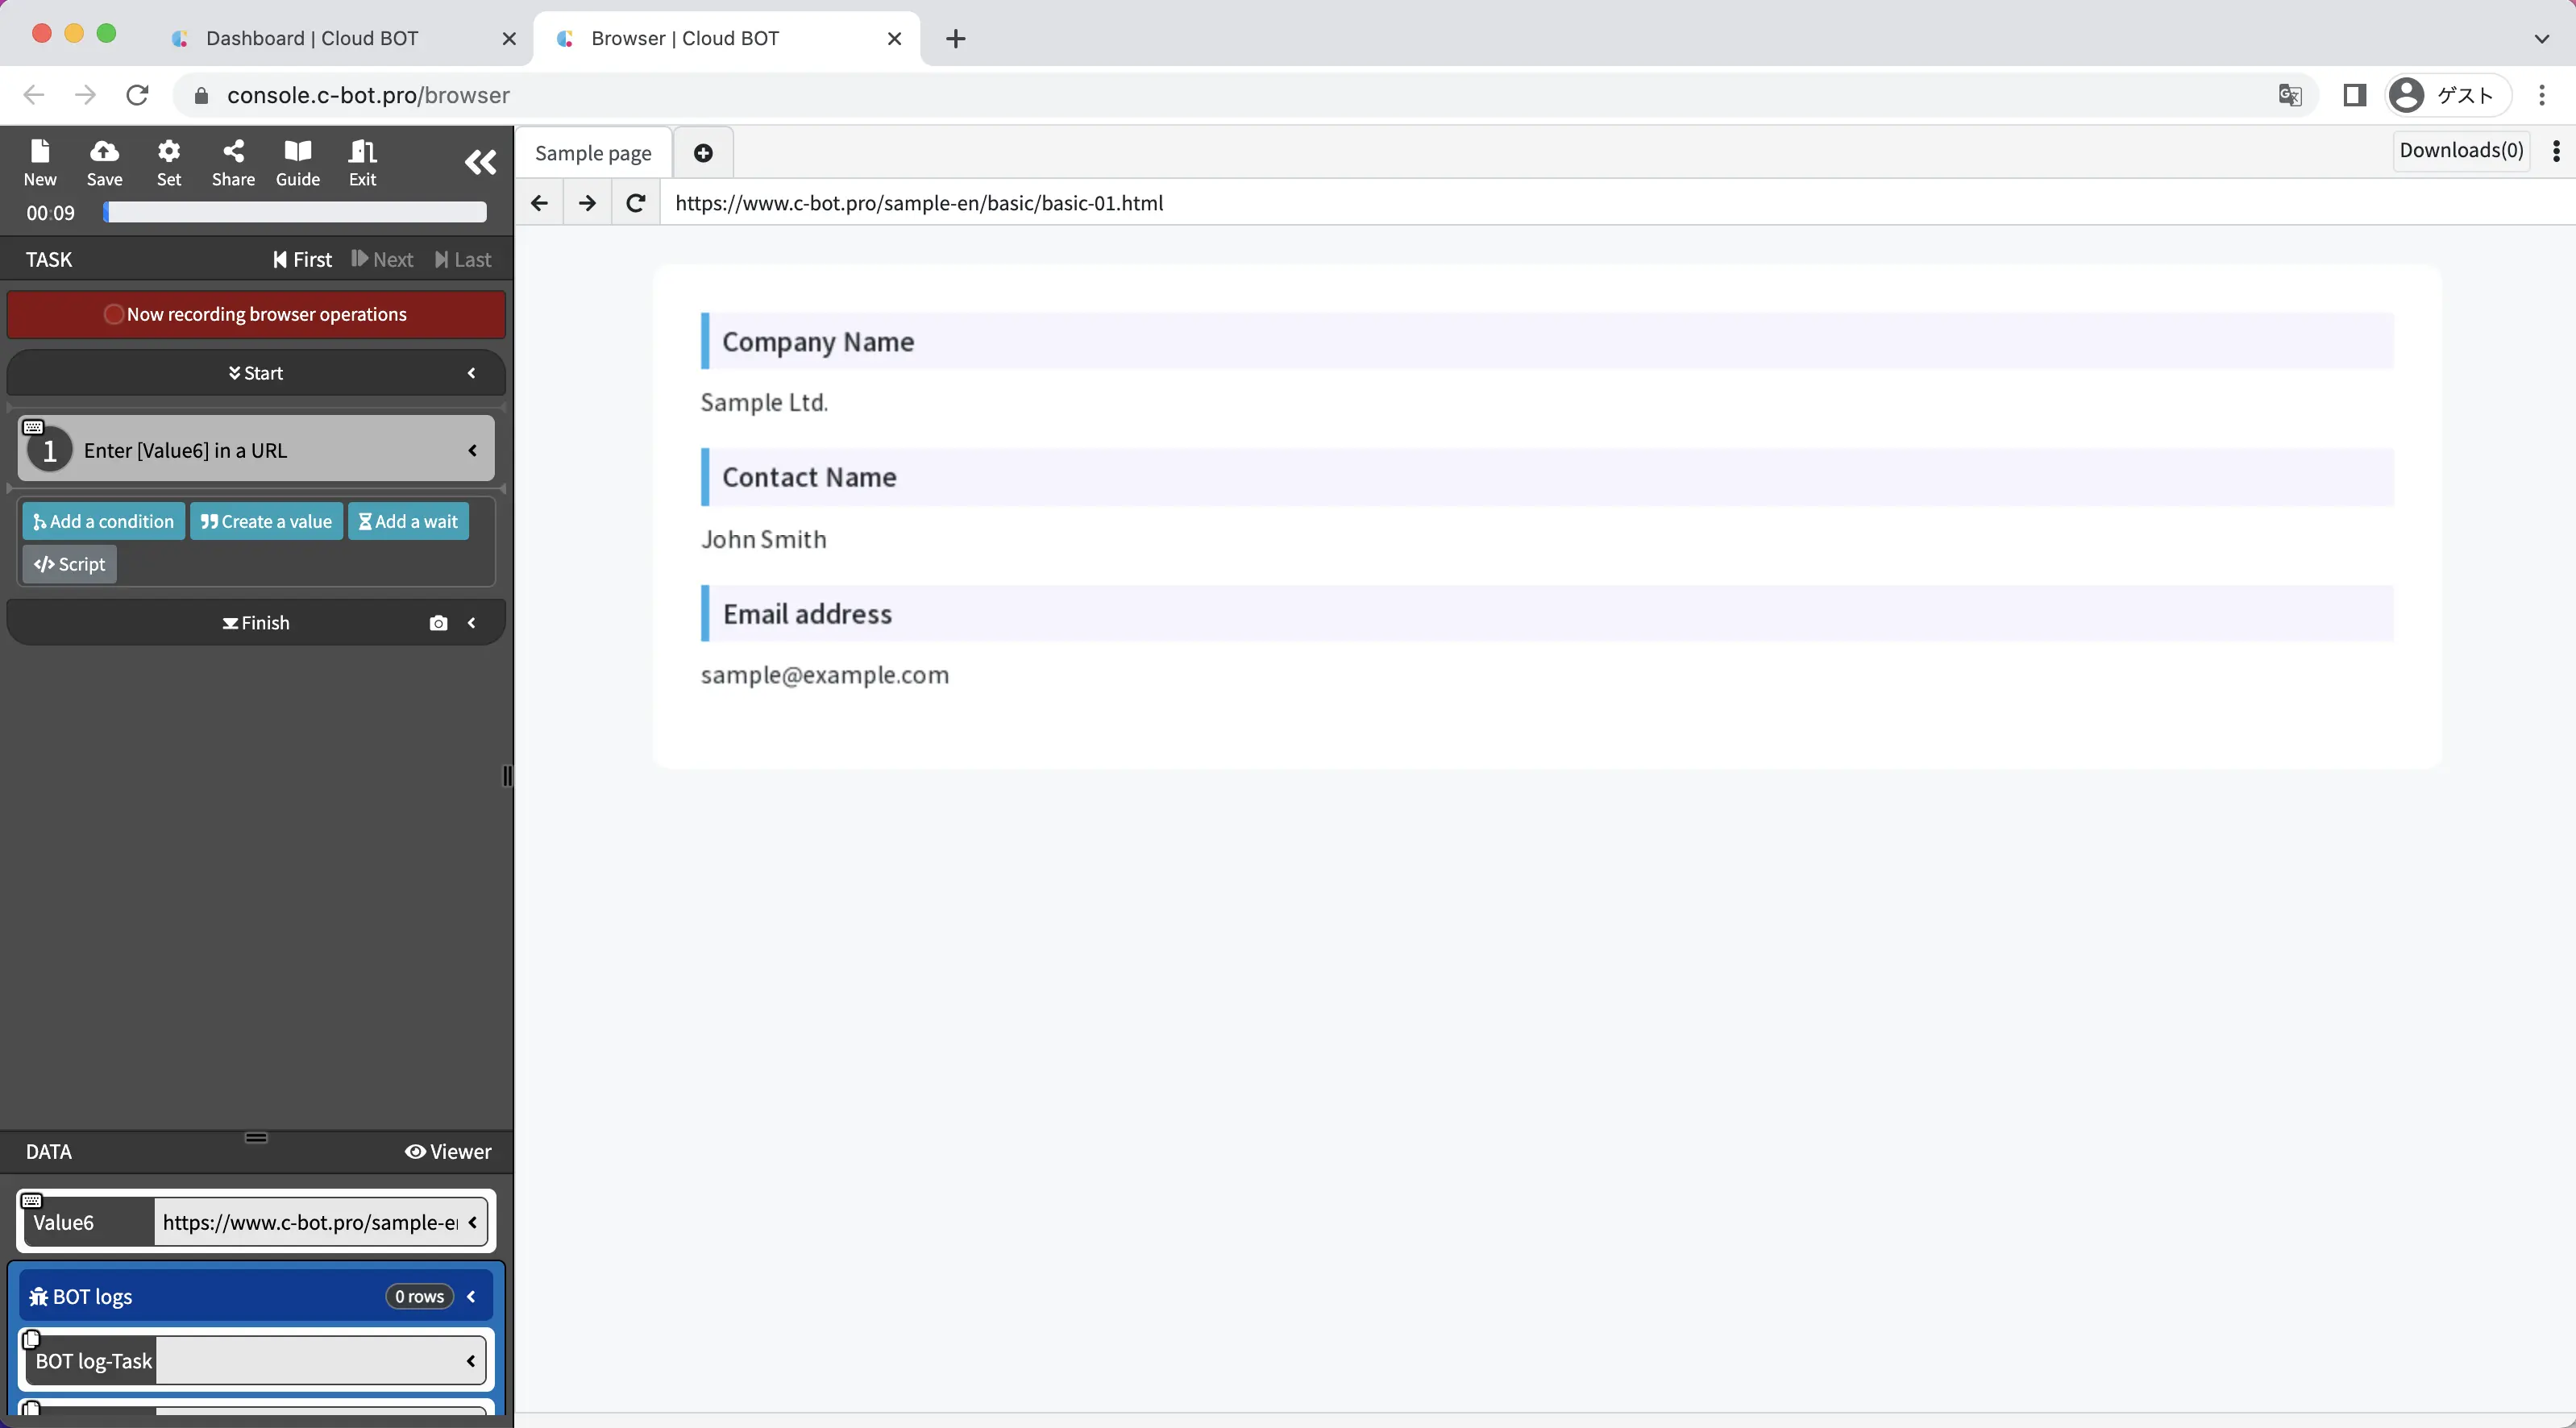
As soon as the BOT editor changes to "Now recording browser operations", the operation to access the URL is recorded as the first task.
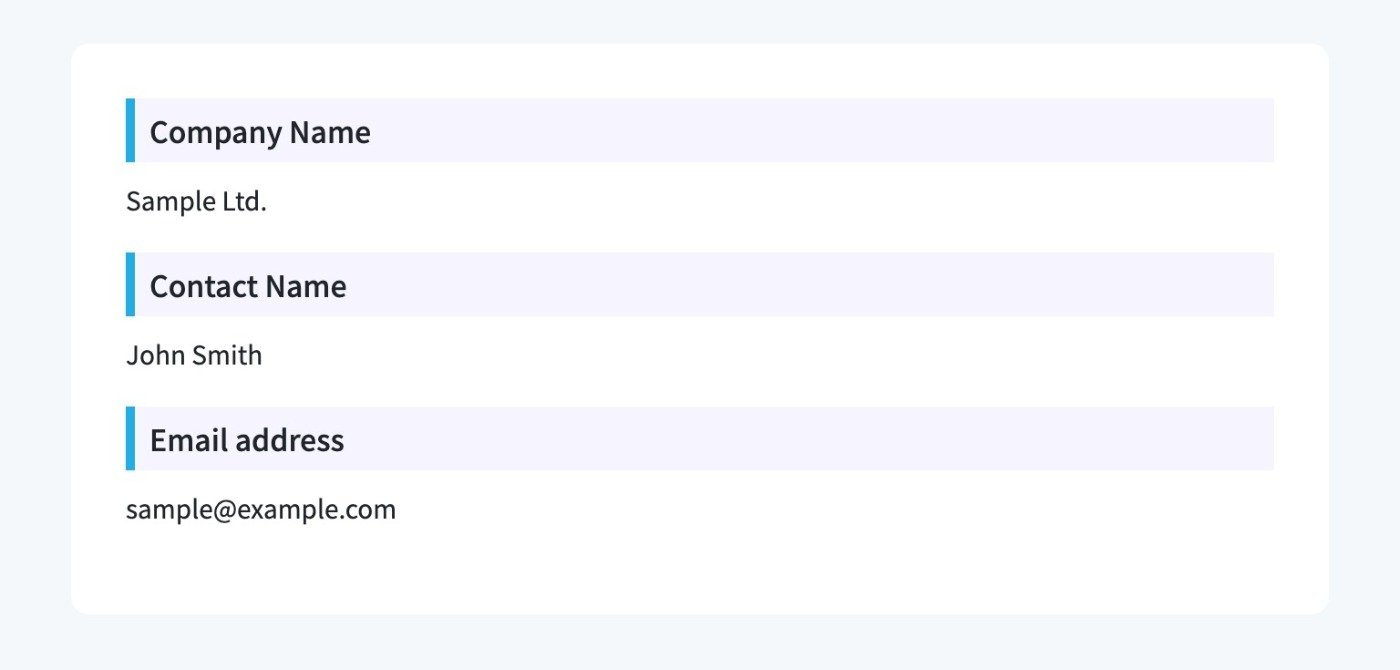
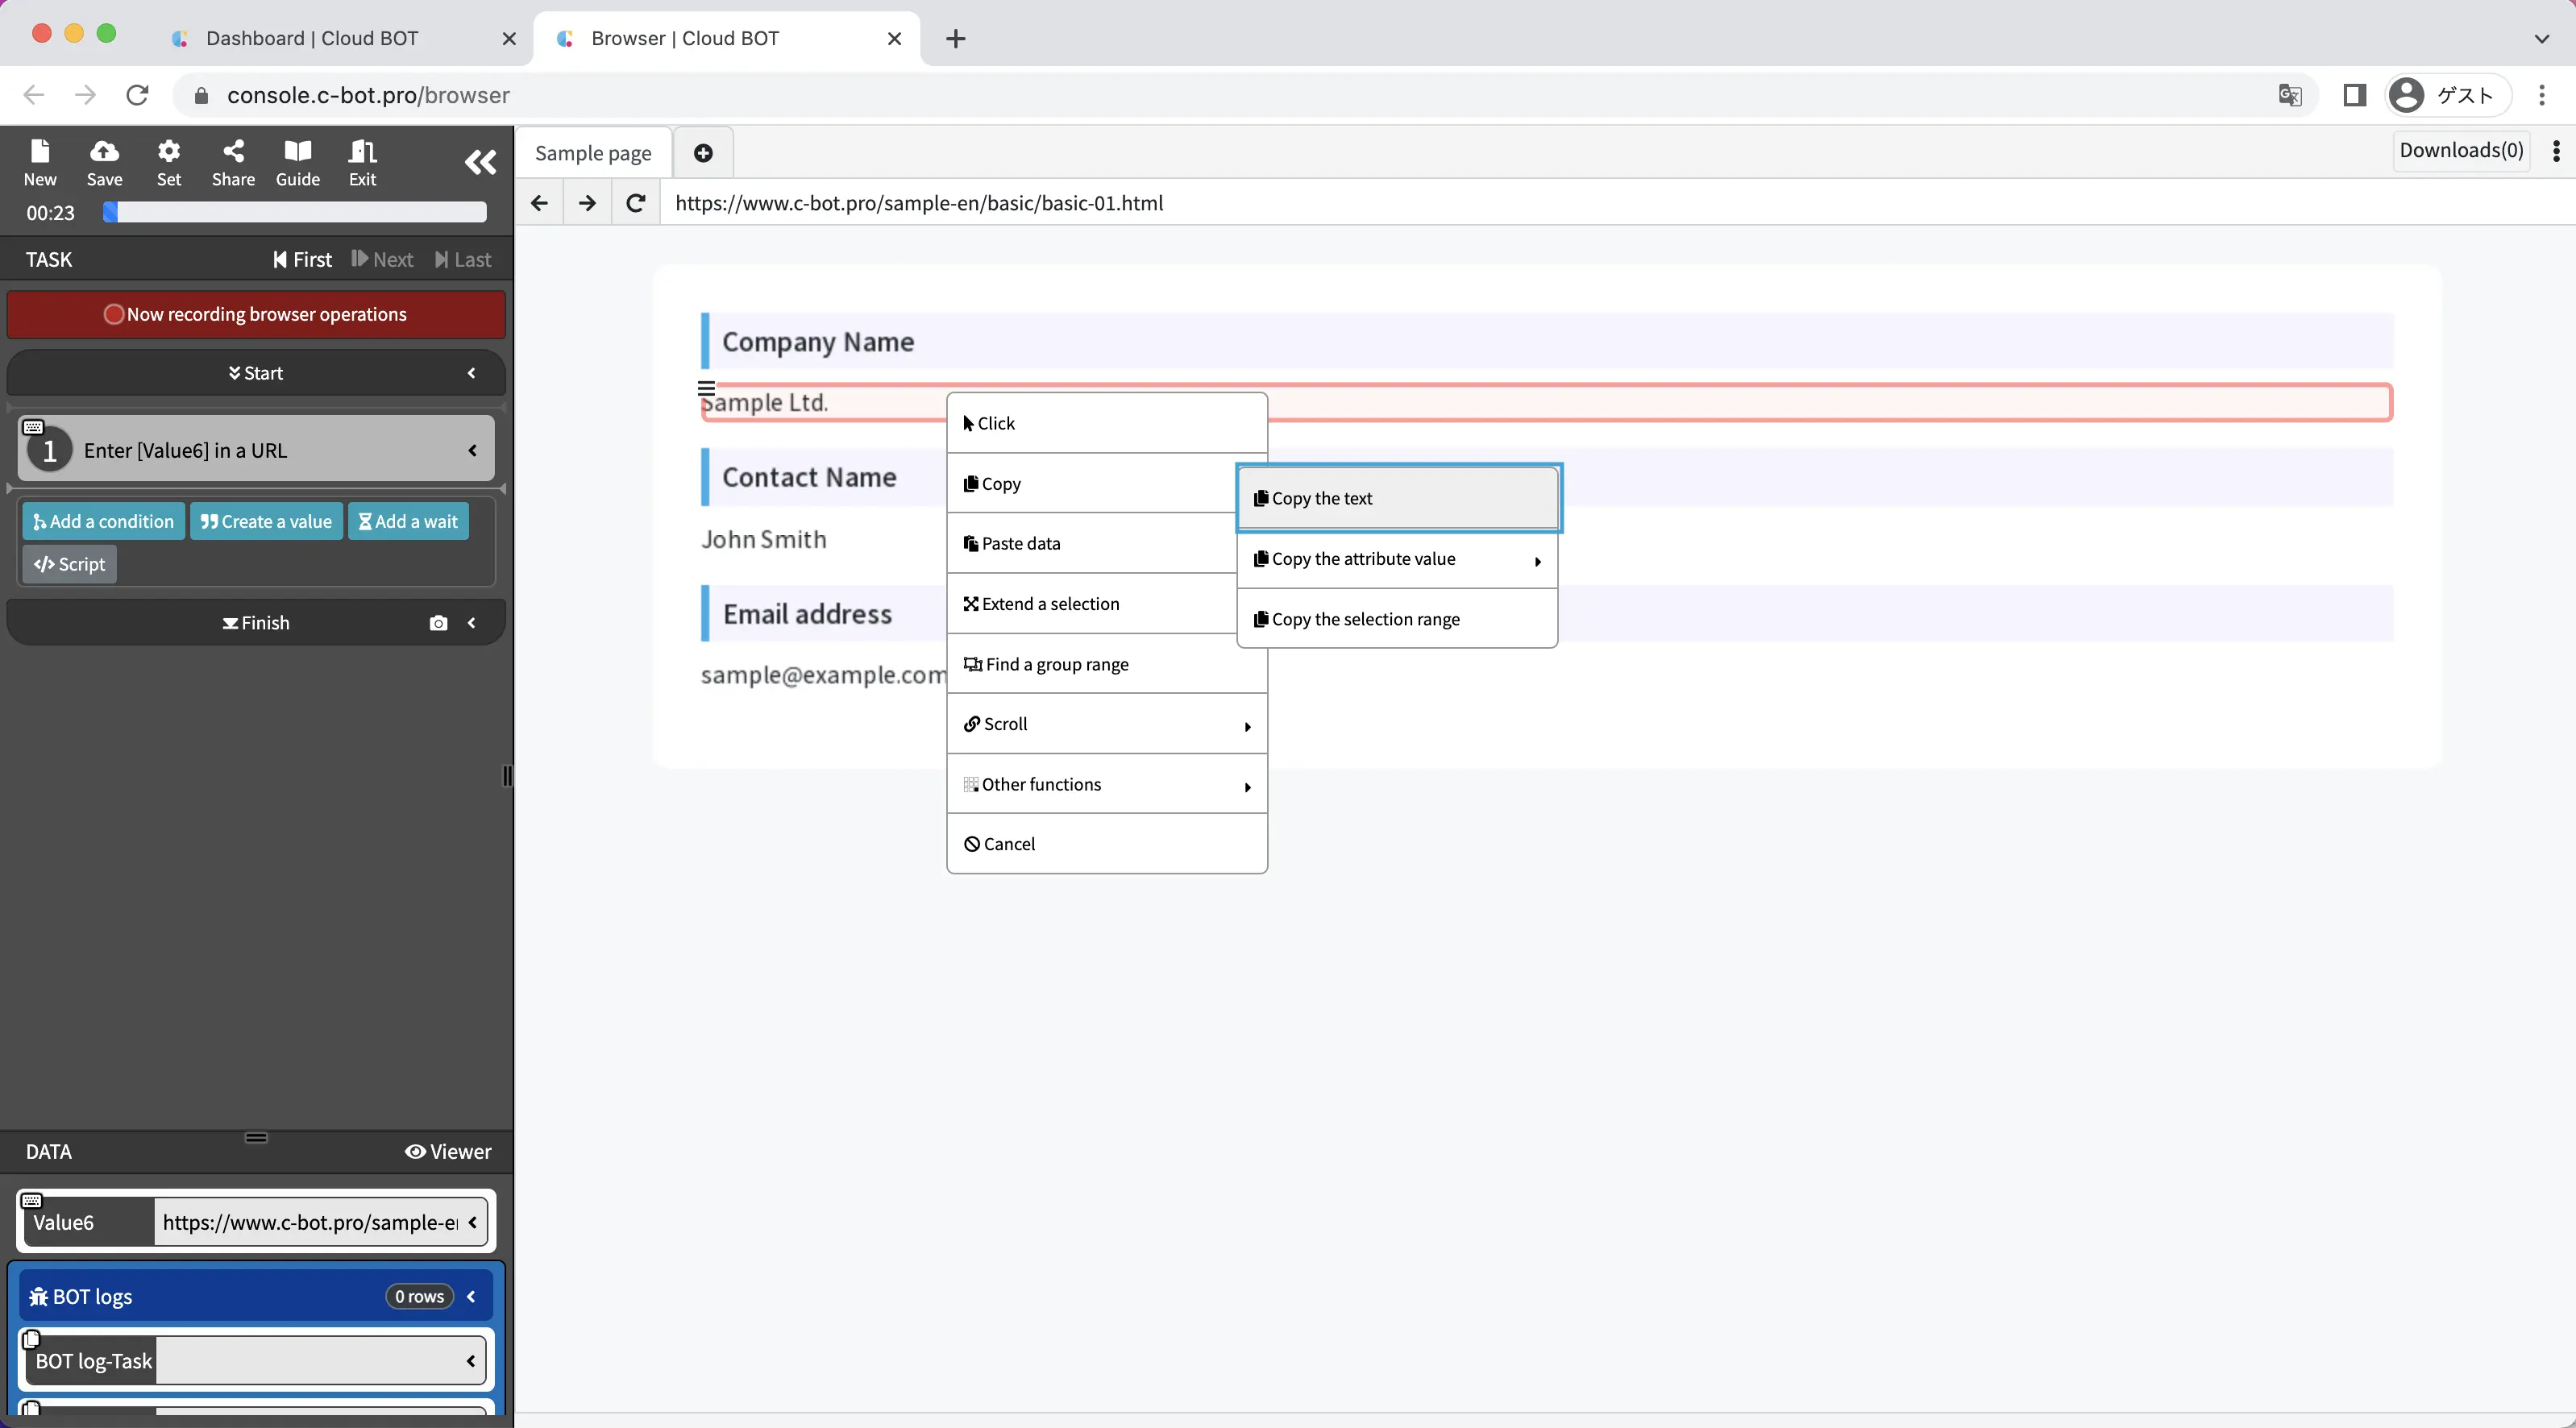
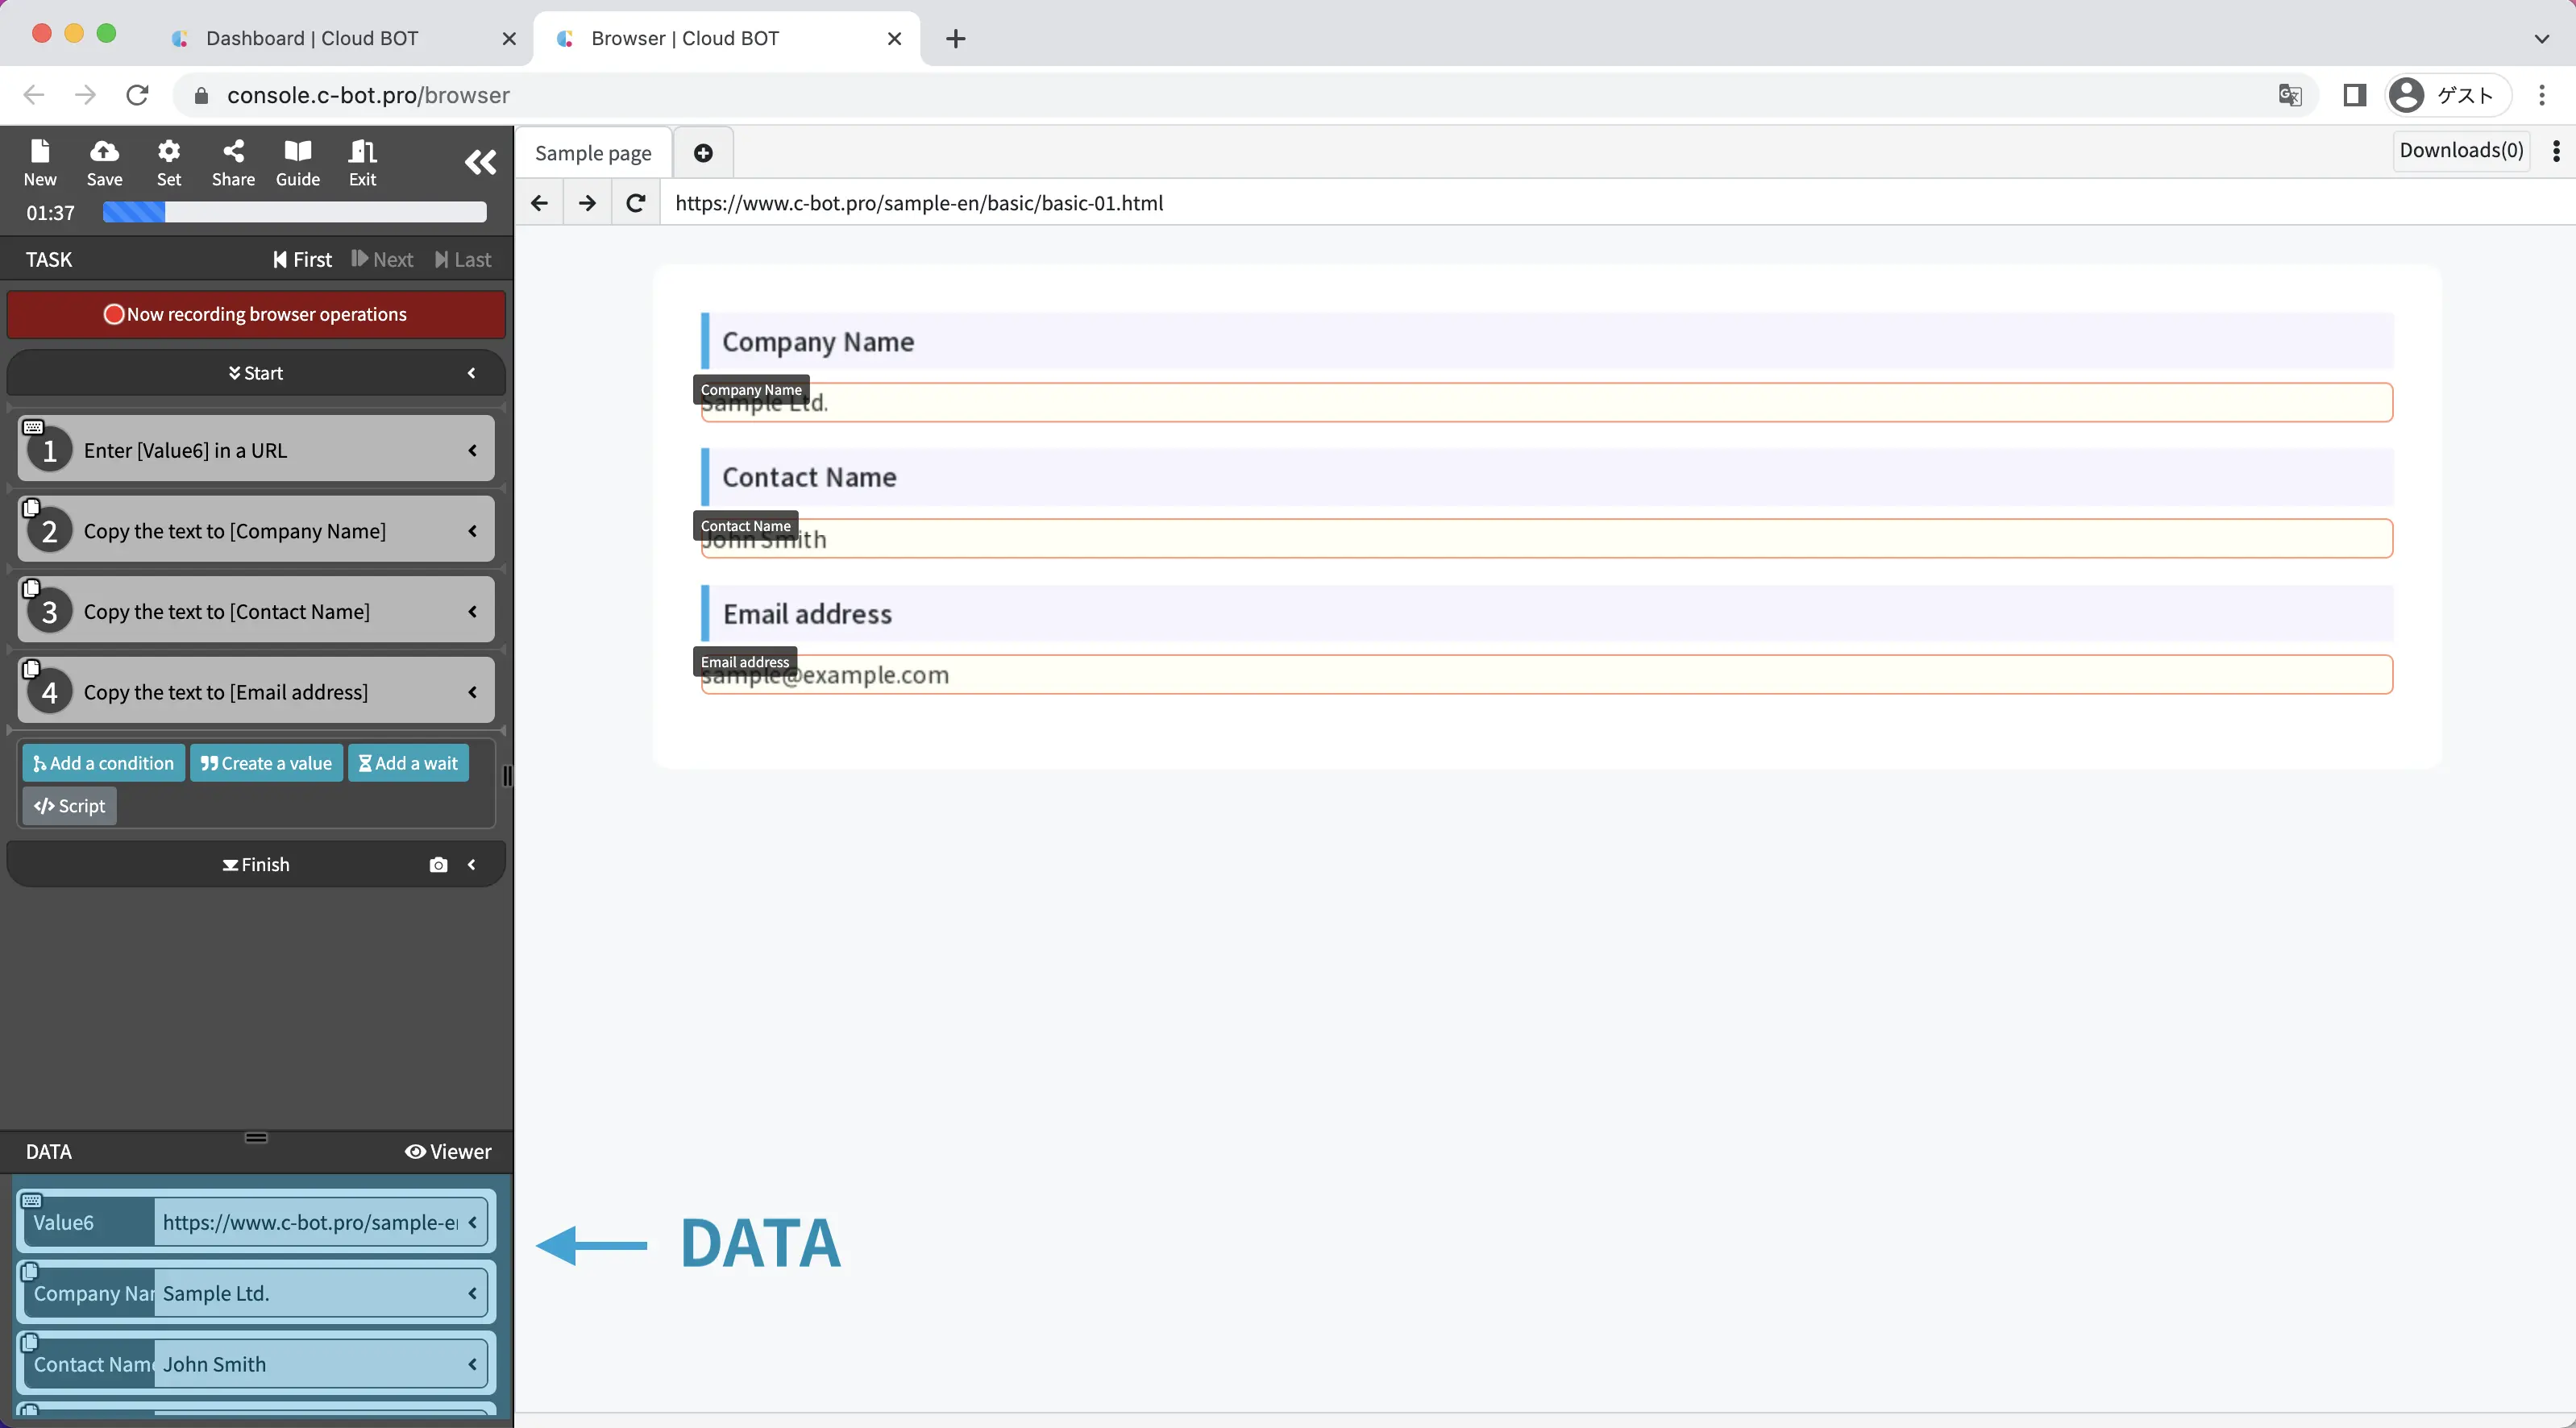
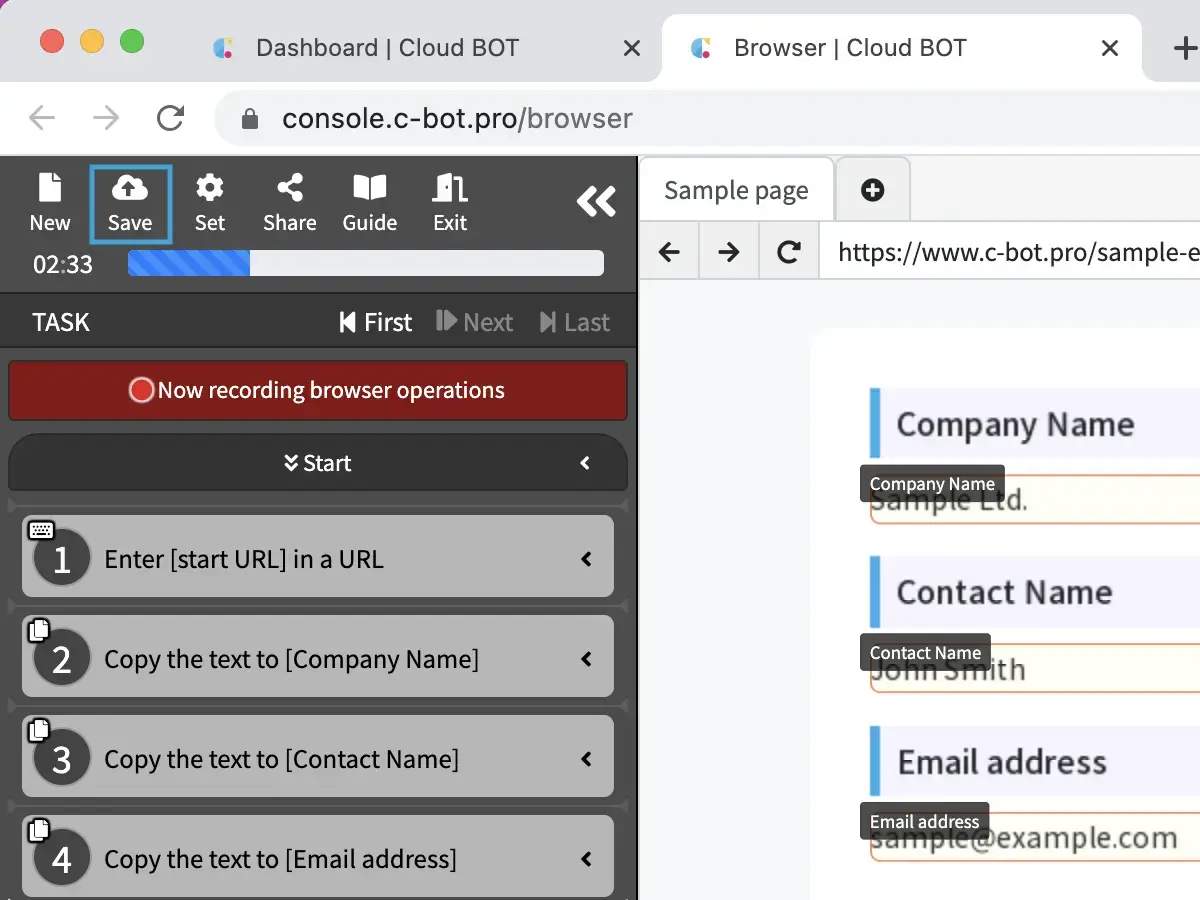
Click on the area on the page labeled "Sample Ltd.", and a red selection frame will be displayed.
Click again in the red selection box, and you can see the operation menu, and select "Copy" > "Copy the text".
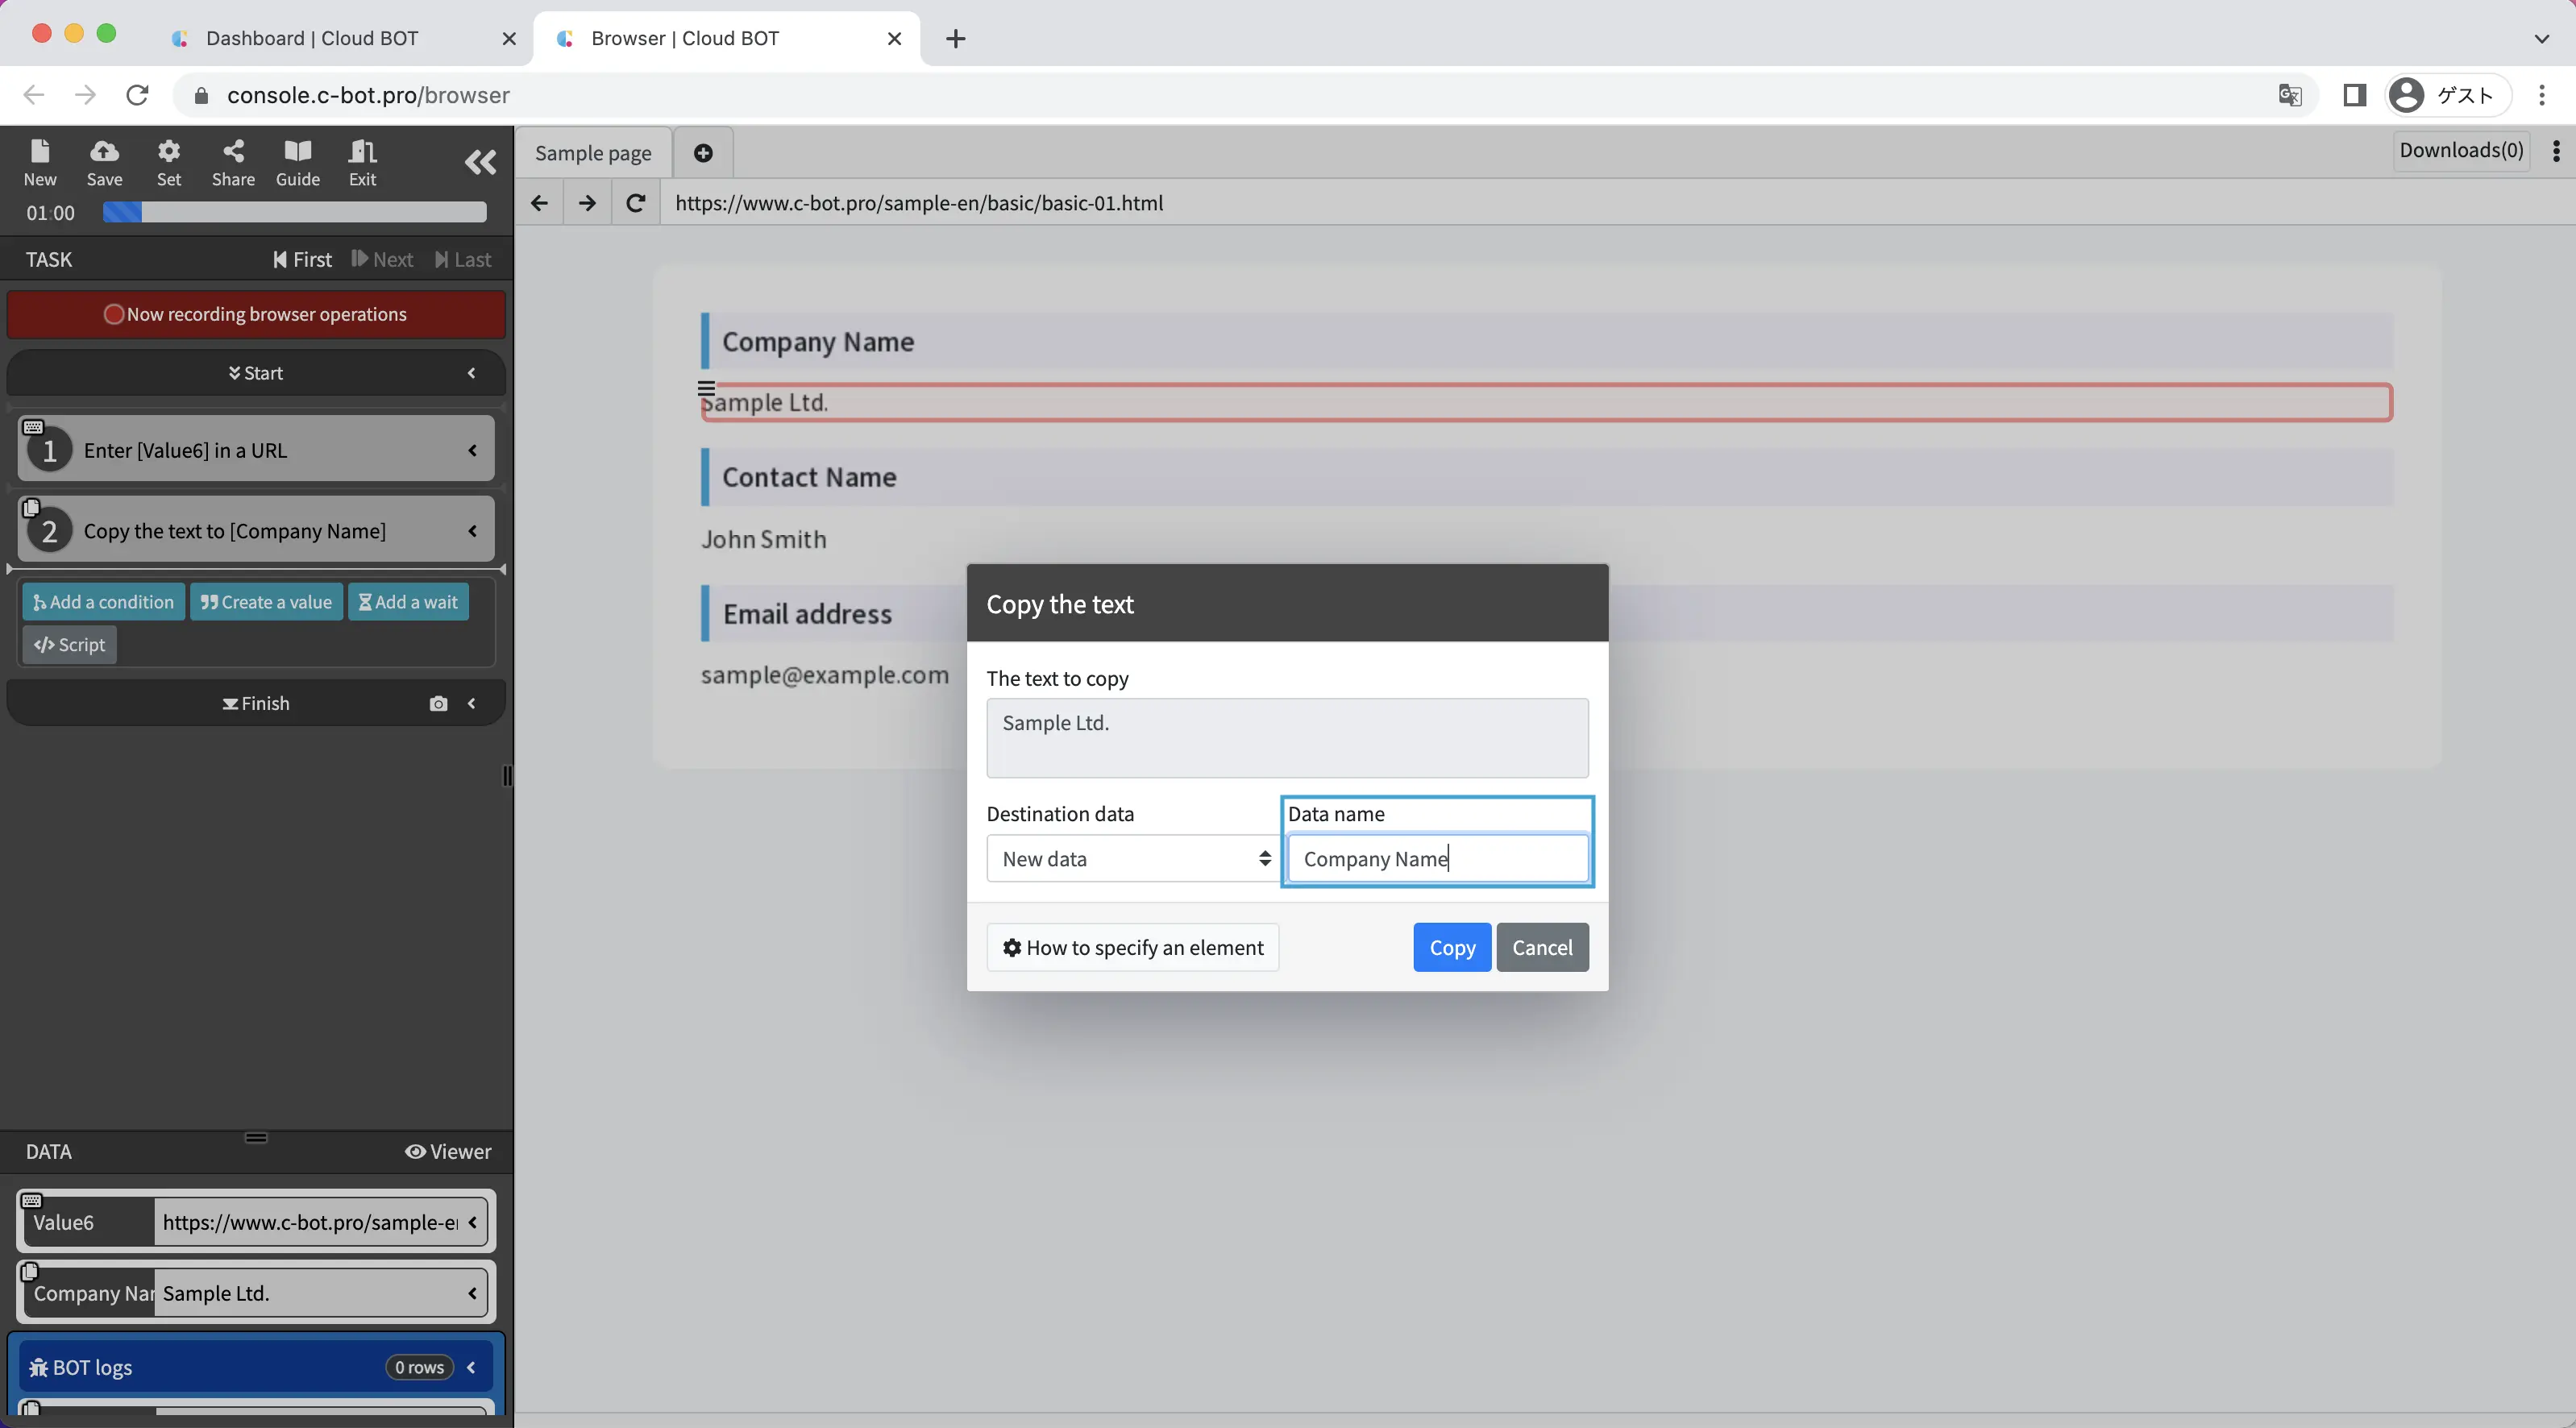
Enter the Company Name in the "Data Name" field and click the "Copy" button.
In the same way, record a task to copy "John Smith" and "sample@example.com" displayed in the page as the Contact Name and Email address.
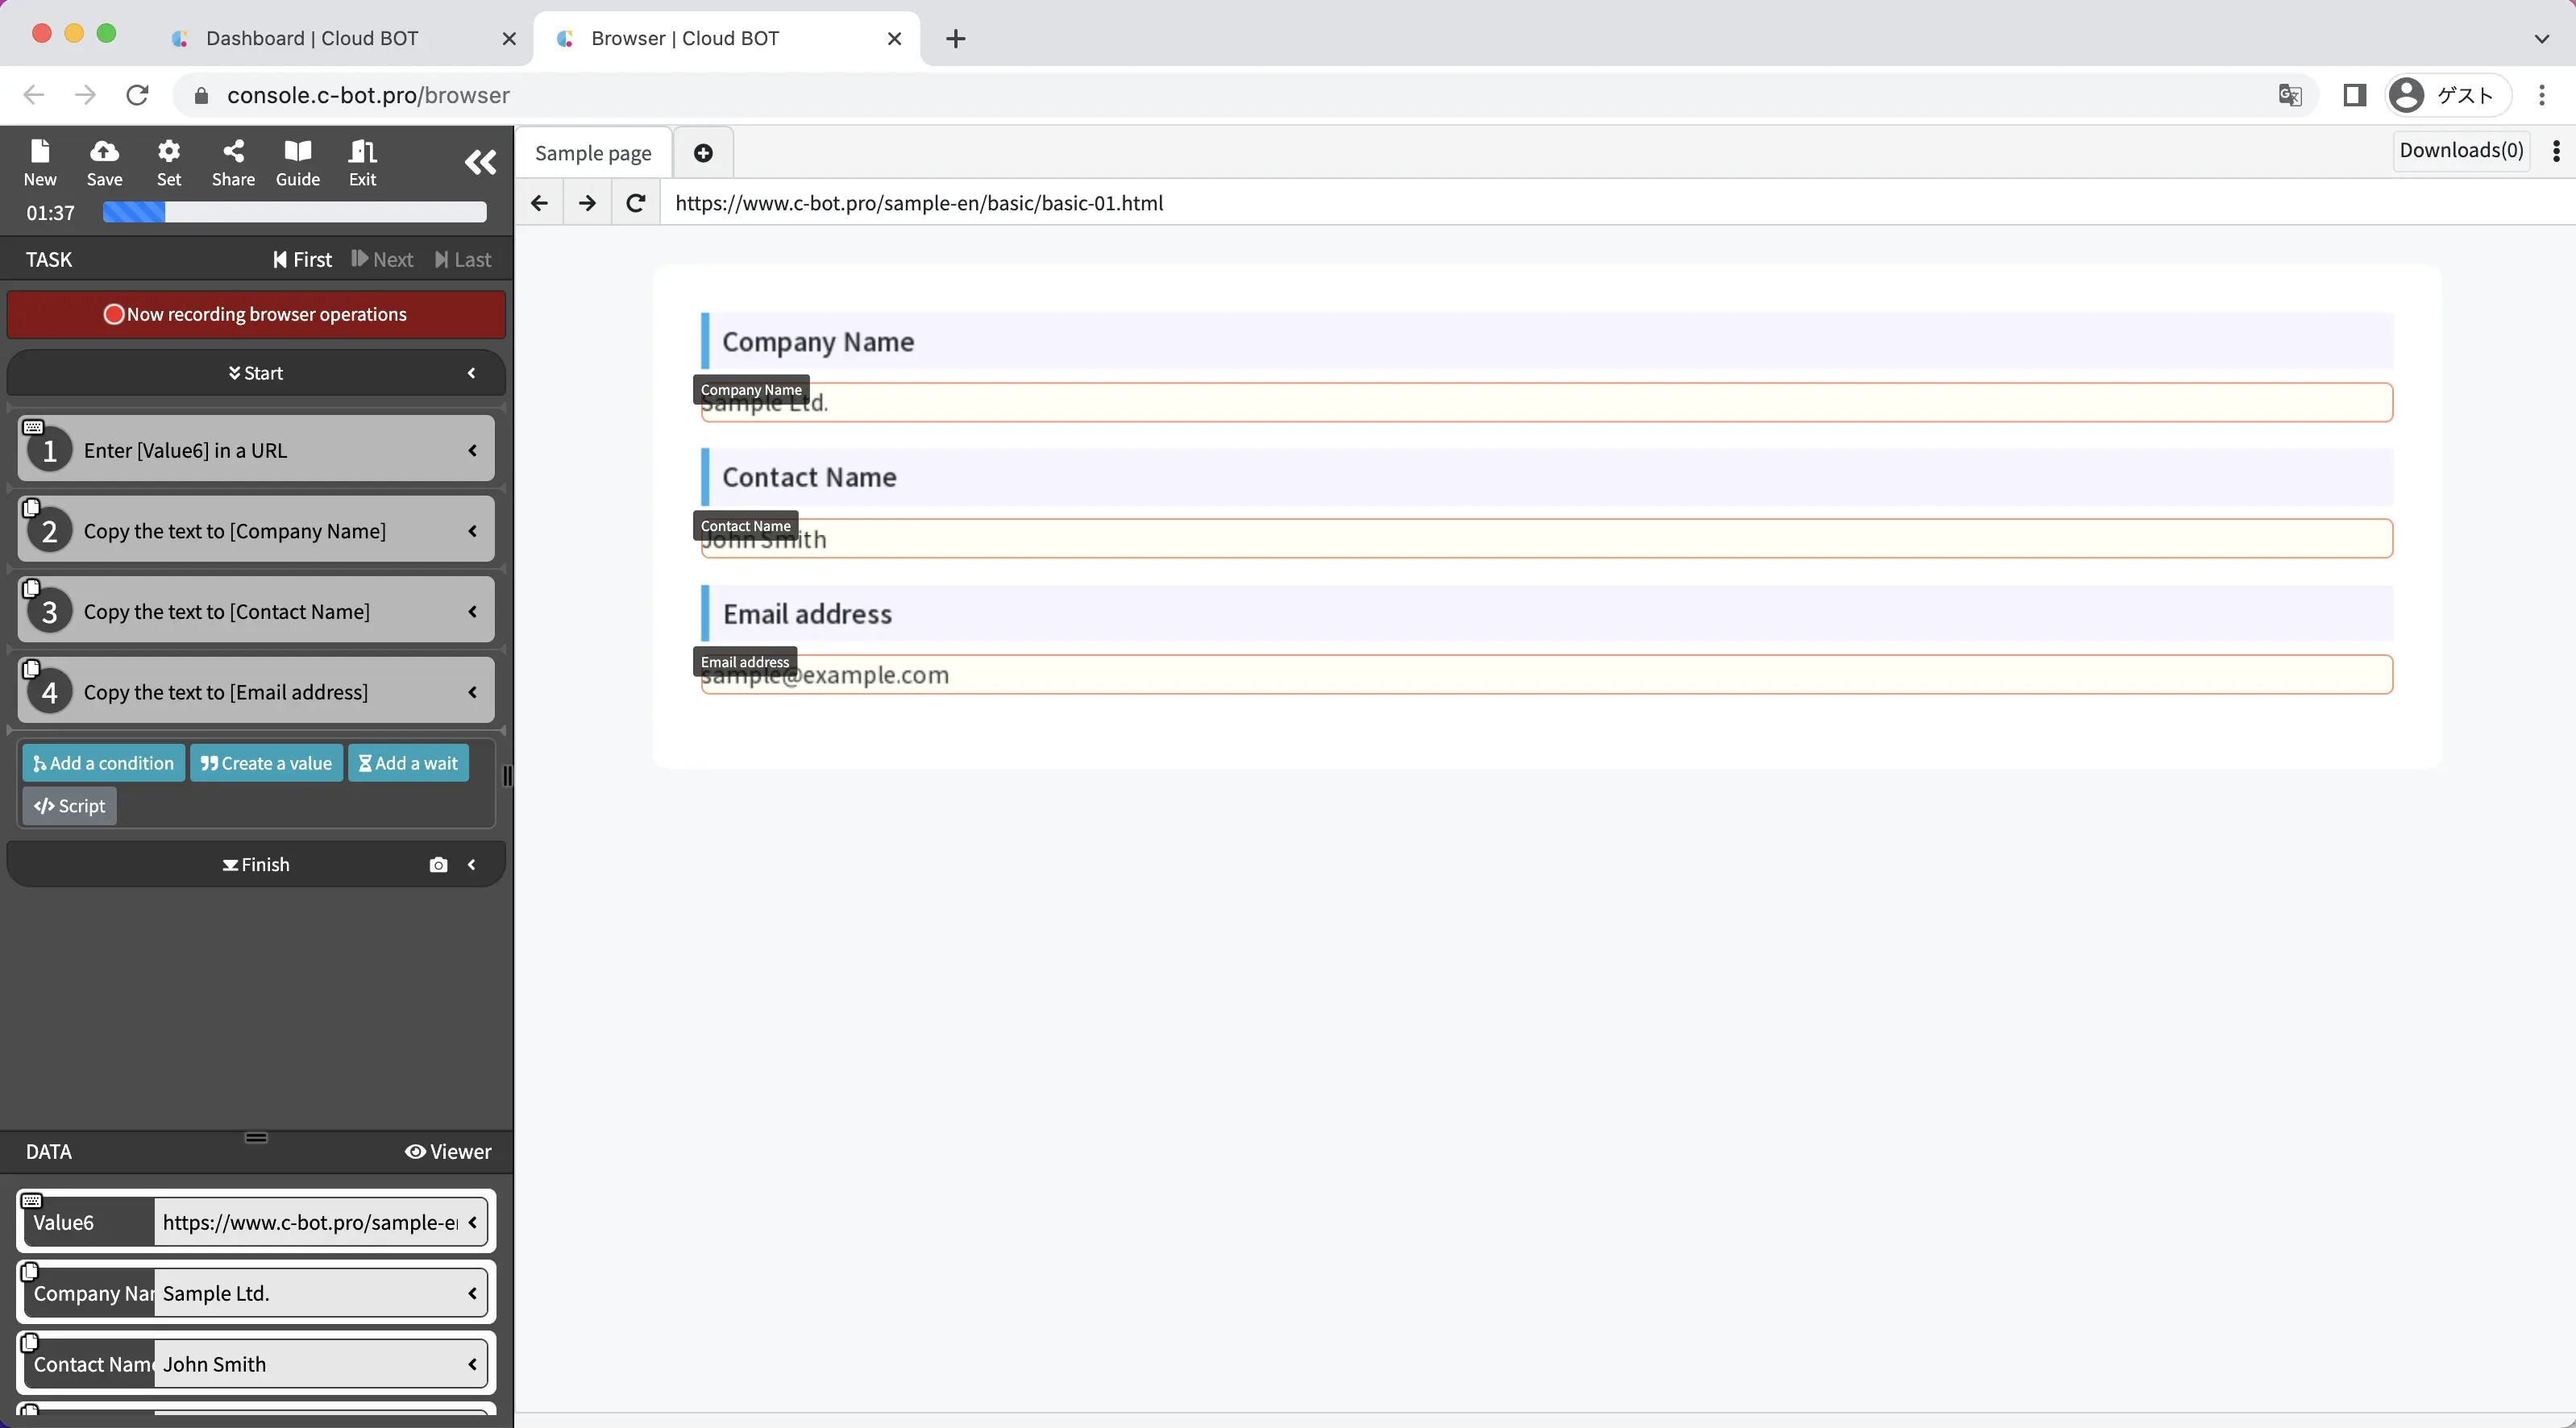
Thus, operations performed on the virtual browser are recorded as "TASK" in the upper left corner of the screen.
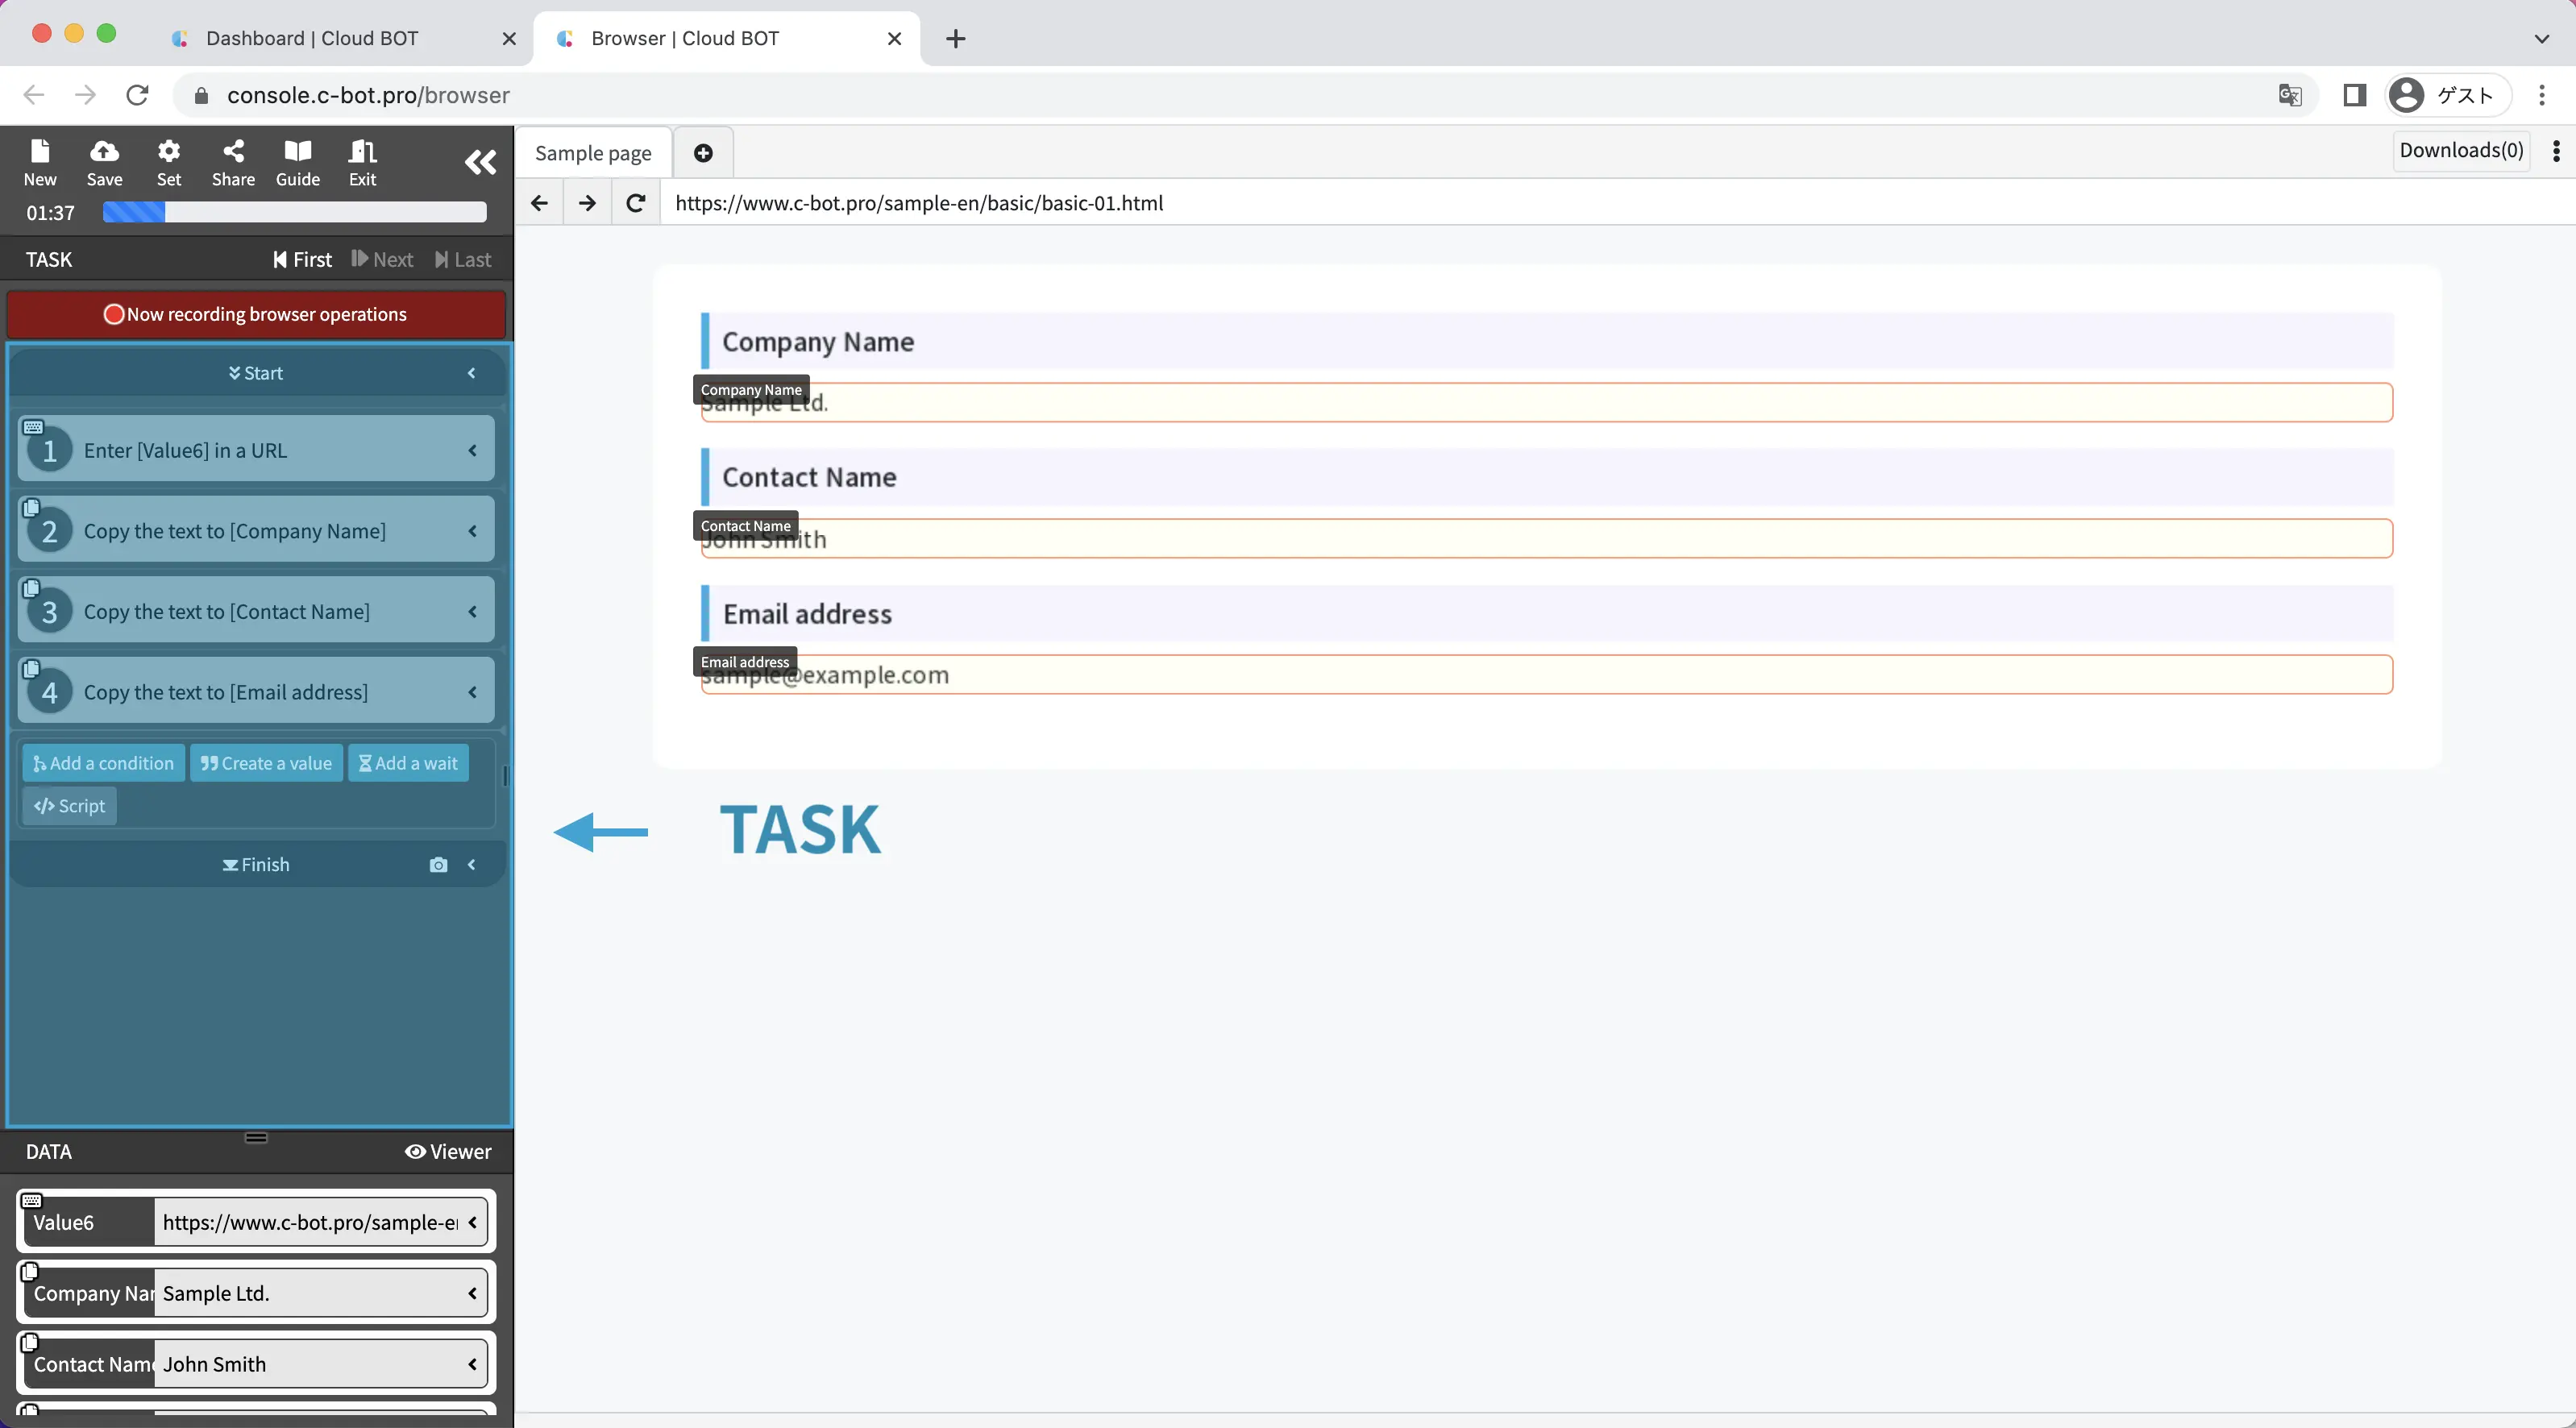
The "DATA" used in the "task" is stored in the lower left corner of the screen.
4. Change the data name
Click on "Viewer" in the "Data" menu.
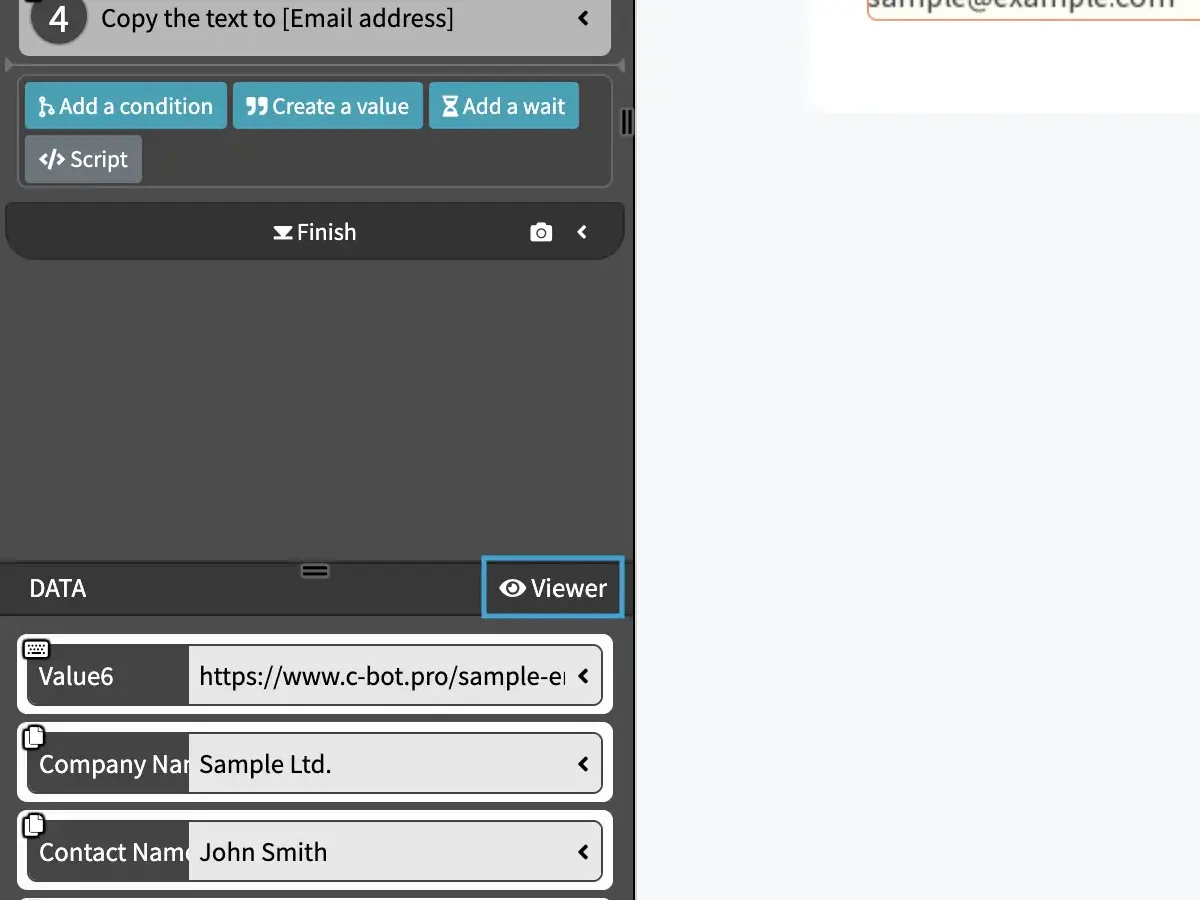
A data viewer is displayed.
In the data viewer, you can see the data used in the BOT in a list.
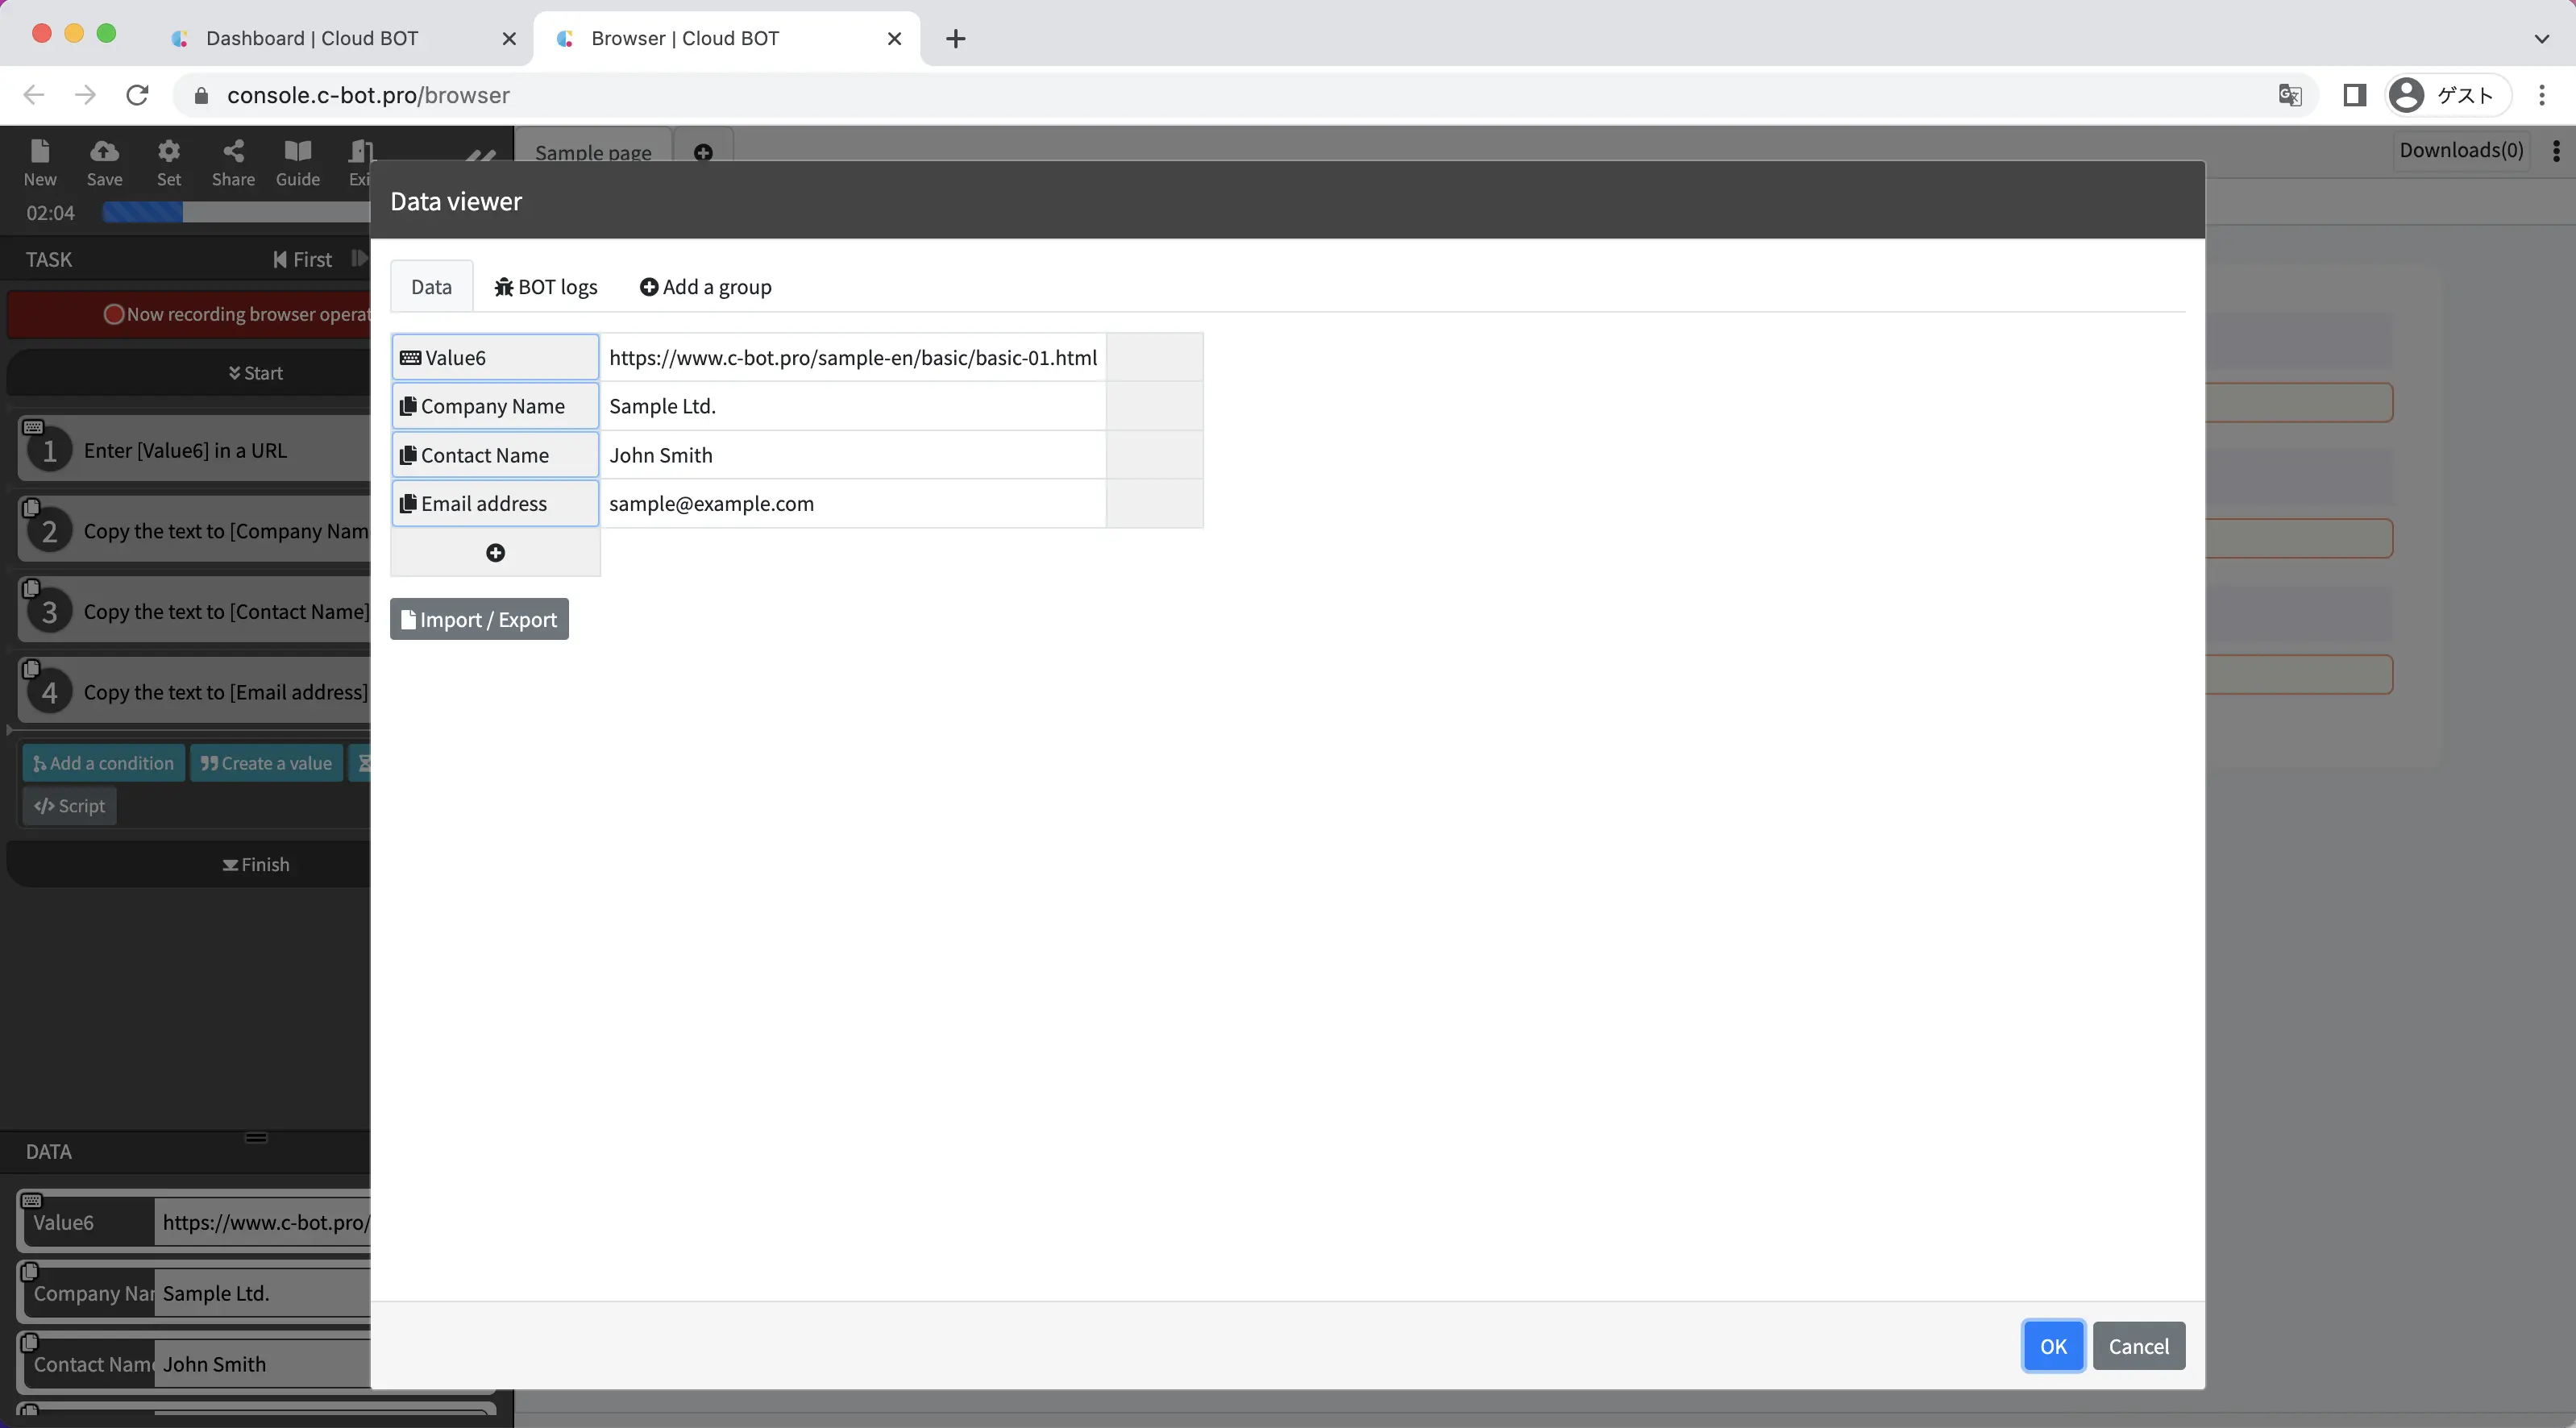
The data name can be changed to any value.
The data name should be changed to a name that is easy to understand for your use.
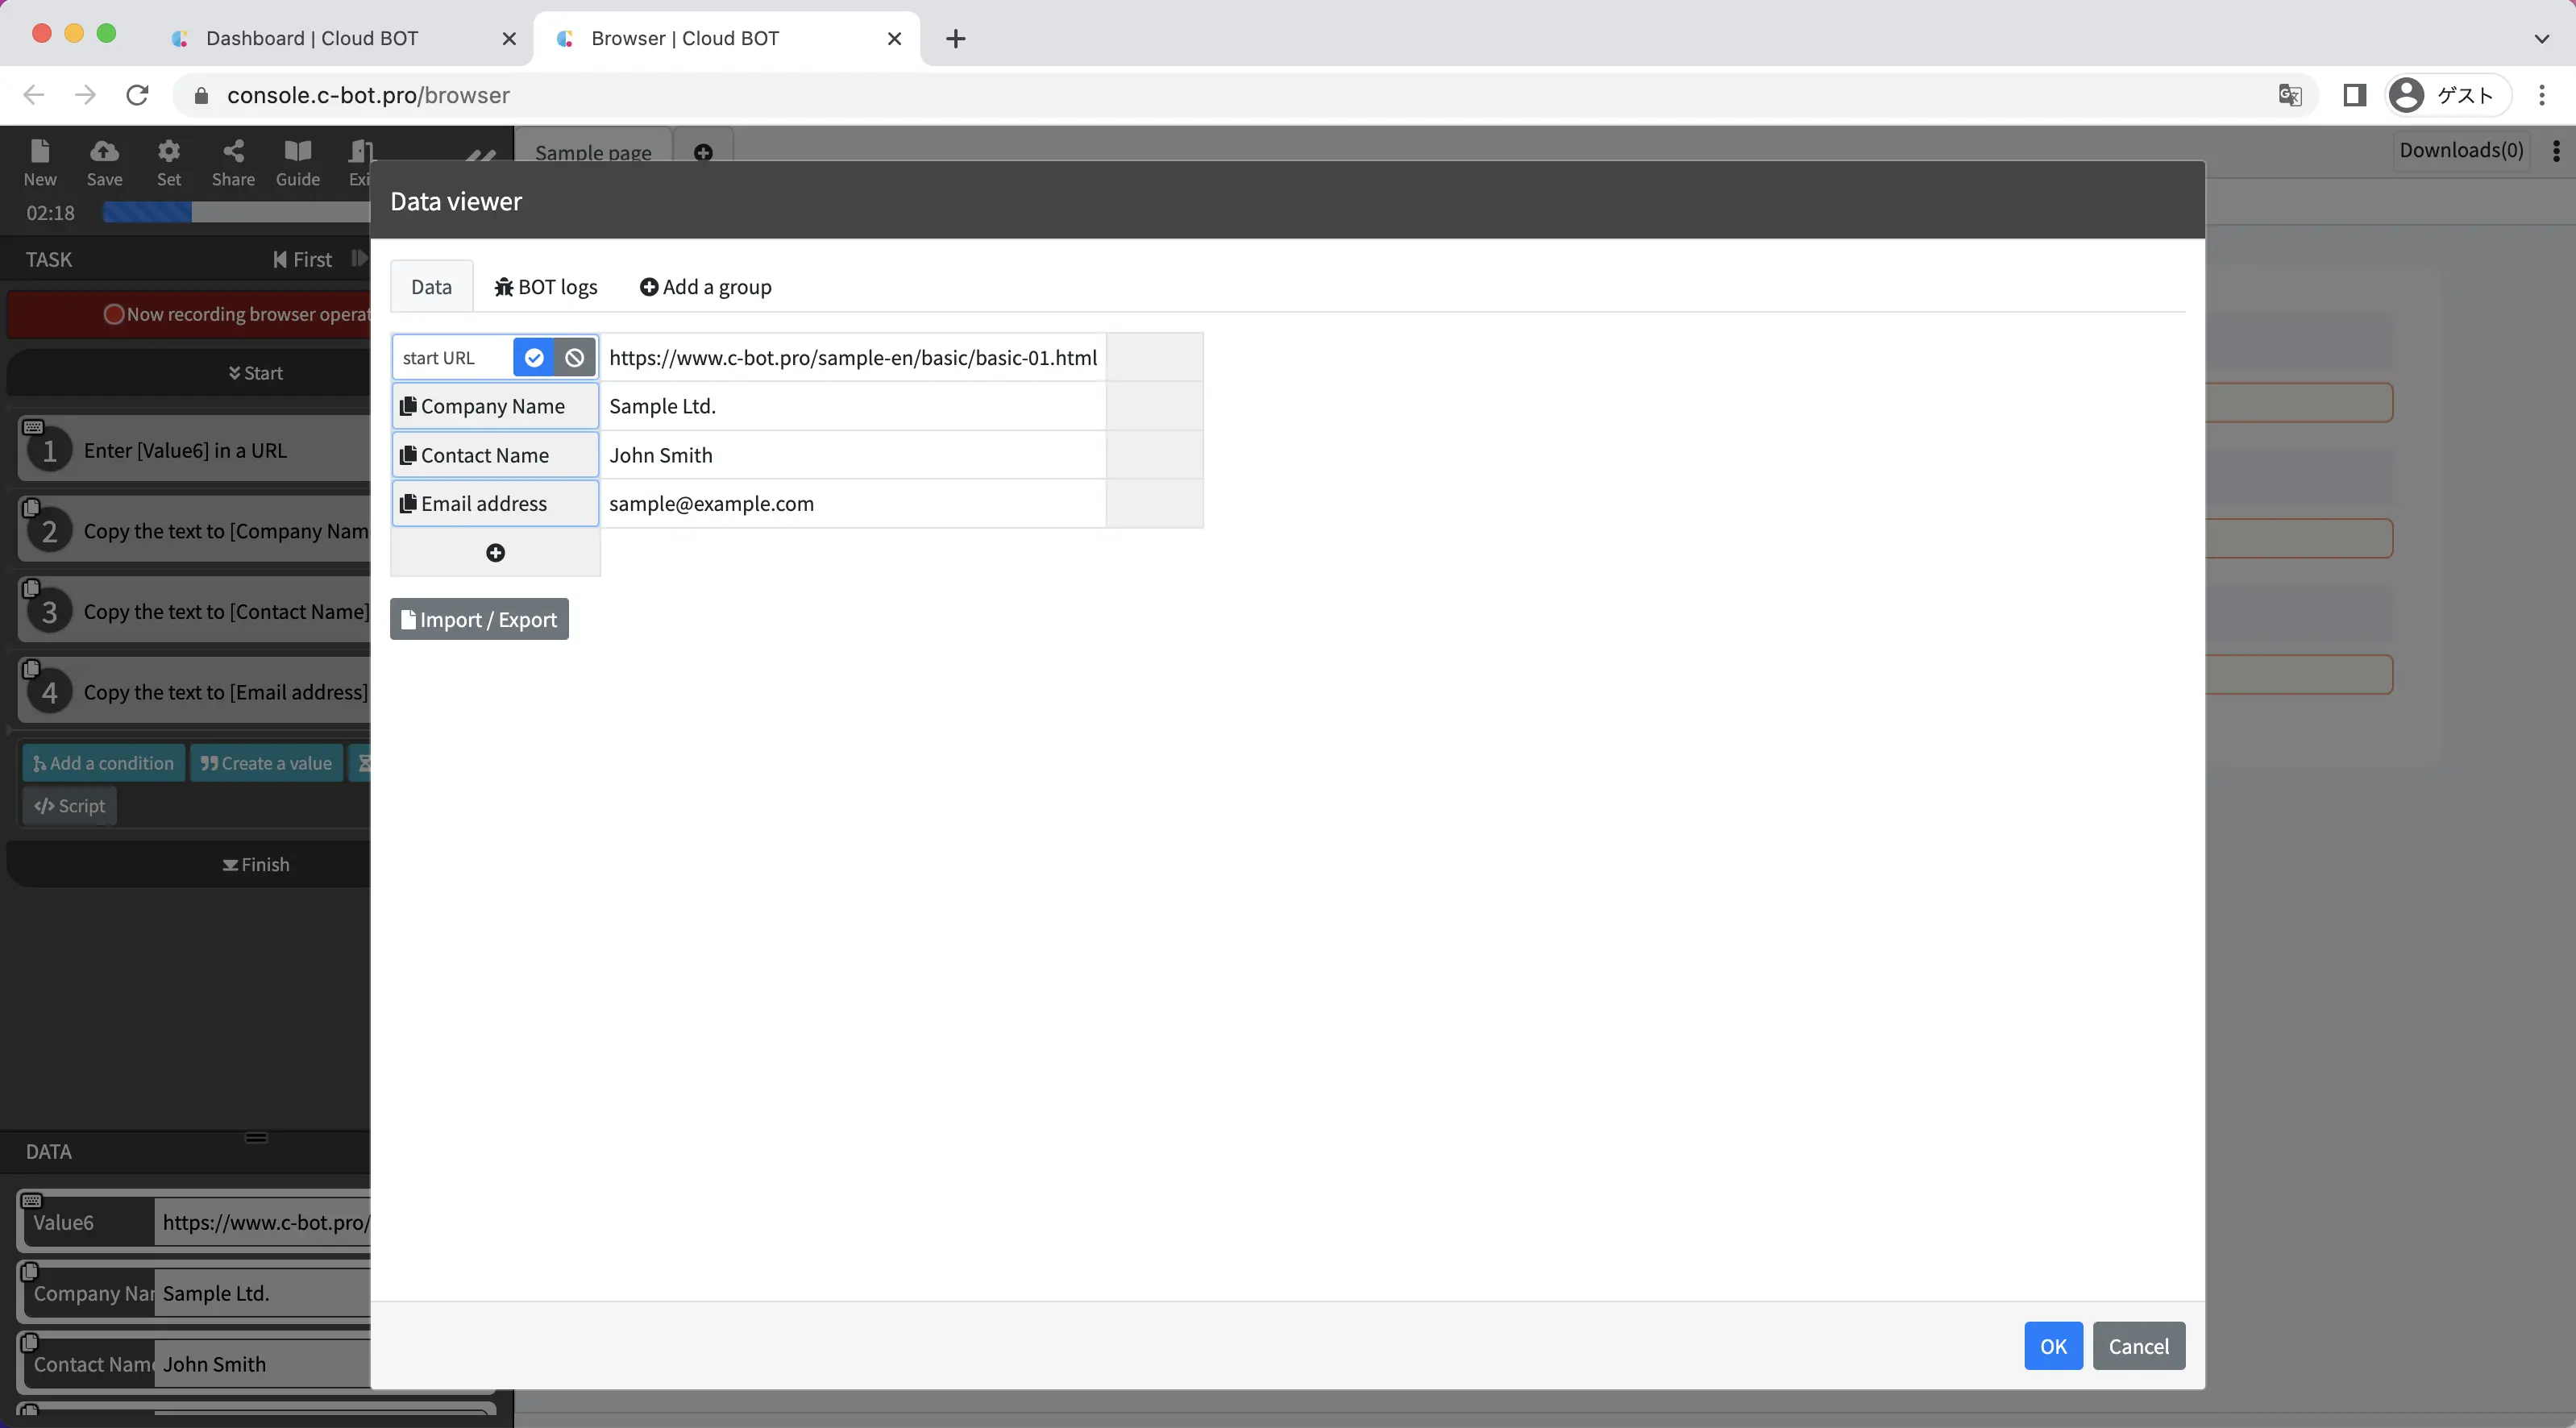
Change the data name "value 1" to the start URL and click the "OK" button.
5. Save the BOT
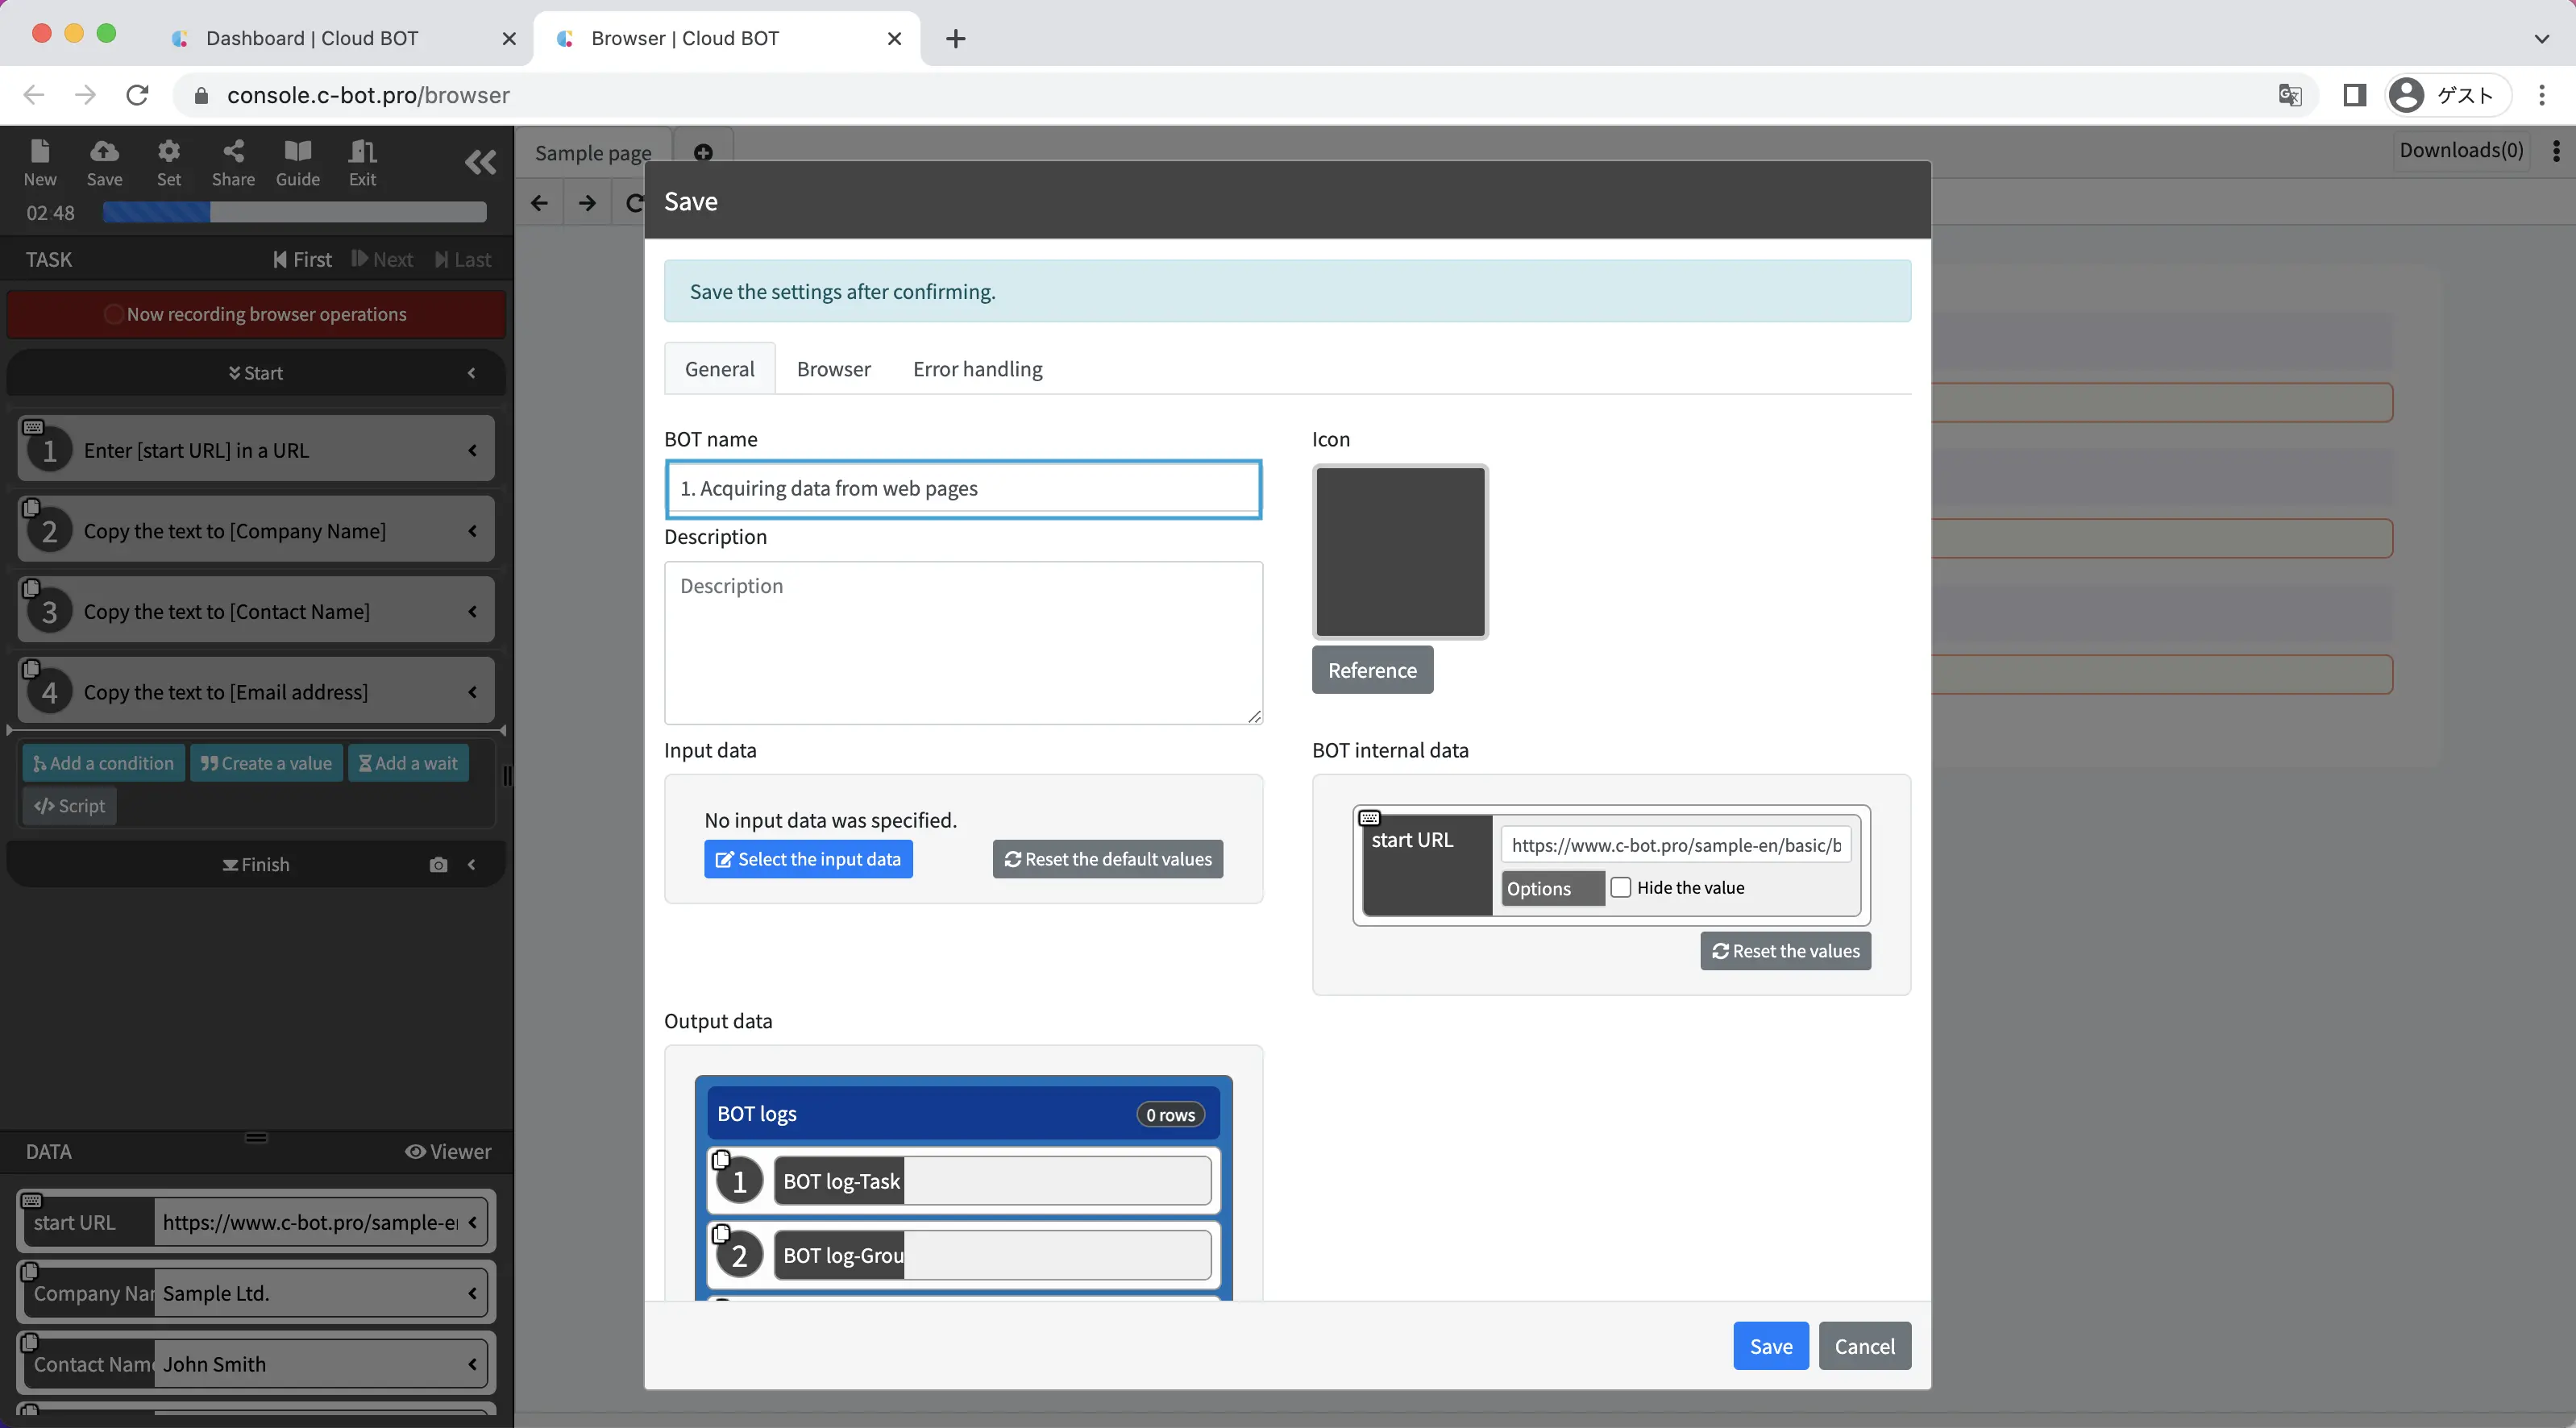
Click the "Save" button on the upper left of the screen.
A window will open, and you can change the BOT name to an easy-to-understand name.
Change "BOT name" to 1-1. Acquiring data from web pages and click the "Save" button.
Only when saving for the first time will the "Email Notification settings" window be displayed.
Click the "Email notification settings" button.
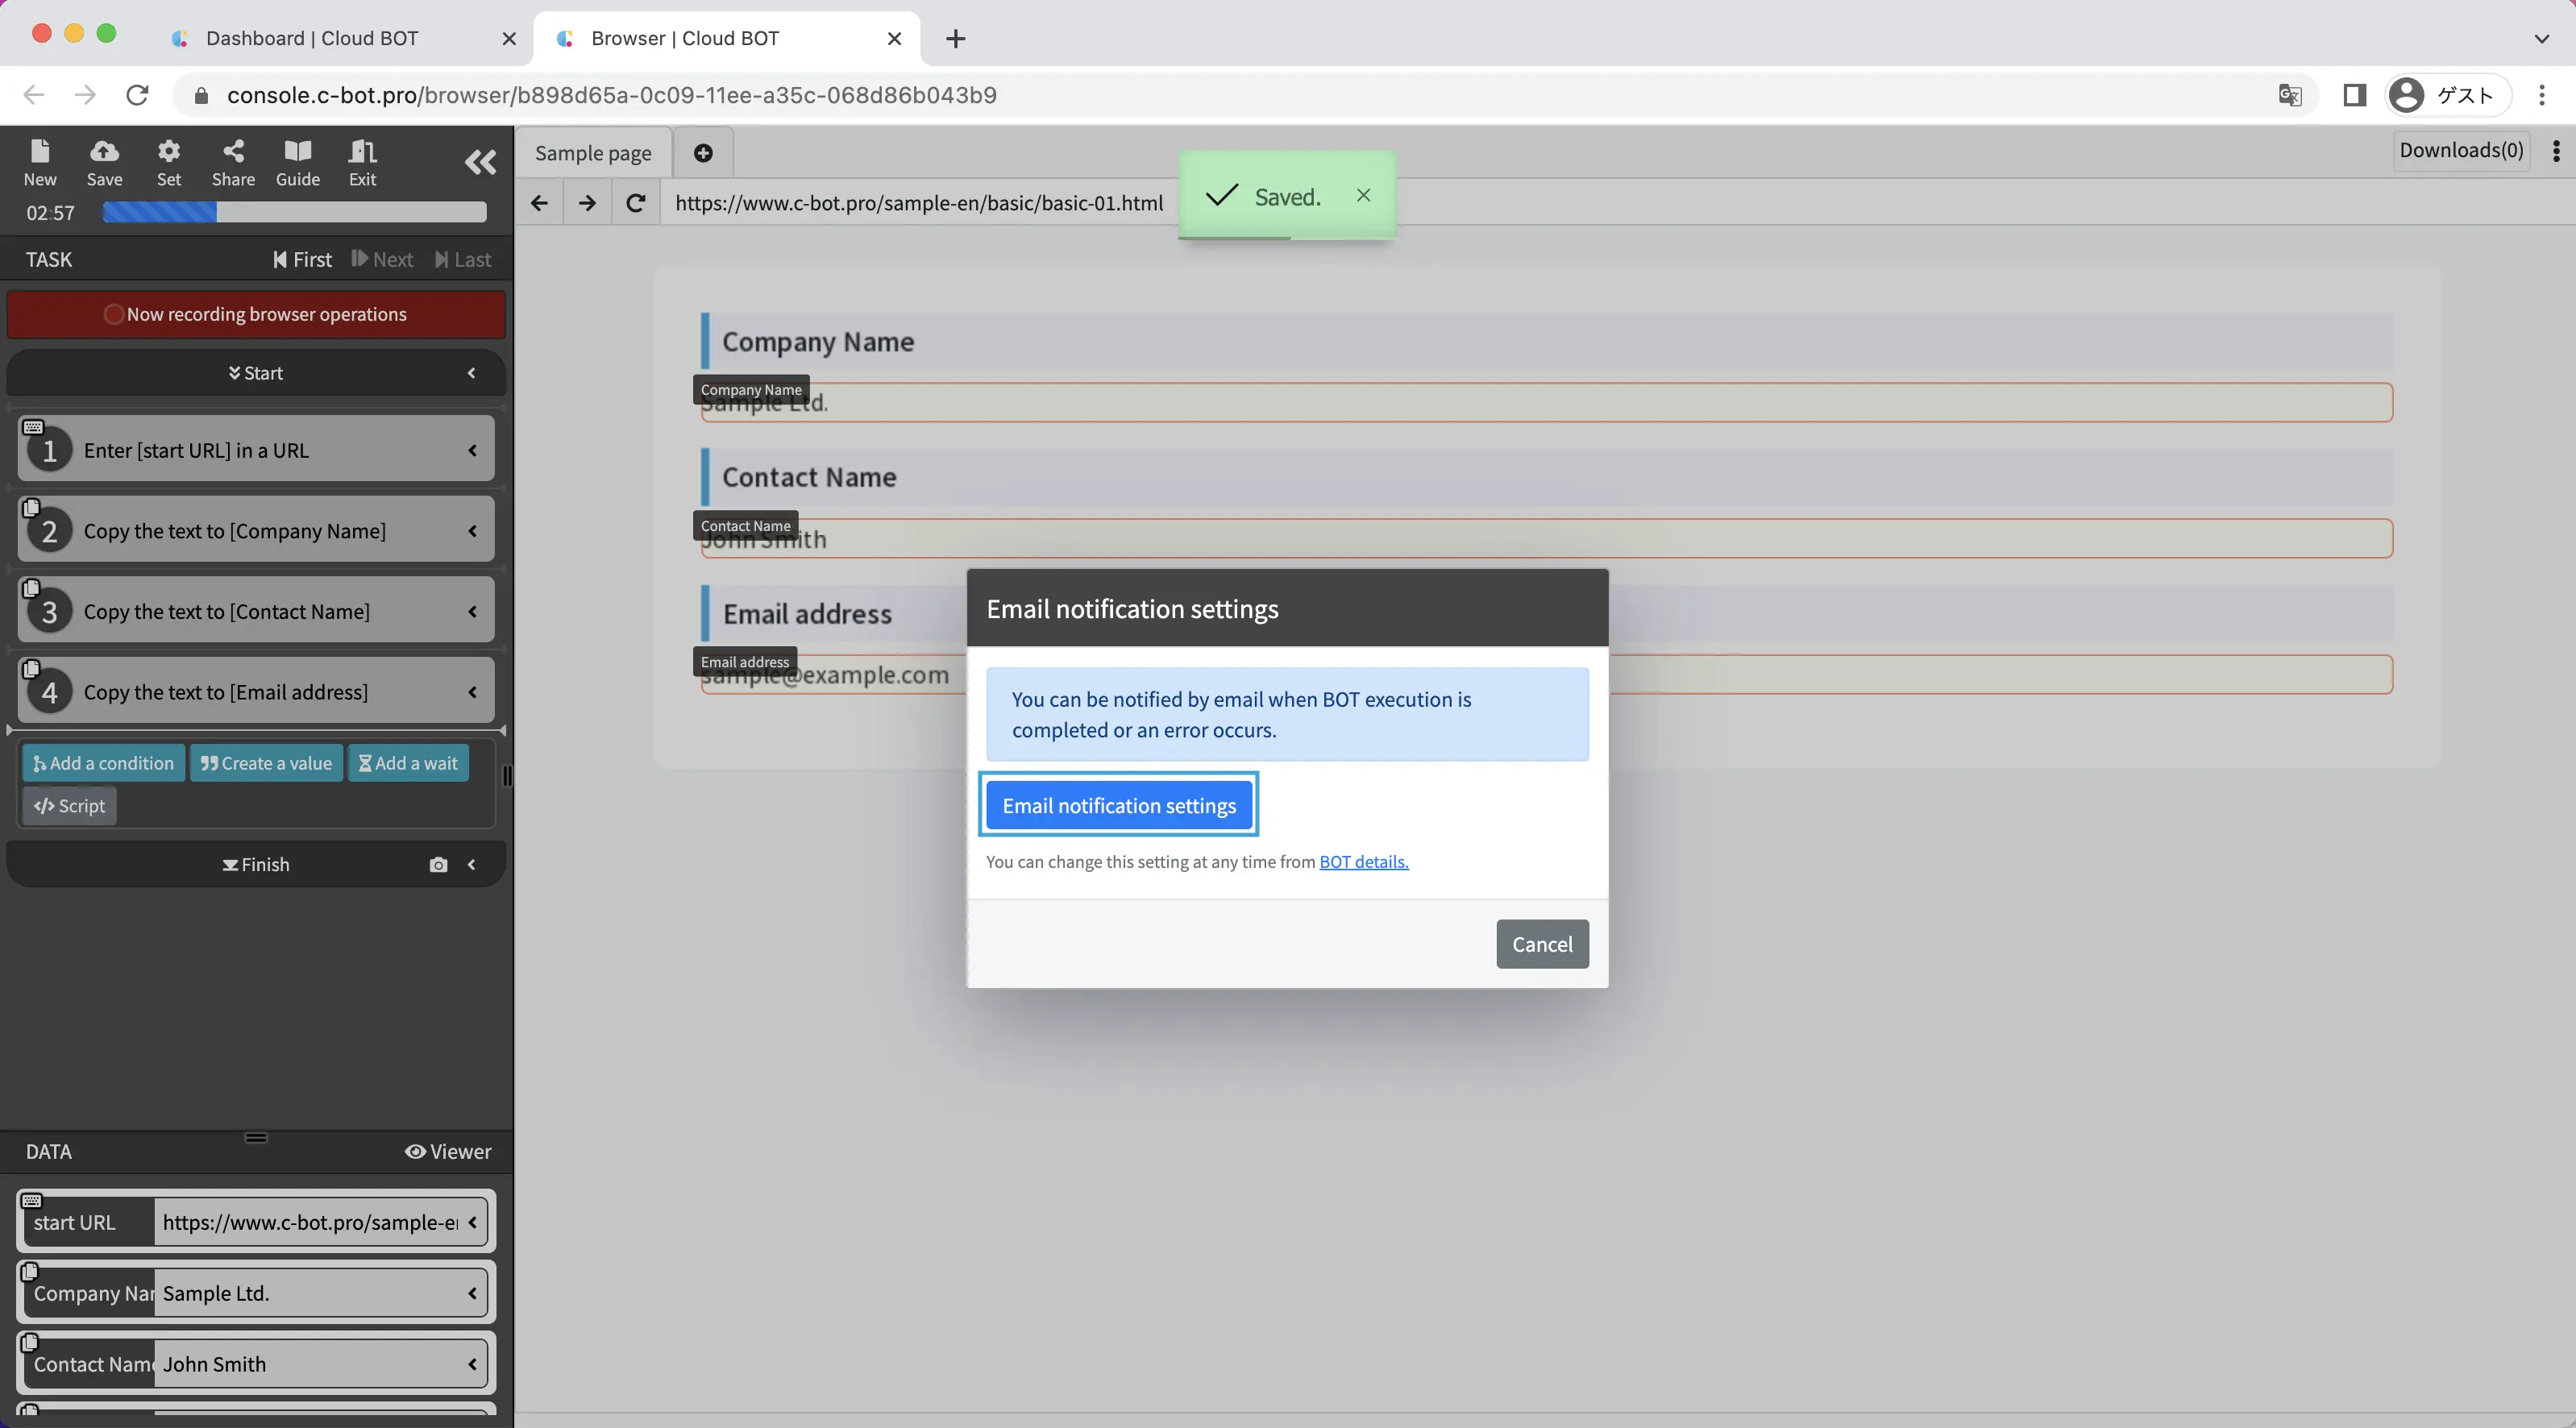
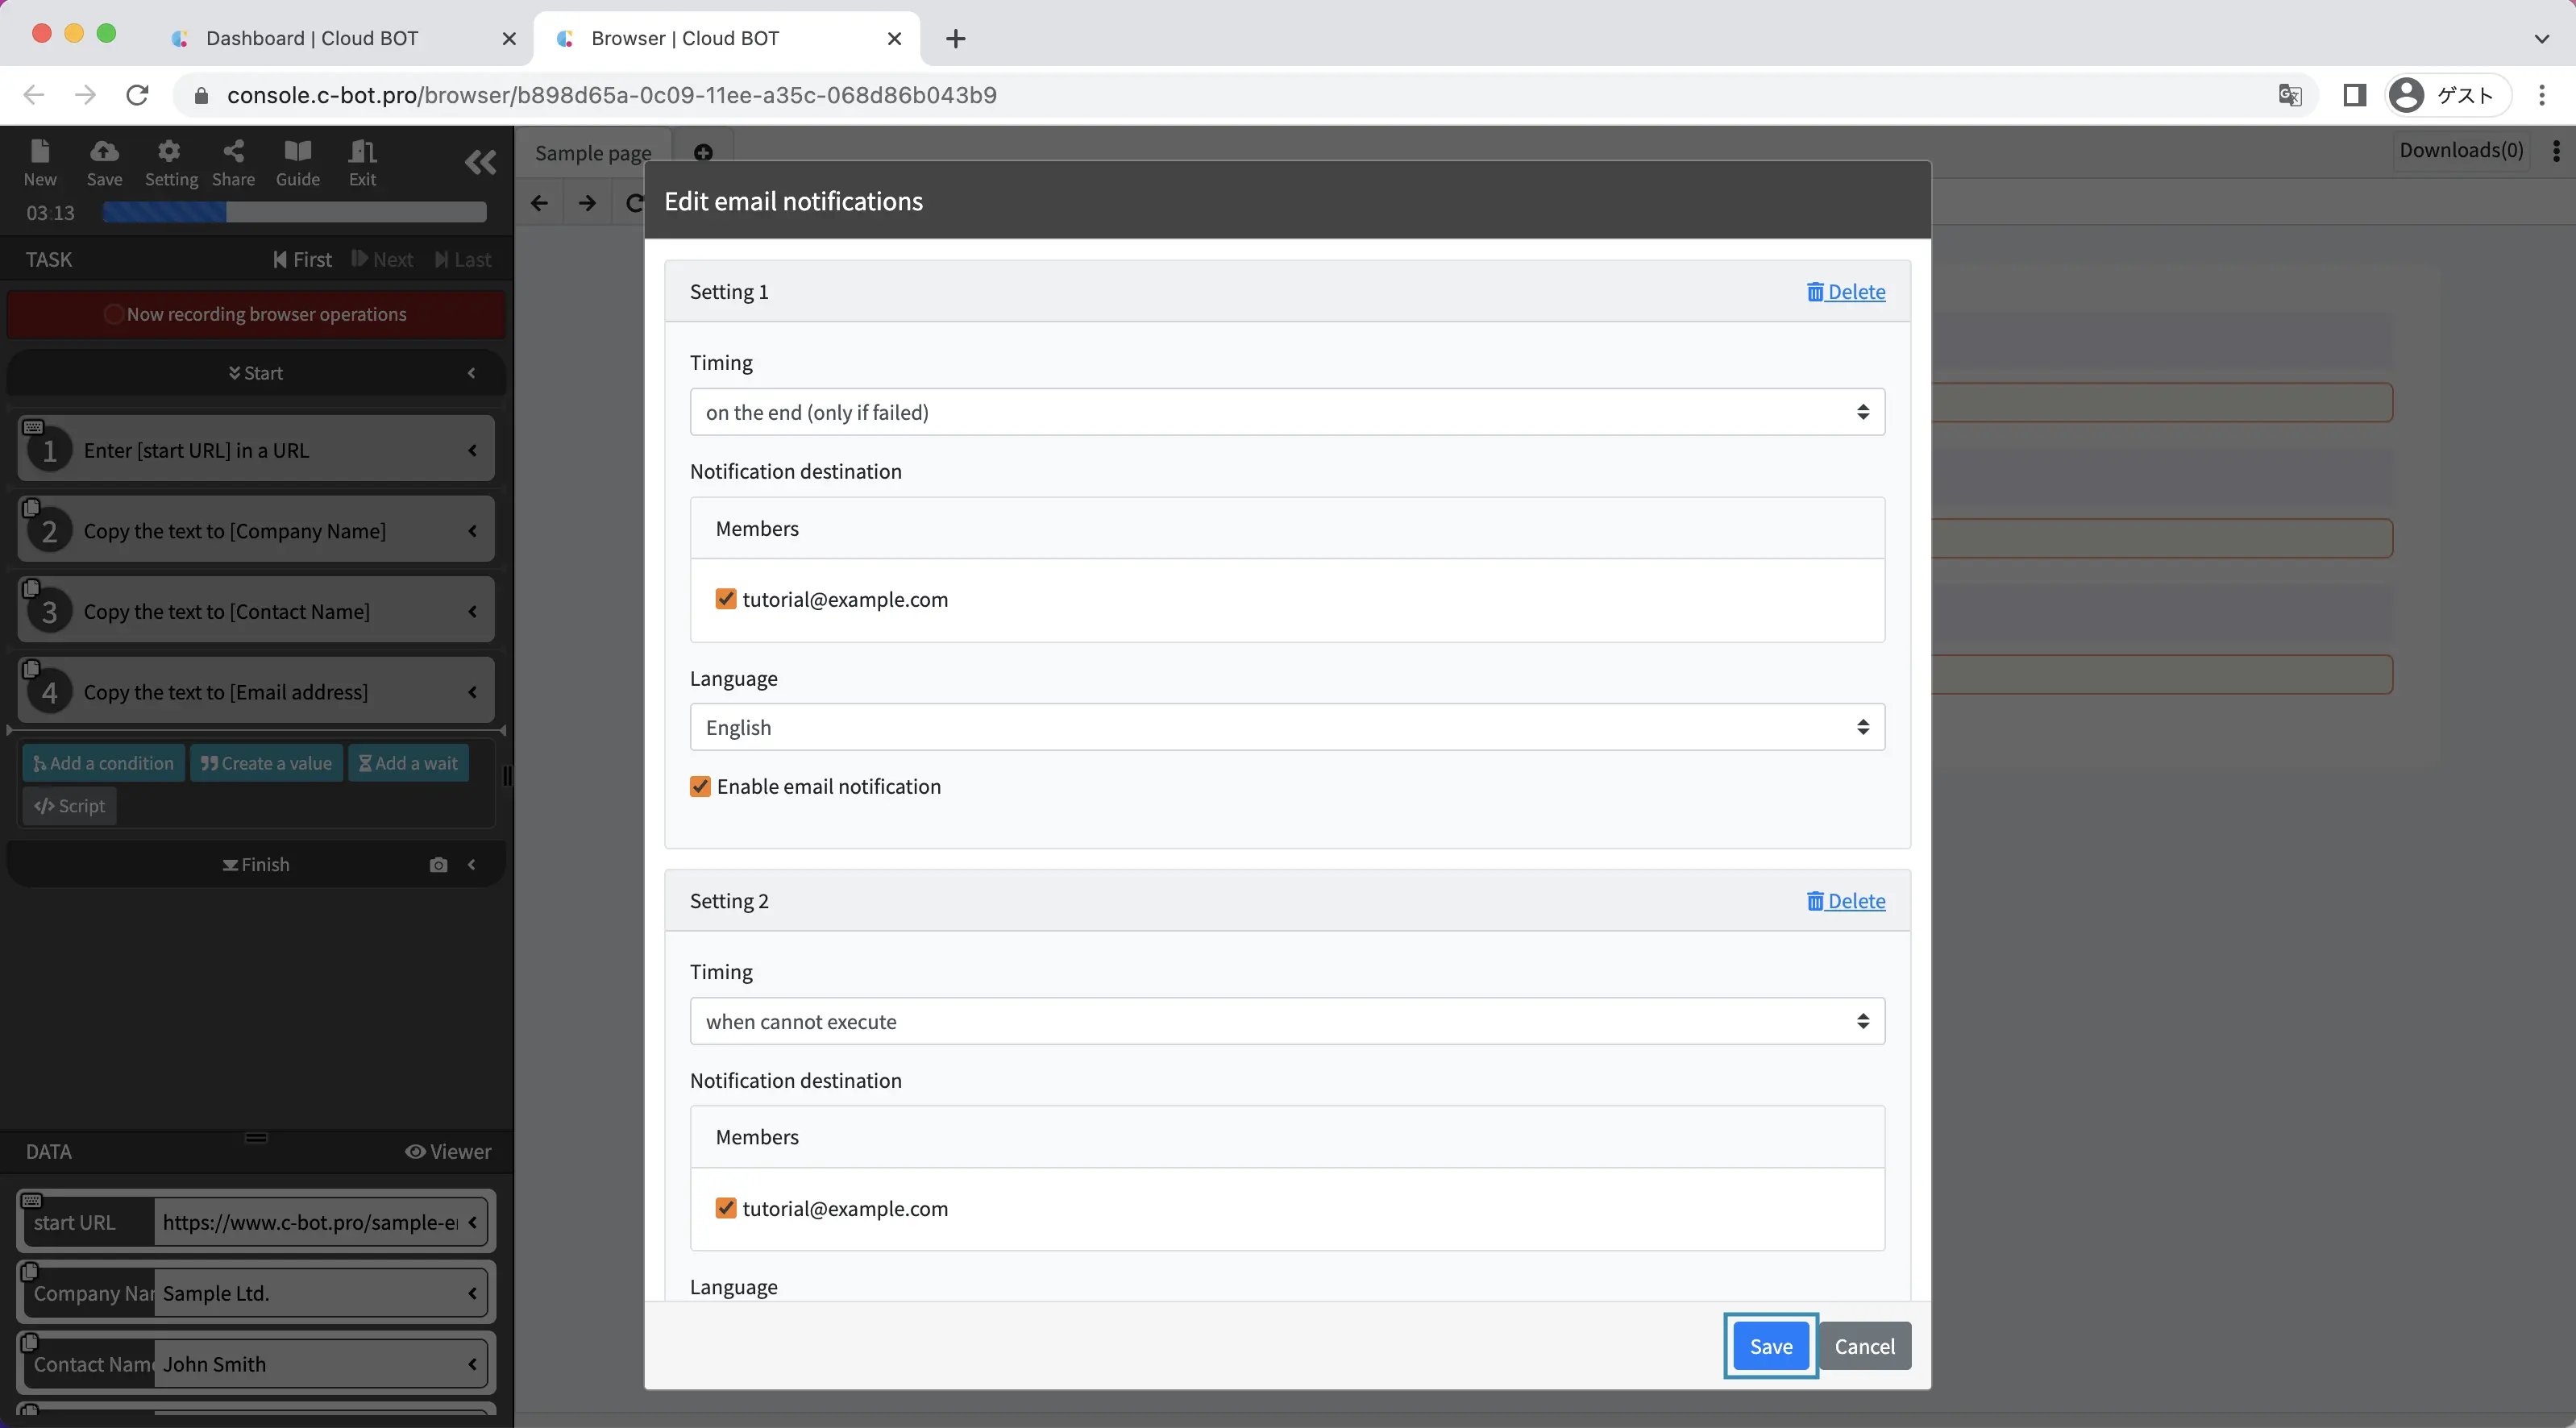
Here, you can configure the settings for email notification upon completion of BOT execution.
Click the Save button to save your settings.
Click "Exit" to close the BOT editor.
Execute a BOT
1. Execute the created BOT
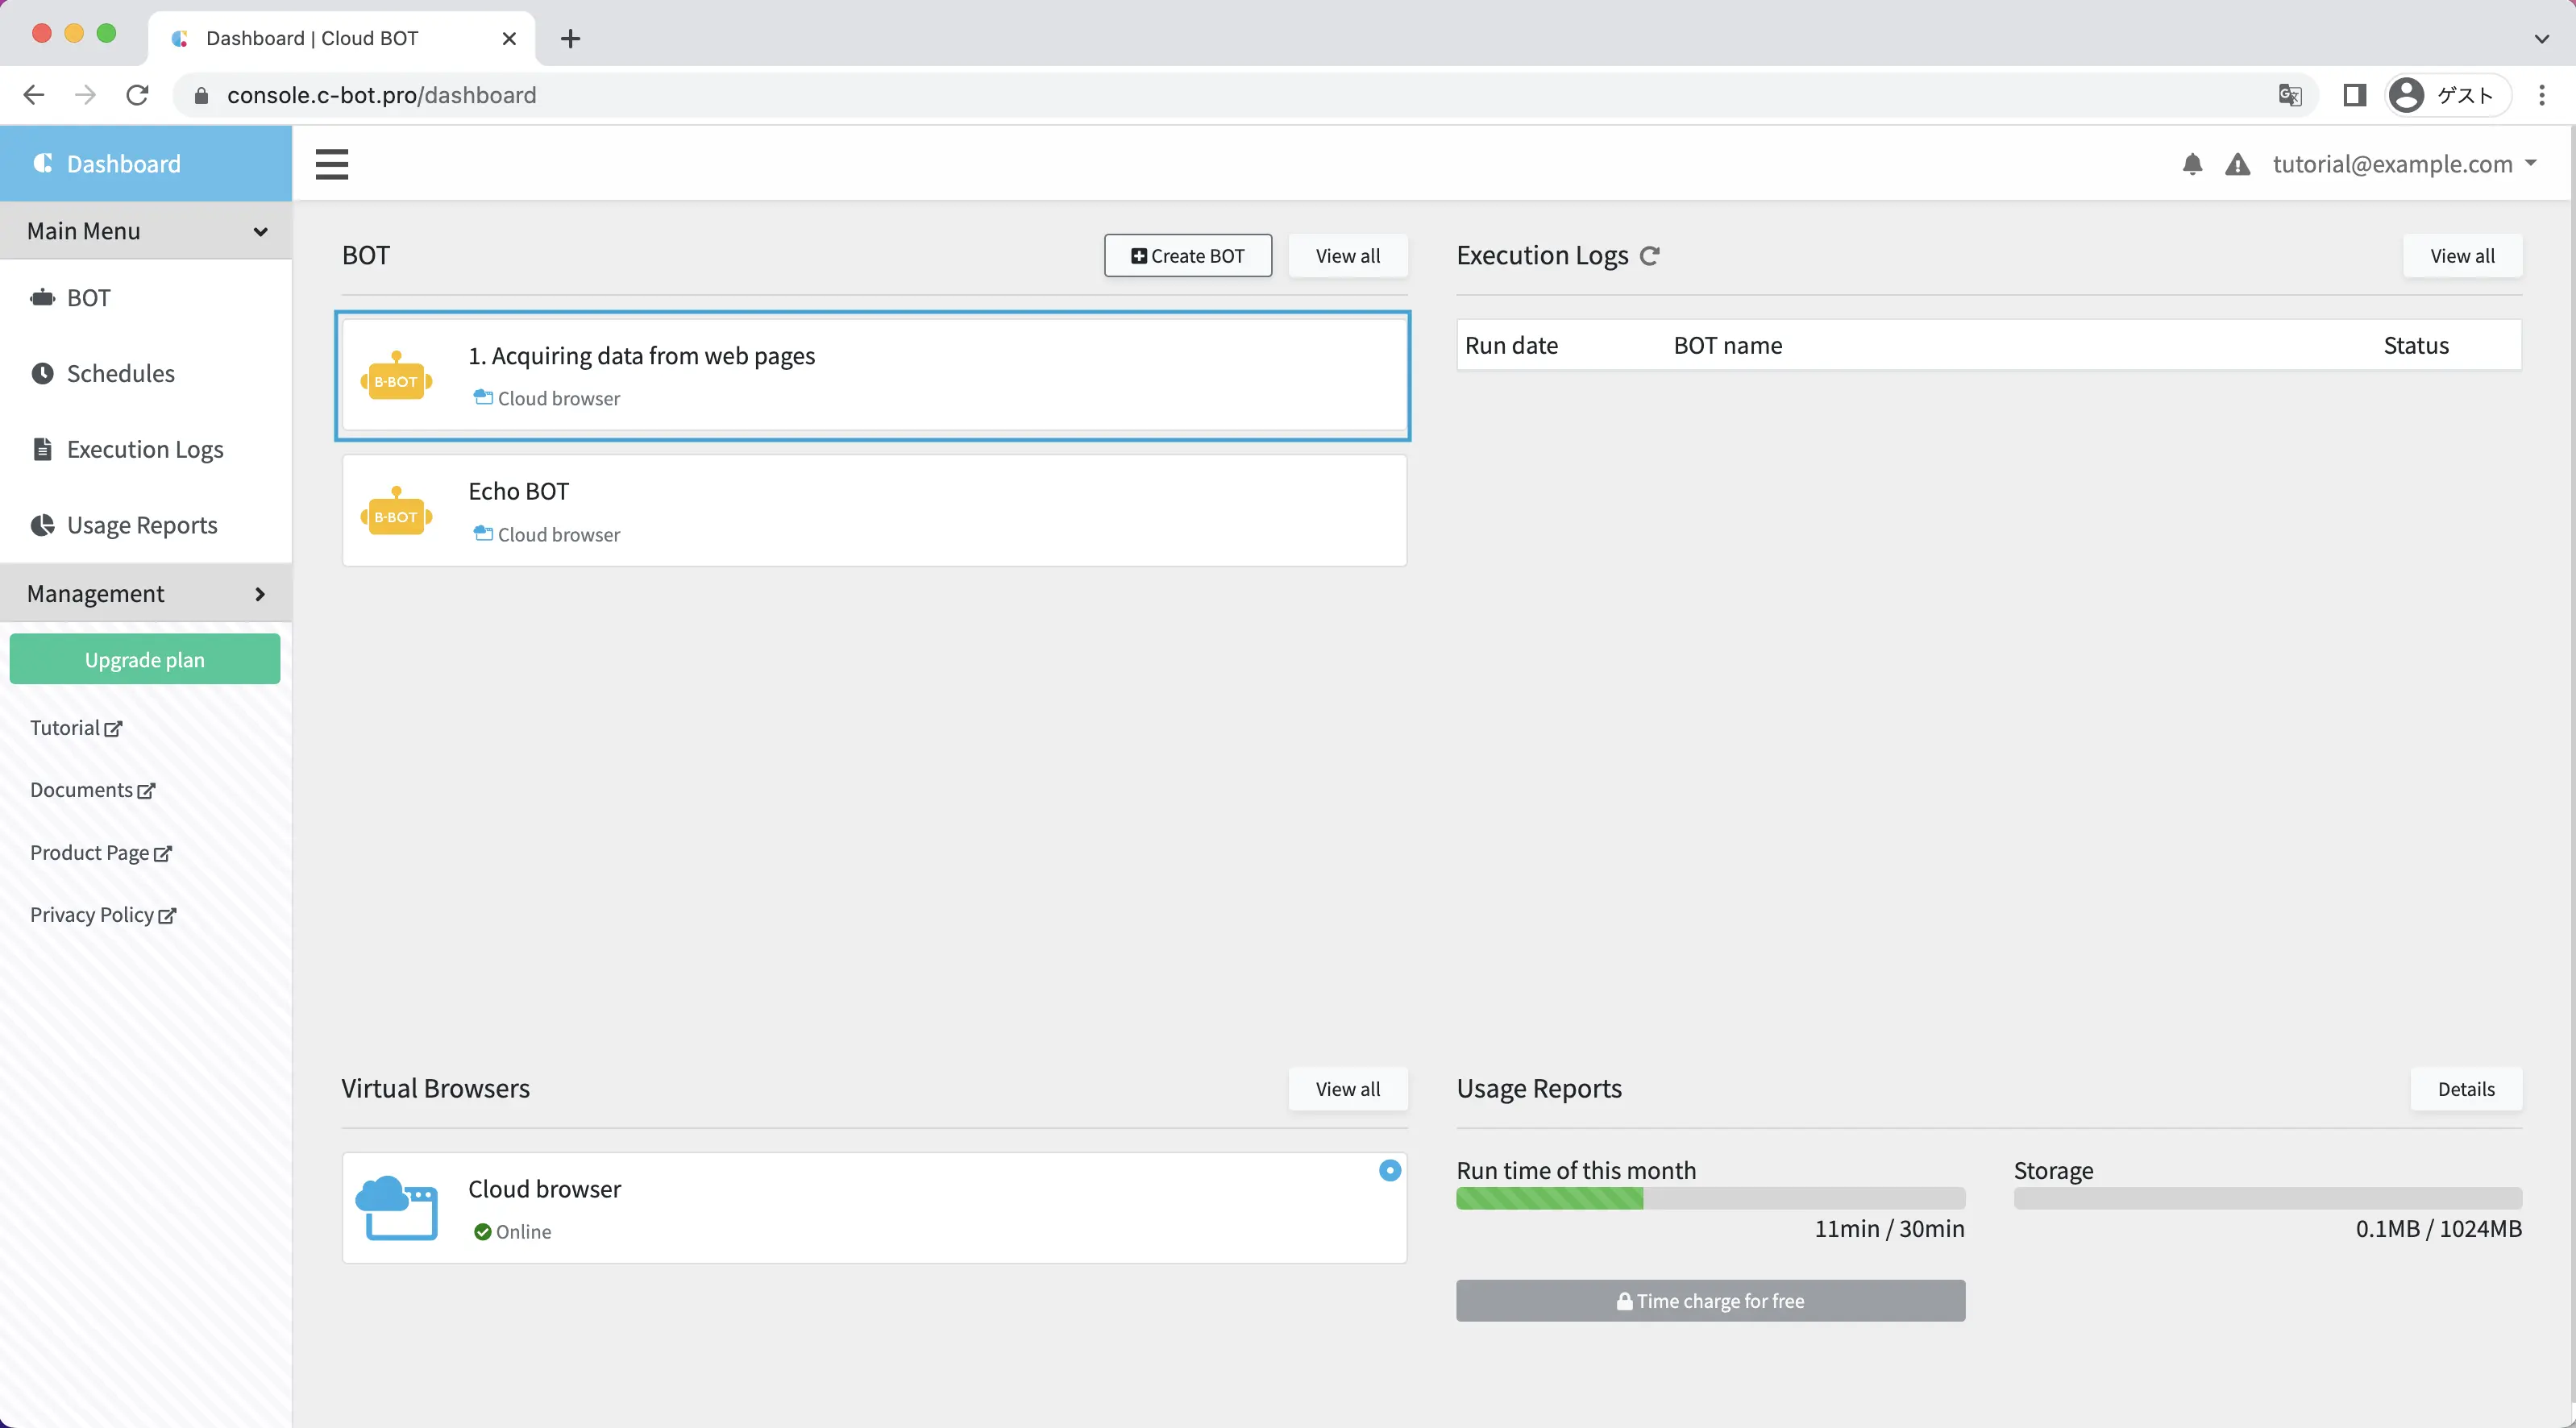
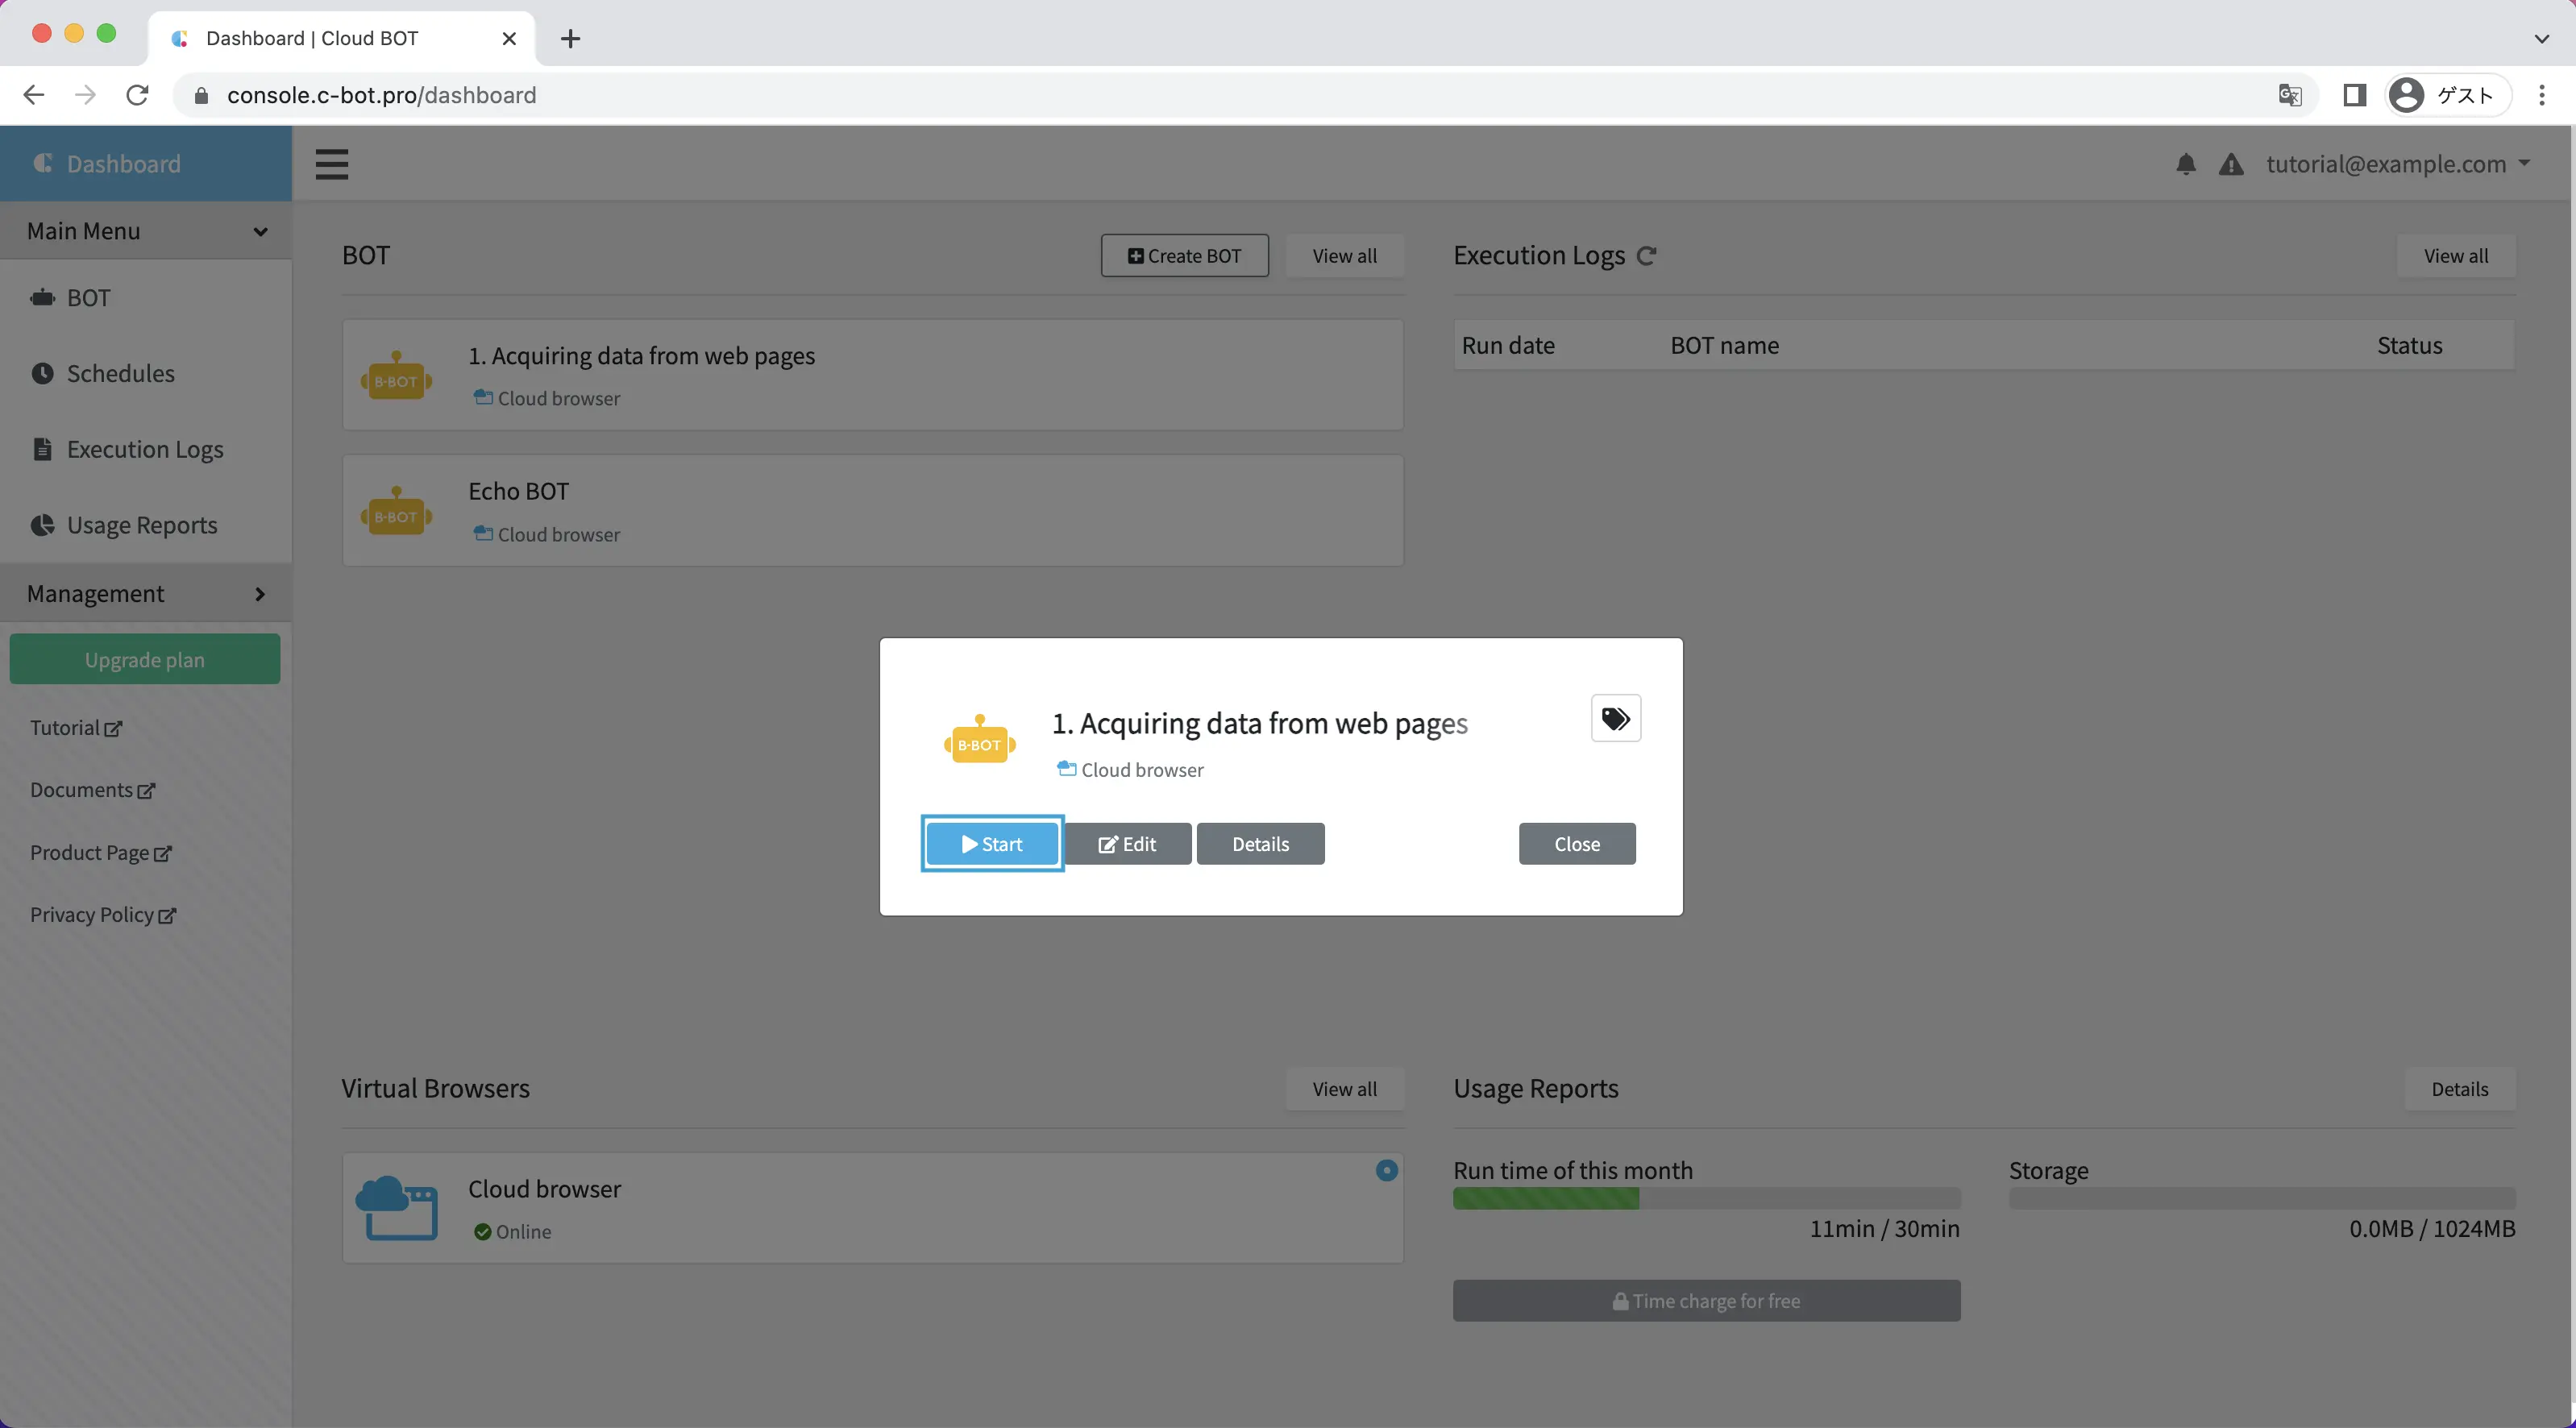
Return to the dashboard and click on the BOT you created "1-1. Acquiring data from web pages"
A window will open. Click the "Start" button.
The BOT execution screen will be displayed, so click the "Start" button.
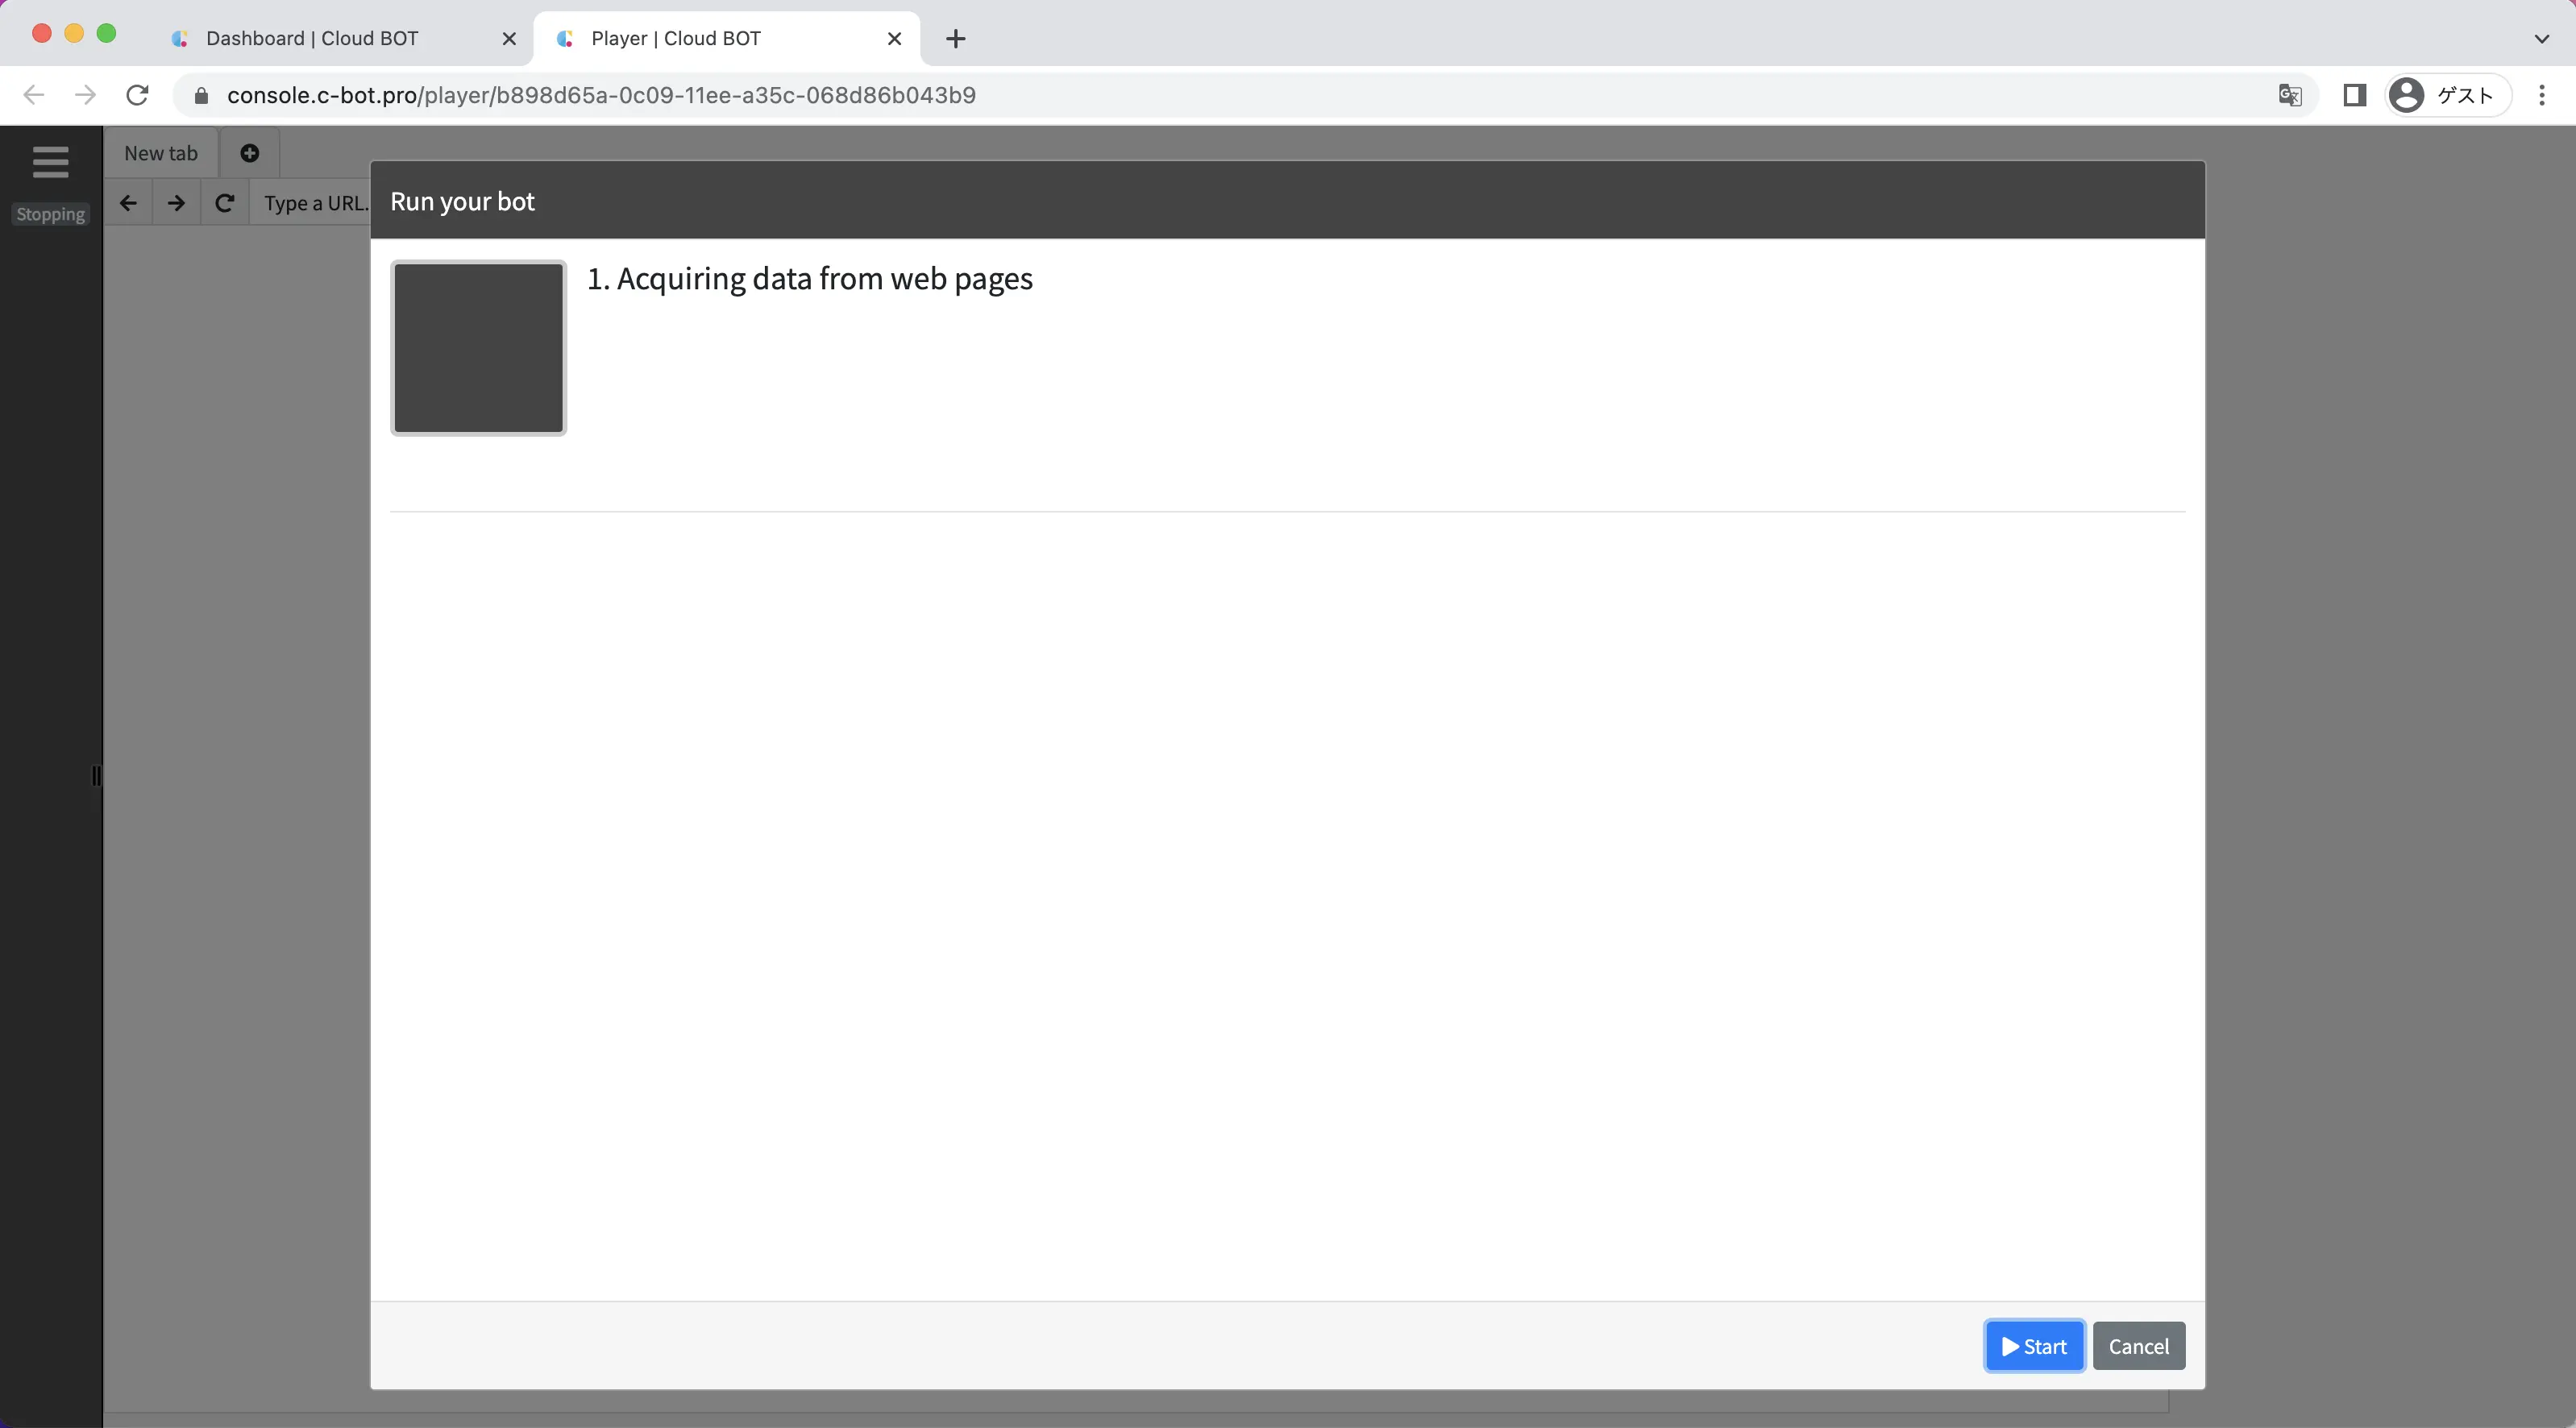
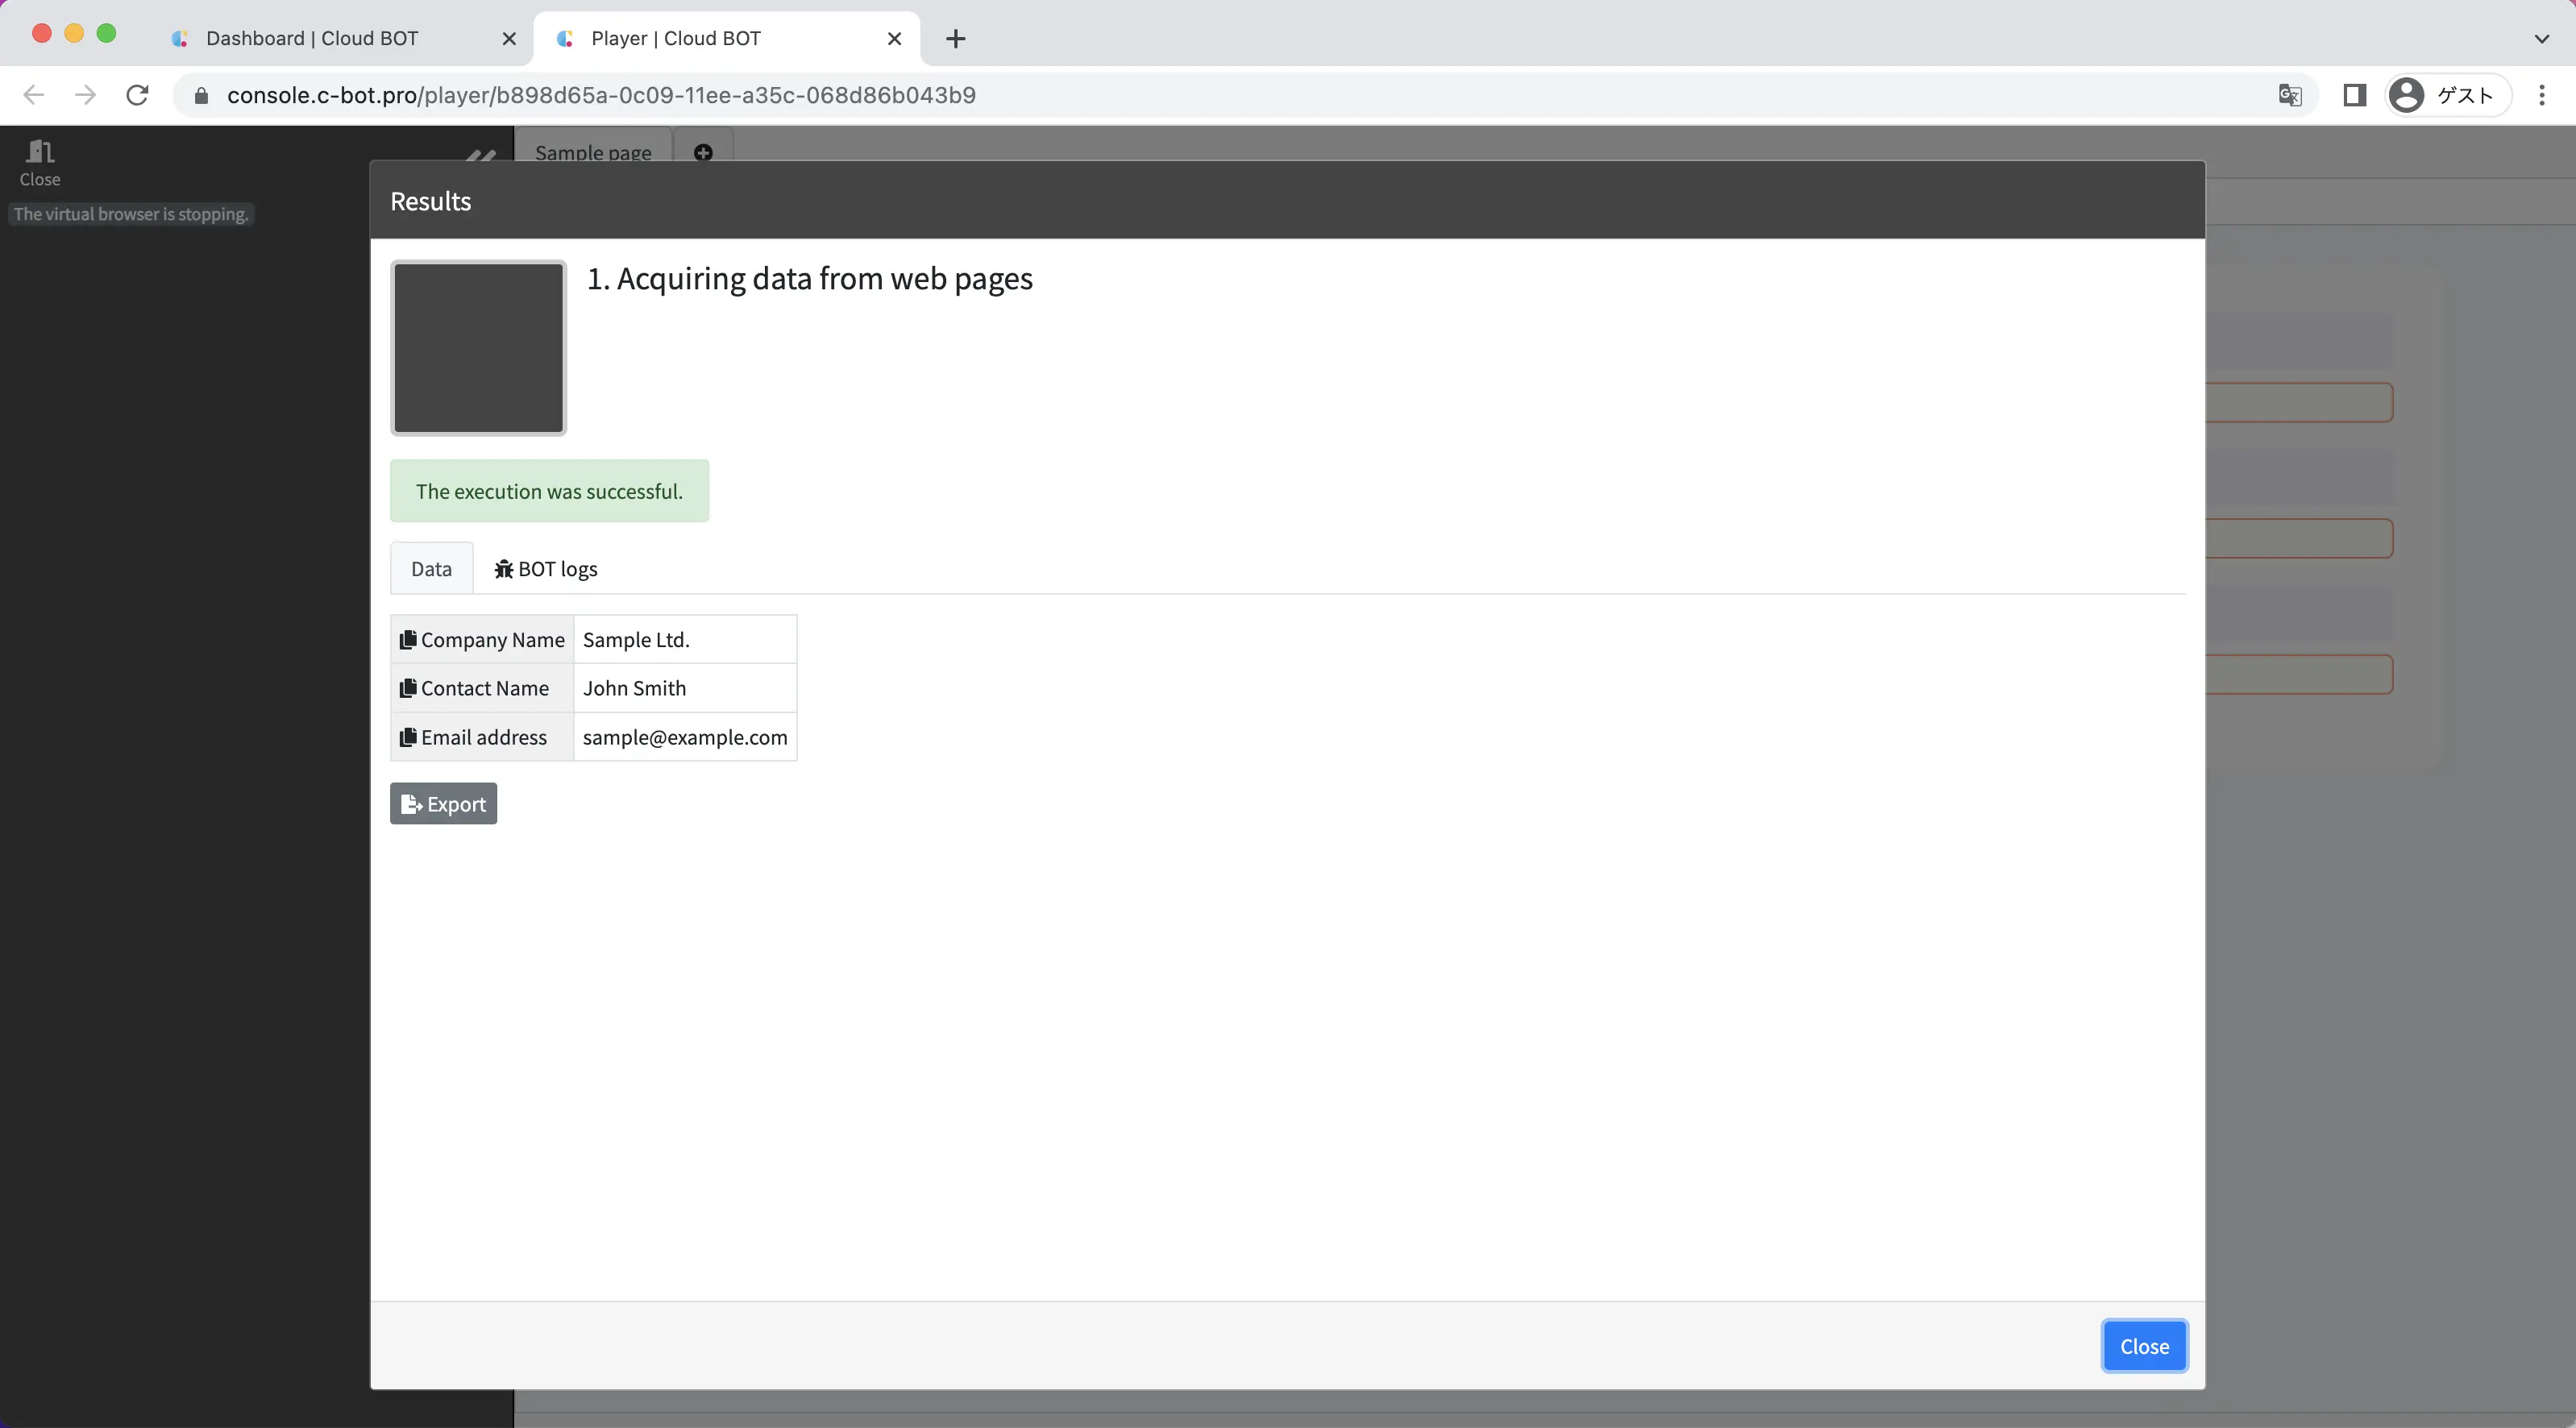
When the BOT execution is completed, the execution result will be displayed.
It is completed if "The execution was successful." and the acquired data is displayed.
Click the "Close" button to close the execution result screen.
Check the execution log
1.Check the execution log
Return to the Dashboard screen and click on "Execution Log" from the side menu on the left side of the screen.
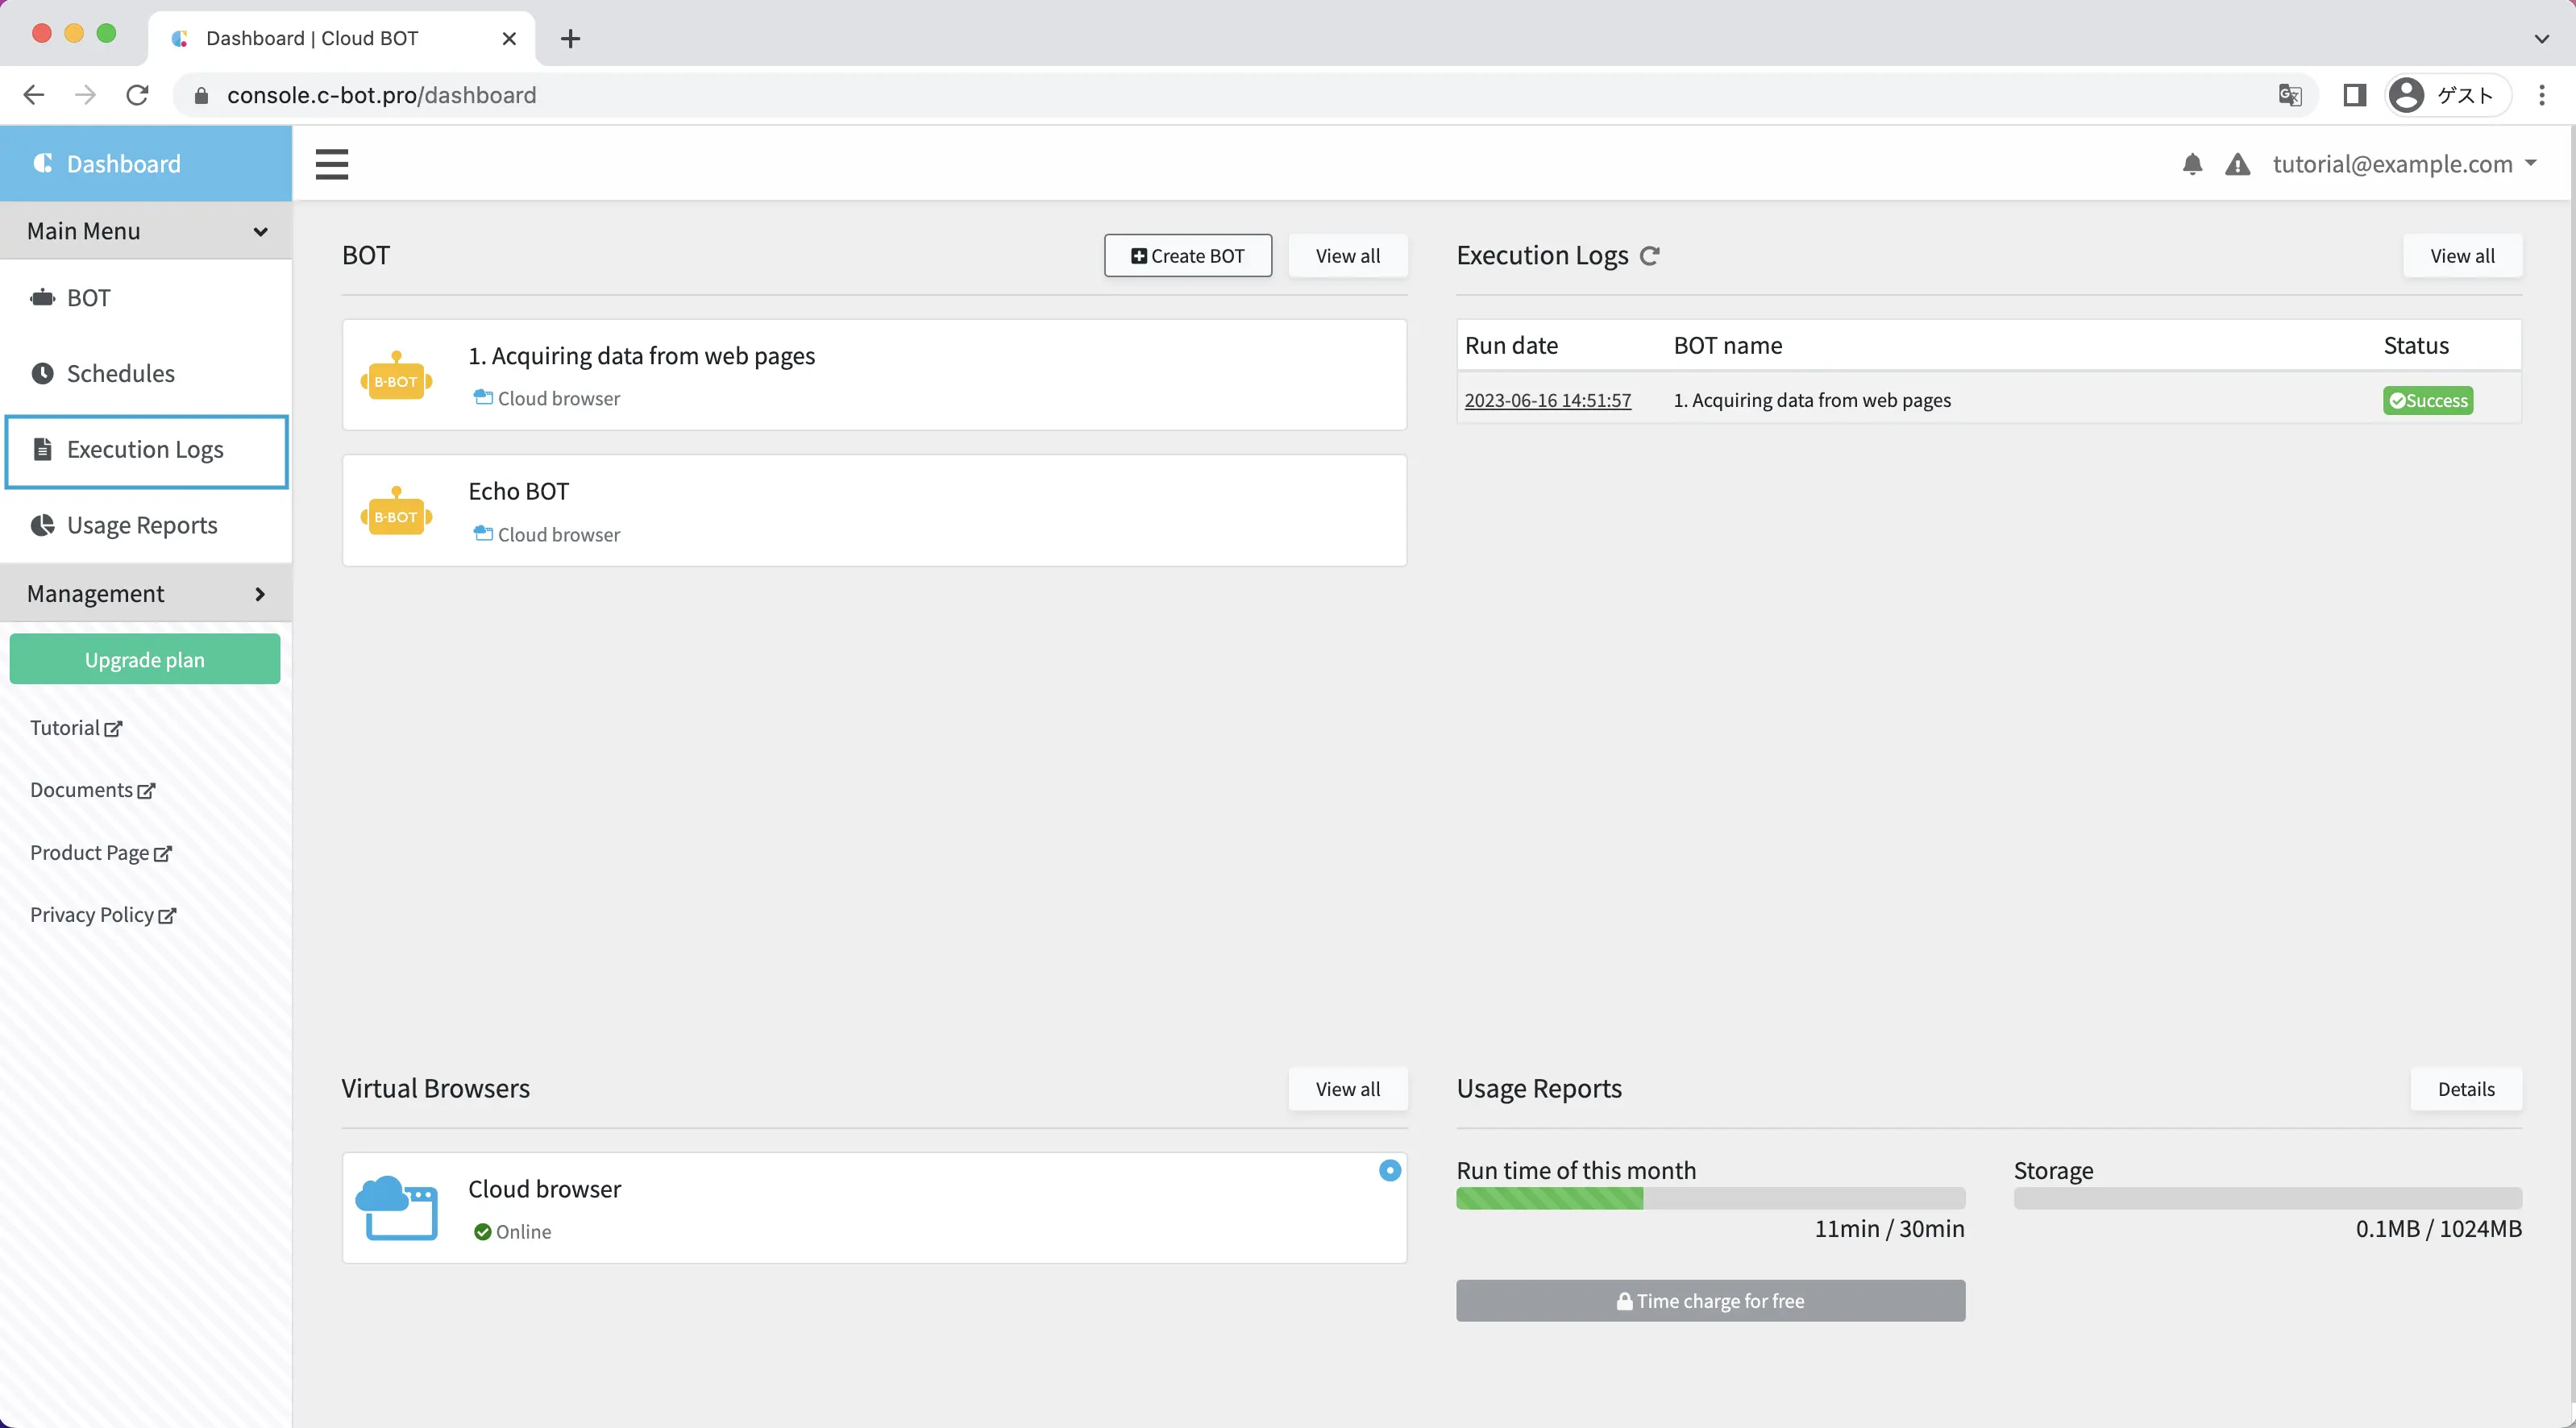
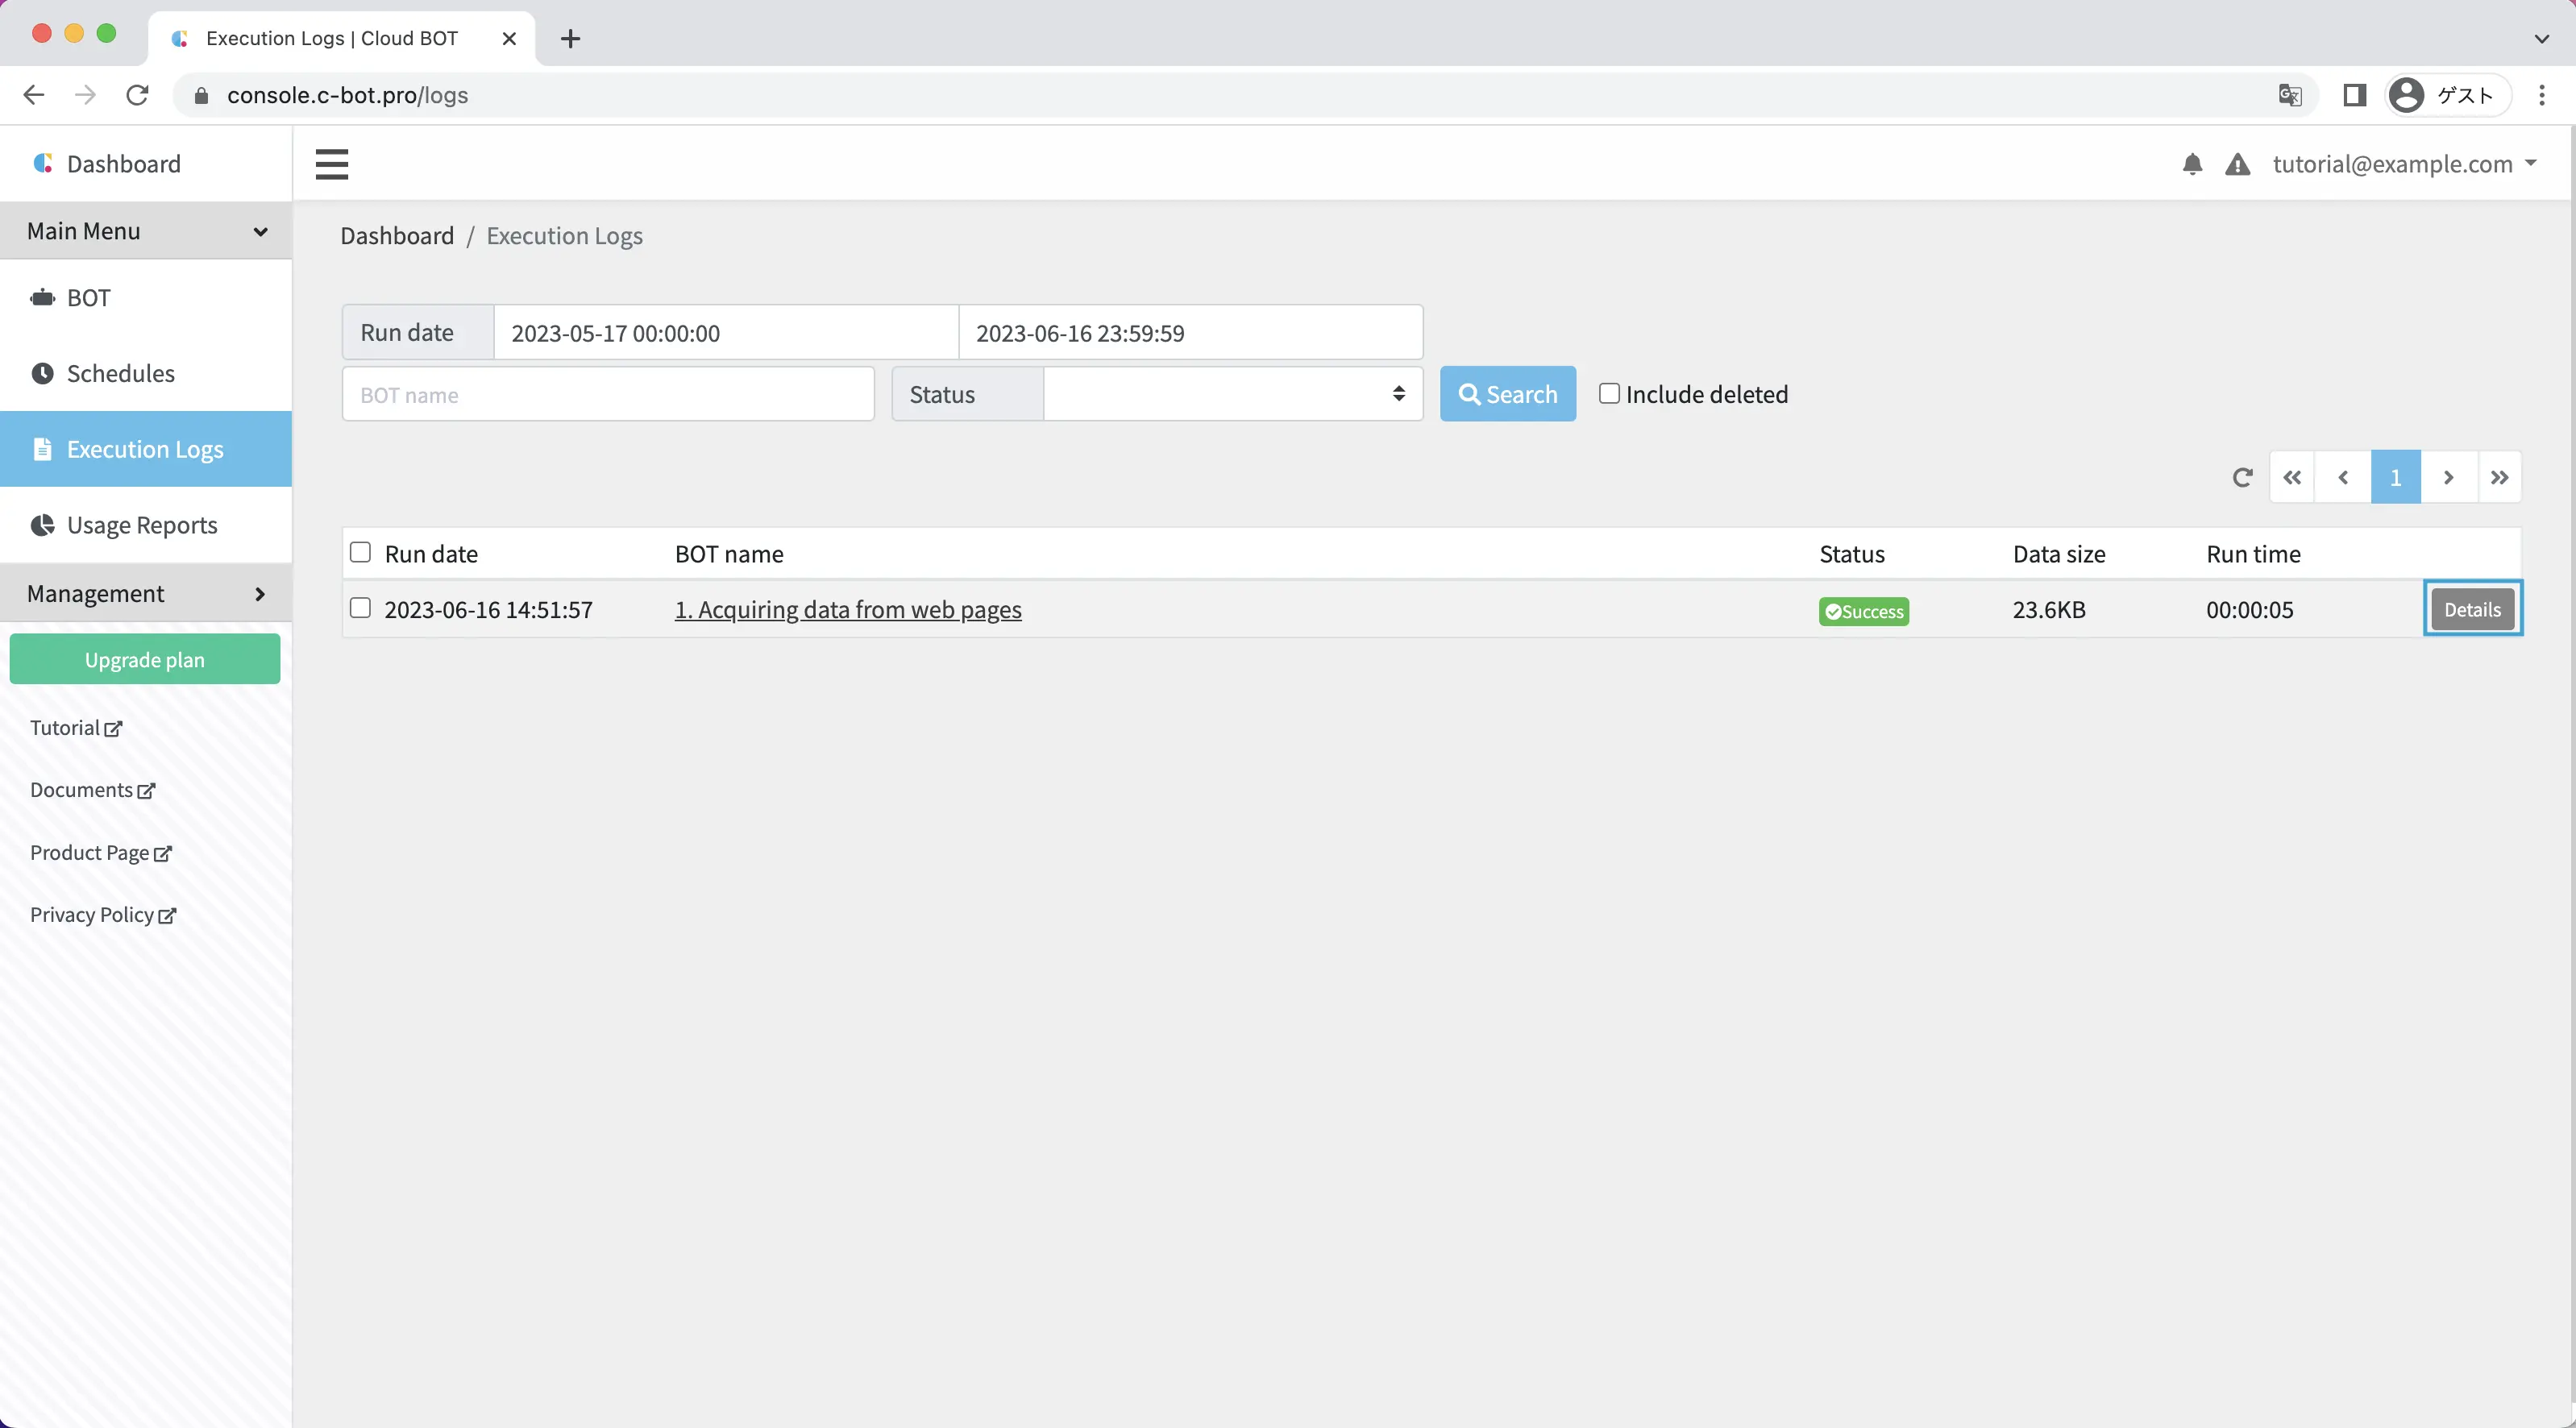
In the Execution Log, you can check the execution results of the BOT you have just executed.
The log of the BOT you just executed is output, so click the "Details" button.
A detailed log screen is displayed.
You can check the execution status and screenshots at the time of execution.
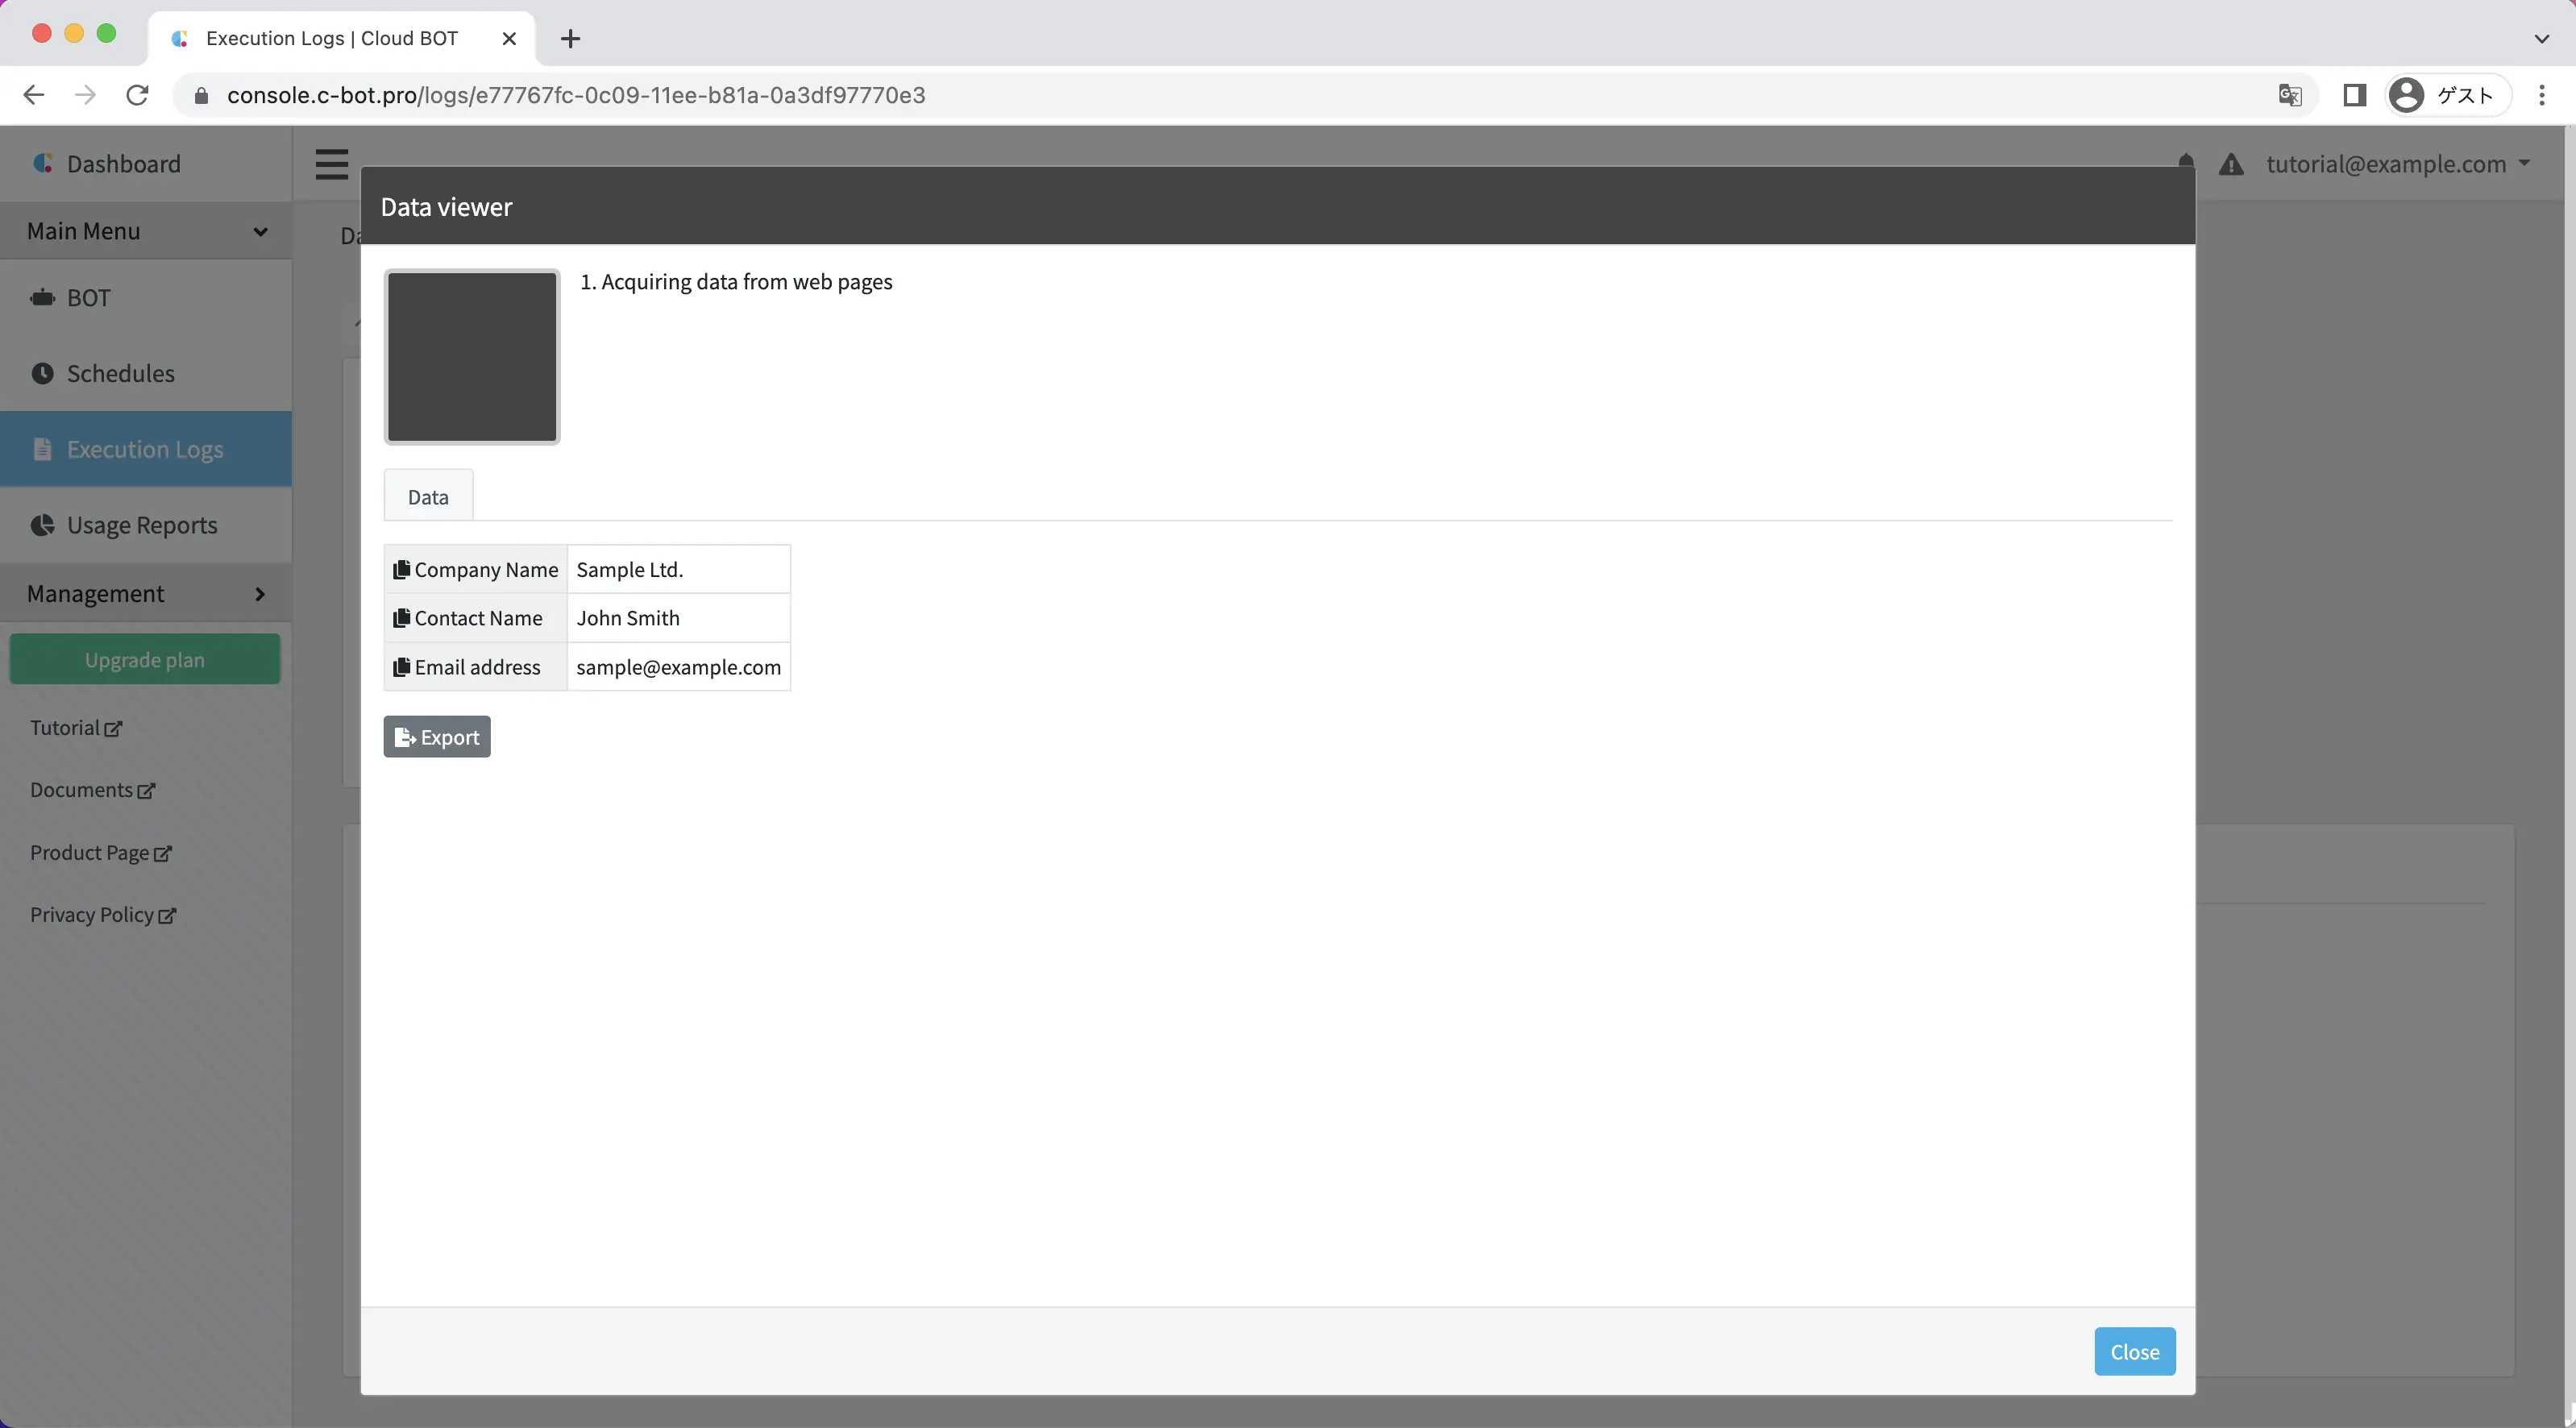
To check the results of BOT execution, click the "View the output data" button.
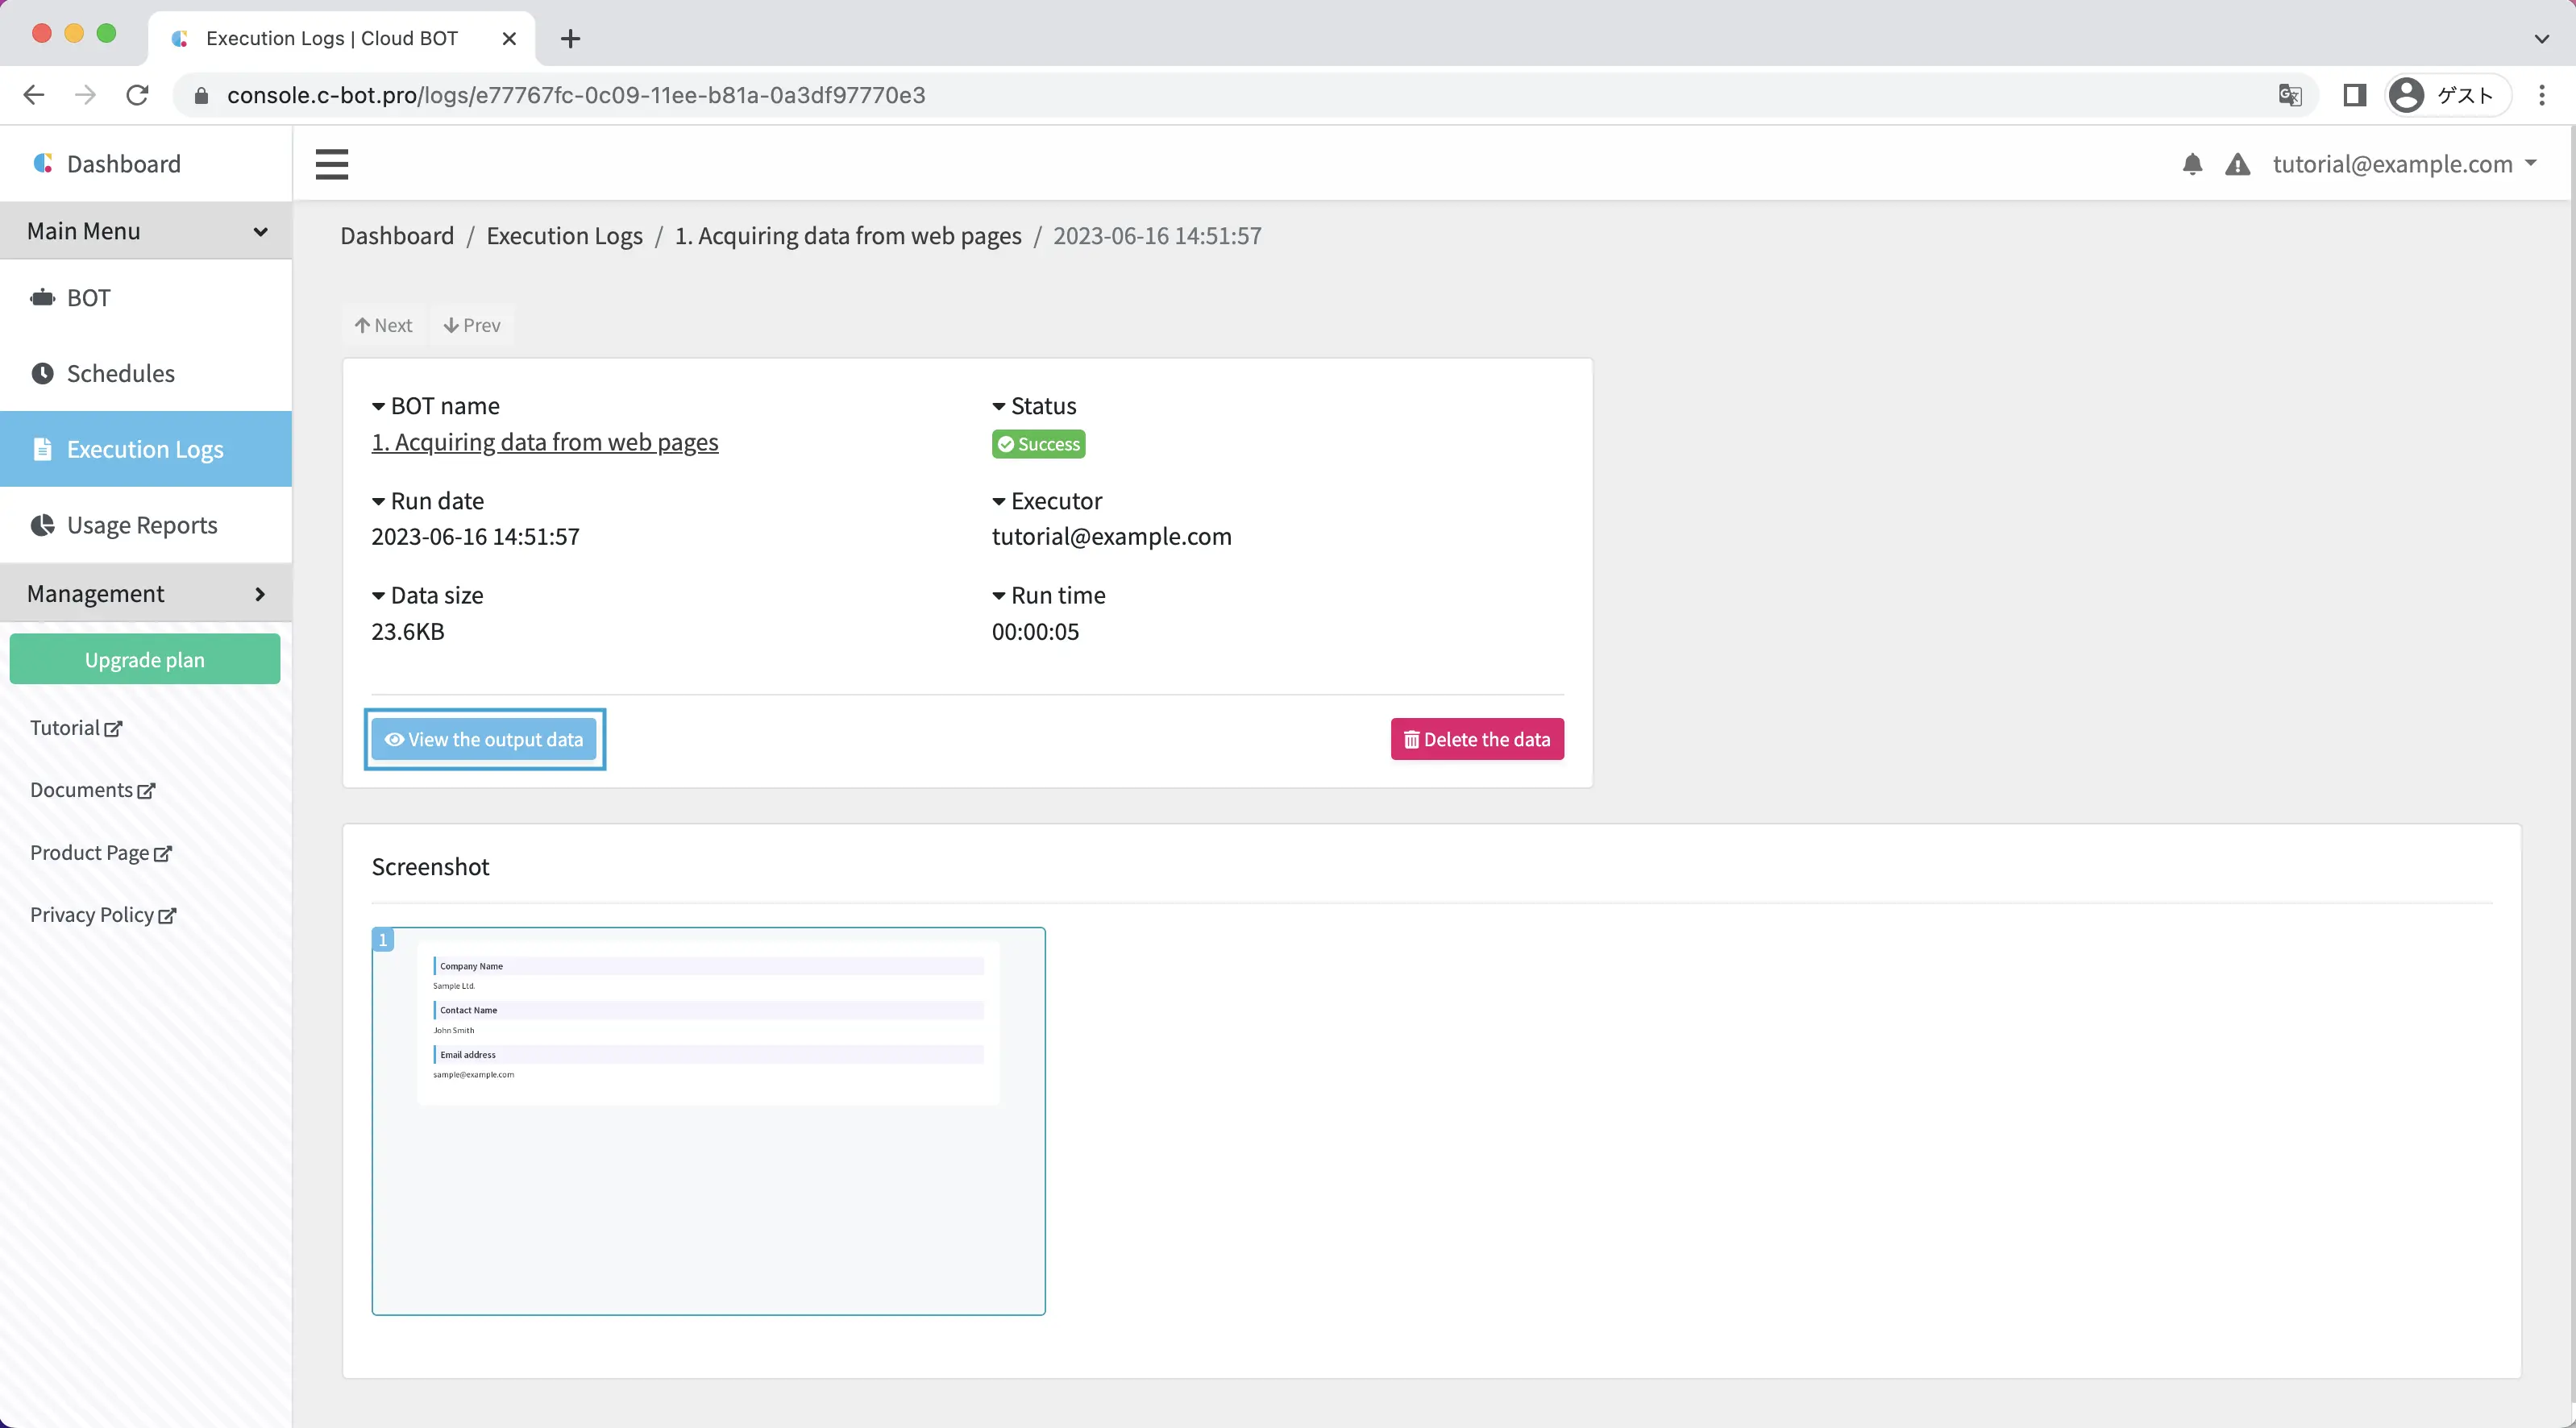
You can check the output results at runtime.
This concludes the tutorial "1. Get data from a web page (including an explanation of basic operations)".
Go to the next tutorial >> "1-2. Enter data into a web form